Introduction to Splitting Your Screen in Two
Splitting your screen in two is a simple way to improve your productivity and multitasking. Whether you are comparing documents, watching a video while taking notes, or managing multiple applications, dividing your screen allows you to see two windows side by side. This article covers the most effective methods for splitting your screen on Windows 10 and Windows 11, including keyboard shortcuts, drag and drop, and snap layouts. You will learn how to use these techniques step by step, without any complicated software. The goal is to make your work easier and faster, saving you time toggling between windows.
Why Learn How to Split Your Screen in Two
Many users spend a lot of time switching between tabs and windows, which can slow down their workflow. By learning how to split your screen in two, you can view two applications at the same time without overlap. This is especially helpful for tasks like writing an email while referencing a spreadsheet, or following a tutorial while using the software you are learning. The feature is built into Windows, so you do not need to install anything extra. Once you master it, you will wonder how you managed without it. The methods we cover are free and available on most computers running Windows 10 or newer.
How to Split Your Screen in Two Using Keyboard Shortcuts
The fastest way to split your screen is with a keyboard shortcut. In Windows 10 and 11, you can press and hold the Windows key, then press the Left Arrow key to snap the active window to the left half of the screen. Similarly, pressing the Windows key and the Right Arrow key snaps the window to the right half. This method works immediately and does not require a mouse. After snapping the first window, the other side will show thumbnails of your other open windows. You can click on one to fill the remaining space. This feature is called Snap Assist and it makes selecting the second window very easy. For a step-by-step guide, you can check the detailed article on Avast at how to split screen on Windows.
The keyboard shortcut is ideal for users who prefer quick actions without lifting their hands from the keyboard. It also works with multiple monitors, snapping windows to the left or right of each display. If you have a smaller screen, the shortcut still works, but you may need to adjust the window sizes manually if they are too narrow. Overall, this method is the most efficient for splitting your screen in two.

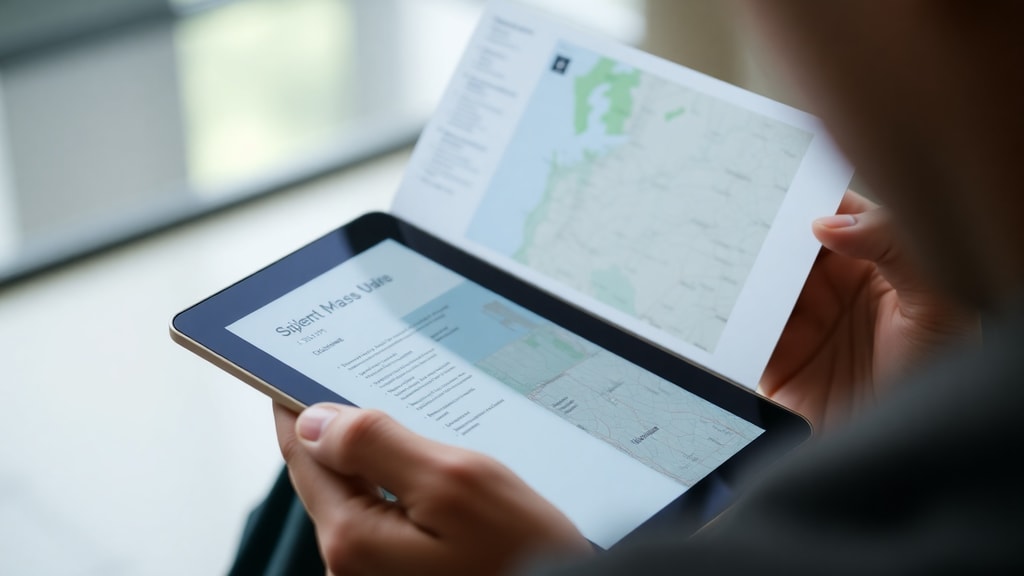
How to Split Your Screen in Two Using Drag and Drop
If you prefer using a mouse or trackpad, the drag and drop method is just as effective. Click and hold the title bar of the window you want to snap. Drag it to the left edge of your screen until you see a transparent outline of a half window. Then release the mouse, and the window will fill that side. Repeat the process with another window, dragging it to the right edge. This visual approach gives you full control over placement. TechTudo provides a comprehensive tutorial on this method at how to split your PC screen.
One advantage of drag and drop is that you can see the outline before releasing, which helps avoid mistakes. You can also snap windows to corners if you want to split the screen into four parts, but for splitting in two, dragging to the left or right edge works best. This method is intuitive and works on both Windows 10 and 11. However, if you have many windows open, make sure you grab the correct title bar. Some applications like web browsers also allow you to snap tabs by dragging the tab itself, but snapping a whole window is more reliable for splitting the screen.
How to Split Your Screen in Two Using Windows 11 Snap Layouts
Windows 11 introduced a feature called Snap Layouts, which makes splitting your screen even more visual and customizable. To access it, press the Windows key and the Z key together. A small menu will appear near the maximize button of your active window. This menu shows several layout options, including two-column layouts for splitting the screen in two. Hover over the two-column layout and click on the left or right half. The window will snap to that side, and then Windows will automatically show thumbnails of your other open windows. You can click one to fill the opposite side. Terra explains this feature in detail for users who want to explore more layout options.
Snap Layouts are especially useful if you want more than just a simple left and right split. For example, you can choose layouts with three columns or a larger main window with a smaller side panel. But for splitting in two, the basic two-column layout is perfect. This feature is only available on Windows 11, but it makes the process very smooth. You can also access Snap Layouts by hovering your mouse over the maximize button at the top right of any window. The layouts appear immediately, and you can select your preferred arrangement.

How to Split Your Screen in Two Using Snap Assist
After you snap a window to one side, Snap Assist automatically activates. It displays small previews of all your other open windows on the unused half of the screen. You simply click the preview of the window you want to use, and it fills the other side. This eliminates the need to drag or use more keyboard shortcuts. The feature works in both Windows 10 and 11. According to Vivoc, Snap Assist is a time saver because it reduces the number of clicks needed. It also helps you keep your desktop organized, as you can see all available windows before selecting one.
Snap Assist is particularly helpful when you have many windows open, as it shows them all in a clean grid. This prevents you from accidentally selecting the wrong window. If you change your mind, you can press the Escape key or click outside the preview area to cancel. After splitting, you can resize the windows by dragging the divider line between them. This way, you can make one side wider if needed. Snap Assist is a built-in feature, so there is no extra setup required.
How to Split Your Screen in Two on macOS
If you are using a Mac, the process is different but just as simple. Click the green traffic light button in the top left corner of a window. Hold it down or hover over it to see options. Select Tile Window to Left of Screen or Tile Window to Right of Screen. The window will snap to that side, and the other side will show available windows for you to choose from. This feature is called Split View and works on macOS Catalina and later. It is similar to Snap Assist on Windows, but the button is in a different location. You can also split by dragging a window to the left or right edge of the screen, but the green button is the standard way.
Split View on macOS allows you to work in full screen with two apps side by side. You can also adjust the width of each pane by dragging the divider. To exit Split View, press the Escape key or move your cursor to the top of the screen to reveal the green button again. While this article focuses on Windows, these instructions help Mac users achieve the same result. If you use both operating systems, the concepts are similar, only the gestures vary.
Practical Examples of When to Split Your Screen
Splitting your screen is useful in many everyday scenarios. For instance, you can watch a video tutorial on one side while following along with the software on the other side. Or you can compare two documents side by side without printing them. Students often use split screen to take notes from a lecture video or a reading material. Professionals might split their screen to have a calendar on one side and an email client on the other. Below is a list of common use cases where splitting the screen in two can help you work more efficiently:
- Comparing two spreadsheets or text files
- Writing a report while referencing a PDF
- Having a messaging app open alongside a browser
- Following a recipe in a browser while using a note-taking app
- Managing multiple chat windows during a meeting
These examples show that split screen is not just for tech experts. Anyone who uses a computer for daily tasks can benefit from this simple technique. The time saved from not switching windows adds up over the day, making you more productive.
Tips for Getting the Most Out of Split Screen
To make split screen work best for you, consider these tips. First, close any windows you do not need before splitting. Too many open windows can clutter Snap Assist and slow down your selection. Second, use keyboard shortcuts if you are comfortable with them, as they are faster than dragging. Third, adjust the size of each pane by dragging the divider. Some applications remember their window size, so you can set them to your preferred width. Fourth, try using virtual desktops if you need to split more than two windows. You can create multiple desktops and split each one differently. The table below summarizes the main methods and their key features.
| Method | How to Access | Best For | Operating System |
|---|---|---|---|
| Keyboard Shortcut | Windows Key + Arrow | Fast snapping without mouse | Windows 10 and 11 |
| Drag and Drop | Drag title bar to edge | Visual control over placement | Windows 10 and 11 |
| Snap Layouts | Windows Key + Z or hover maximize | Customizable layout options | Windows 11 |
| Snap Assist | After snapping first window | Easy selection of second window | Windows 10 and 11 |
| macOS Split View | Green button + tile option | Full screen with two apps | macOS Catalina and later |
These methods are free and require no additional downloads. Practice each one to find your favorite. You can also combine them, for example, using the keyboard shortcut to snap and then using Snap Assist to choose the second window. Over time, splitting your screen will become second nature.
Common Questions About Splitting Your Screen in Two
Some users wonder if split screen works on all monitors. The answer is yes, it works on single and multiple monitors, though the shortcuts snap to the sides of each individual display. Another common question is whether you can split more than two windows. Yes, you can split into three or four by dragging windows to corners or using Snap Layouts with three columns. However, for a clean two-window split, the methods described above are best. Also, note that some older applications may not support dragging, but nearly all modern programs do. If a window does not snap, try resizing it manually first, or check if it is maximized. Maximized windows cannot be snapped until you restore them down.
Another frequent concern is whether split screen affects performance. It does not because Windows manages windows efficiently regardless of how they are arranged. Your computer should run just as fast. If you notice slowness, it is likely due to other factors like too many open programs or low memory. Finally, some users ask if they can use split screen with a projector or external monitor. Yes, the same techniques work on external displays as long as they are set to extend mode. You can snap windows to the left or right of the external screen just like on your main monitor.
References
The information in this article is based on reliable sources that explain split screen features in detail. The following references were used to ensure accuracy and clarity. You can visit these sources for further reading and visual guides on splitting your screen in two.
Avast. How to Split Screen on Windows. Available at: https://www.avast.com/pt-br/c-how-to-split-screen-on-windows. Accessed 2025.

TechTudo. Como Dividir a Tela do PC: Conheca Todas as Formas no Windows. Available at: https://www.techtudo.com.br/dicas-e-tutoriais/2024/03/como-dividir-a-tela-do-pc-conheca-todas-as-formas-no-windows-edsoftwares.ghtml. Accessed 2025.
Terra. Como Dividir a Tela do PC. Available at: https://www.terra.com.br/como-dividir-a-tela-do-pc-conheca-todas-as-formas-no-windows. Accessed 2025.
Vivoc. Como Dividir a Tela do PC. Available at: https://vivo.com.br/para-voce/por-que-vivo/vivo-explica/para-descomplicar/como-dividir-a-tela-do-pc. Accessed 2025.
These sources were consulted to verify the methods for Windows 10, Windows 11, and macOS. No additional external resources were used. All instructions reflect the latest versions of these operating systems as of 2025.