Understanding Workgroups
A workgroup is a logical grouping of computers on a local network that share resources such as files and printers without requiring a central server. Each computer in a workgroup manages its own user accounts and security settings. When you add another PC to an existing workgroup, you enable direct communication and resource sharing between the machines. This setup is common in small offices or home networks where centralized management is unnecessary. The workgroup name must be identical on all PCs you want to include. By default, Windows assigns the workgroup name WORKGROUP, but you can change it to any unique name. The process involves modifying system properties on each computer and ensuring that network discovery and file sharing are enabled.
Prerequisites for Adding a PC to a Workgroup
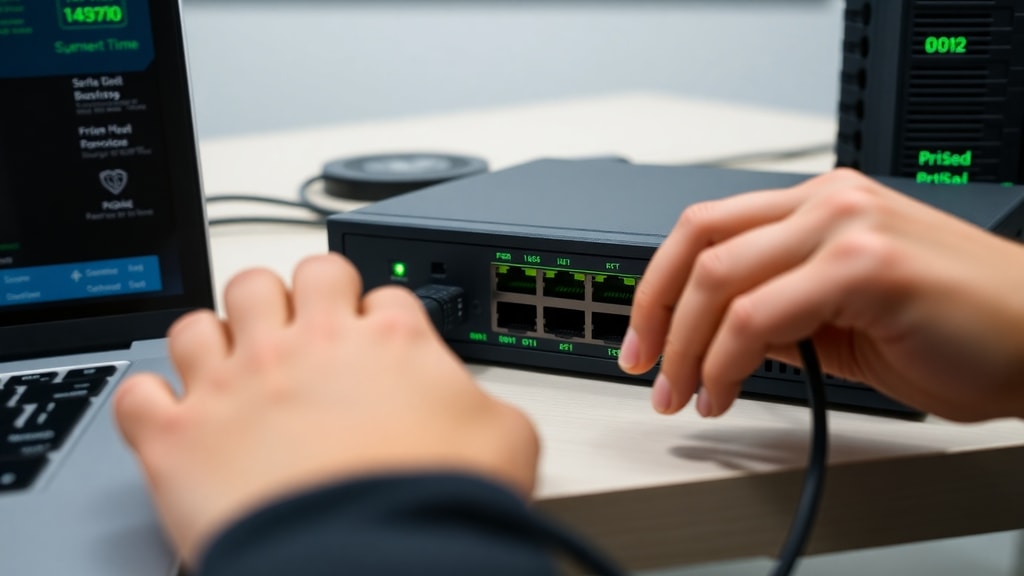
Before you add another PC to a workgroup, confirm that both computers are connected to the same local network, either through a wired Ethernet cable or a wireless Wi‑Fi connection. The network must be set to Private profile in Windows, as the Public profile disables network discovery. You also need administrative privileges on both machines. Ensure that the existing workgroup name is known and consistent. If you are adding a PC that was previously part of a domain or a different workgroup, you may need to leave that domain first. Finally, back up important data before making system changes, especially if the PC is critical to your workflow.

Step-by-Step Guide to Add Another PC to a Workgroup
Follow these steps to join a new computer to an existing workgroup. The instructions apply to Windows 10 and Windows 11, with minor variations in the user interface.
- On the first computer (already in the workgroup), press Windows key + R, type sysdm.cpl, and press Enter. This opens System Properties.
- Click the Computer Name tab, then click Change. In the dialog box, under Member of, select Workgroup. Note the exact workgroup name (e.g., MYWORKGROUP). Click OK and restart the computer if prompted.
- On the second computer (the one you want to add), repeat steps 1 and 2. In the Workgroup field, type the same exact name you noted from the first computer. Click OK.
- When prompted, restart the second computer to apply the change.
- After restart, both PCs should now be in the same workgroup. You can verify this by opening File Explorer, clicking Network, and looking for the other computer. It may take a few minutes to appear.
- If network discovery is turned off, you will be prompted to enable it. Accept the prompt to allow the PC to discover other devices on the network.
Optionally, you can use PowerShell to change the workgroup. Run PowerShell as administrator and execute the command Add-Computer -WorkGroupName "YOURWORKGROUP". Replace YOURWORKGROUP with your actual workgroup name. This command accomplishes the same task without the graphical interface.
Configuring Network Settings
Simply changing the workgroup name may not be enough if network settings are misconfigured. Both computers must have Network Discovery and File and Printer Sharing enabled. The table below shows the required settings in the Control Panel's Advanced Sharing Settings.
| Setting | Required Value | Location |
|---|---|---|
| Network Profile | Private (not Public or Guest) | Settings / Network & Internet / Wi‑Fi or Ethernet |
| Network Discovery | Turn on network discovery | Control Panel / Network and Sharing Center / Advanced sharing settings |
| File and Printer Sharing | Turn on file and printer sharing | Same as above |
| Password Protected Sharing | Turn off (for easy access) or on (for security) | Same as above |
| Firewall | Allow file and printer sharing through firewall | Windows Defender Firewall / Allow an app through firewall |
To access the Advanced Sharing Settings, go to Control Panel, click Network and Sharing Center, then click Change advanced sharing settings on the left. Expand the Private profile section and choose the options listed. After making changes, save them. If you still cannot see the other computer, try disabling and re-enabling the network adapter or restarting both machines.

Verifying the Workgroup Connection
After completing the steps, you should verify that the new PC has successfully joined the workgroup. One method is to open System Properties (sysdm.cpl) and check the Computer Name tab. The full computer name and workgroup are displayed. Another method is to use PowerShell. Open PowerShell and run Get-ComputerInfo | Select-Object WindowsVersion, Workgroup. The output will show the workgroup name. If the workgroup matches the one on the first PC, the connection is established. Additionally, open File Explorer and click Network in the left pane. Both computers should appear under the Network section. You may need to wait a minute for discovery to finish. If the computers do not appear, check the network profile and sharing settings again.
Troubleshooting Common Issues
Several obstacles can prevent a PC from being added to a workgroup. The most common issue is a mismatch in the workgroup name. Double‑check that the name is identical, including case and spaces. Another frequent cause is that one or both computers are set to a Public network profile. Change the network to Private by going to Settings > Network & Internet > Wi‑Fi (or Ethernet), click the network name, and select Private. Firewall settings can also block discovery. Ensure that the Windows Defender Firewall allows File and Printer Sharing. You can do this by typing Allow an app through firewall into the Start menu, then ensuring that File and Printer Sharing is checked for Private networks. If you previously joined a domain, you must disconnect from it before joining a workgroup. Finally, restart the network adapter or run the network troubleshooter from Settings. For more official guidance, refer to the Microsoft Q&A discussion on workgroup setup.
Using PowerShell as an Alternative
Advanced users may prefer the command line for its speed and repeatability. After opening PowerShell as administrator, the command Add-Computer -WorkGroupName "WorkgroupName" changes the workgroup immediately. You can also use Rename-Computer -NewName "NewPCName" to change the computer name at the same time. Then restart with Restart-Computer. These commands are especially useful when adding multiple PCs in a batch script. To confirm the change, run Get-ComputerInfo and read the Workgroup property. For a detailed technical walkthrough, see the Microsoft Support article on creating a workgroup.
Security Considerations
Workgroups offer limited security because each computer manages its own accounts. There is no central authentication. To protect resources, set strong passwords on user accounts and enable password-protected sharing if you share sensitive files. Avoid using the default administrator account for daily tasks. Keep both computers updated with the latest Windows patches. If you need centralized security and user management, consider using a domain instead of a workgroup. For most home and small office environments, a workgroup is sufficient if you follow basic security practices.
Conclusion
Adding another PC to a workgroup is a straightforward process that involves matching the workgroup name across all computers and enabling network discovery. By following the steps outlined in this guide, you can quickly set up a peer‑to‑peer network for sharing files and printers. Remember to verify the settings after the restart and troubleshoot any issues with network profiles or firewall rules. With a correctly configured workgroup, multiple computers can work together efficiently without the overhead of a server.
References
Microsoft. Group of work windows 10 PRO – Steps to change workgroup via Control Panel and PowerShell. Microsoft Learn Q&A. Retrieved from https://learn.microsoft.com/pt-br/answers/questions/2850485/grupo-de-trabalho-windows-10-pro
Microsoft. Create a workgroup in Windows. Microsoft Support. Retrieved from https://support.microsoft.com/pt-br/windows/criar-um-grupo-de-trabalho-no-windows
Microsoft. How do I create a workgroup in Windows 7. Answers Microsoft. Retrieved from https://answers.microsoft.com/pt-br/windows/forum/all/como-fa%C3%A7o-para-criar-um-grupo-de-trabalho/c42589d7-60eb-4efb-ac9b-dba3d525ddc5
DataSenior. Method 1: Via Graphical Interface (Windows 10/11) – Renaming PC and selecting Domain/Workgroup. Retrieved from https://docs.datasenior.com/books/como-adicionar-um-pc-ao-dominio/page/metodo-1-via-interface-grafica-windows-10-11