Understanding the Basics of Camera Status Indicators
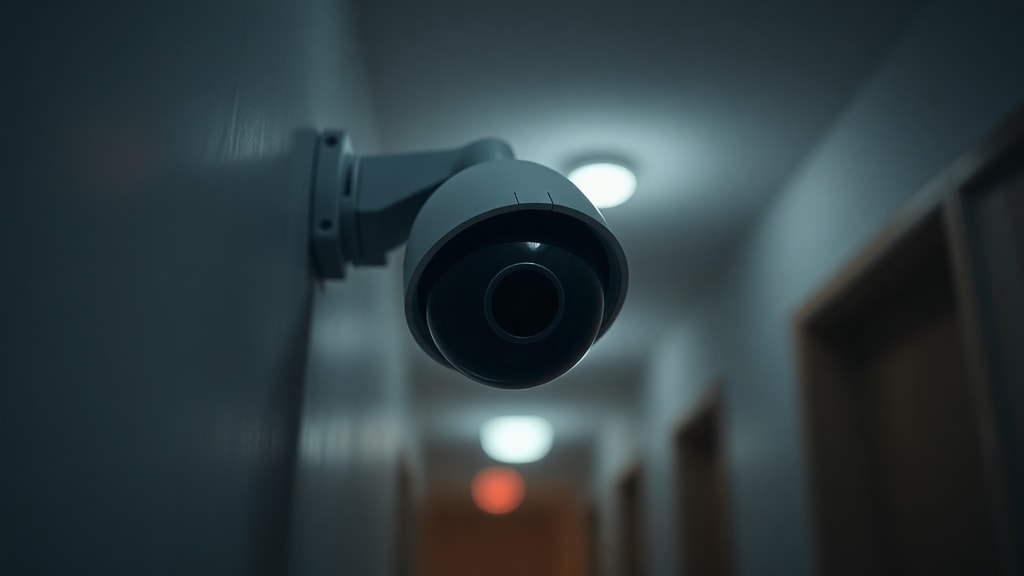
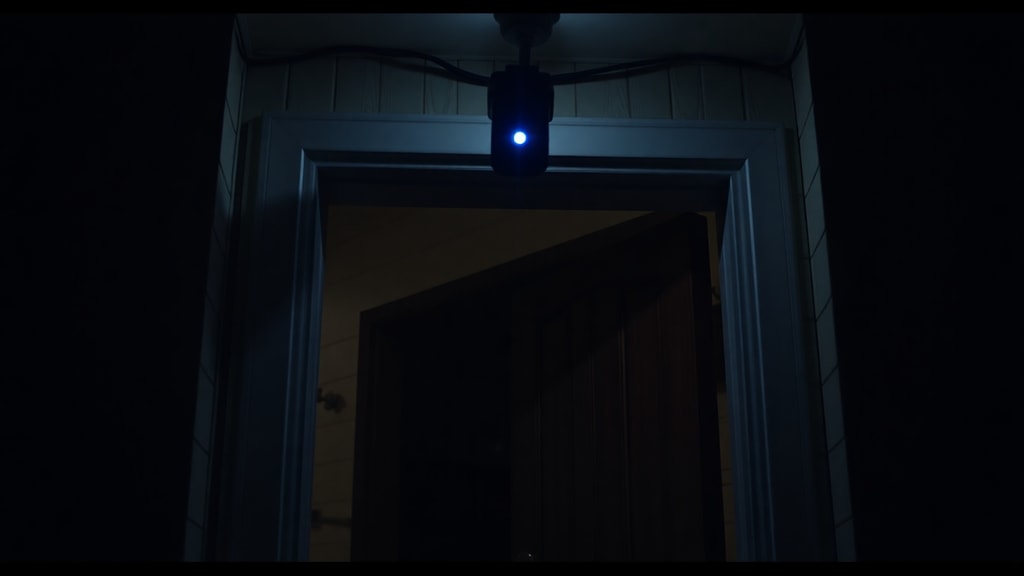
Knowing whether a camera is active is important for home security, privacy, or technical troubleshooting. Many cameras provide clear visual or audible cues that confirm they are powered on and functioning. The most immediate way to tell if a camera is on is by looking for status lights, often called indicator LEDs. These small lights are usually located on the front, top, or side of the camera housing. Depending on the brand and model, the LED may glow red, blue, or green. A steady light often means the camera is connected to power and ready, while a blinking light can indicate that the camera is booting up, recording, or connecting to a network. However, some cameras are designed to operate without visible lights to remain discreet, so you should not rely solely on this method.
Another reliable sign is the behavior of infrared LEDs. Many security cameras use infrared light for night vision. In a completely dark room, cover the camera lens with your hand or a piece of tape. If you see faint red or purple lights glowing around the lens, the camera is powered on and its night vision mode is active. This works because the infrared emitters are usually invisible to the naked eye in normal light, but become visible in total darkness. If you do not see any glowing lights, the camera might be off, or it may not have infrared capability. For cameras that use white light for night vision, you may notice a faint glow from the LEDs themselves when the camera is on.
The network connection also offers clues. For Wi‑Fi cameras, you can check the list of available wireless networks on your smartphone or computer. If the camera is broadcasting its own network name, or if it is connected to your home Wi‑Fi, it will appear in the list. Some cameras have a dedicated SSID that appears only when the device is powered on and in pairing mode. If you see an unfamiliar network name that matches your camera brand, the device likely has power. For wired IP cameras, you can check the activity lights on your router or switch. A blinking link light on the port where the camera is connected indicates that the camera is sending or receiving data. This is a good sign that the camera is on and communicating.
Using Live Feed and Notifications for Confirmation
The most straightforward way to confirm a camera is on is to access its live video stream. If you have the camera app installed on your phone or you can log into the camera through a web browser, try opening the live view. If the feed loads smoothly and you see the current scene, the camera is undoubtedly powered on and connected to the internet. Even if the image shows a black screen due to darkness, the presence of a timestamp, network indicators, or camera settings menu confirms that the device is active. If the app cannot connect or shows an offline error, the camera may be turned off, disconnected from power, or experiencing a network failure.

Motion detection notifications are another practical method. Most modern cameras have a motion detection feature that sends an alert to your phone or email when movement is detected. Stand in front of the camera and wave your hand or walk around. If you receive a notification within a few seconds, the camera is working and recording. This method works even if the camera does not have a visible status light. It also tests the entire system, including the sensor, processing, and network communication. Be mindful that some cameras have a delay, so wait a few moments before assuming the camera is off.
For cameras connected to a network video recorder or a dedicated monitor, check the display. If the monitor shows a live image from the camera or if the recorder indicates that recording is in progress, the camera is on. Many NVRs have a status screen that lists each camera and shows whether it is connected, recording, or offline. A green icon usually means the camera is active, while a red icon may indicate a problem. Similarly, if you have a security system with a central hub, the hub may show a visual or audible indicator when a camera is online.
Physical and Auditory Cues from the Camera
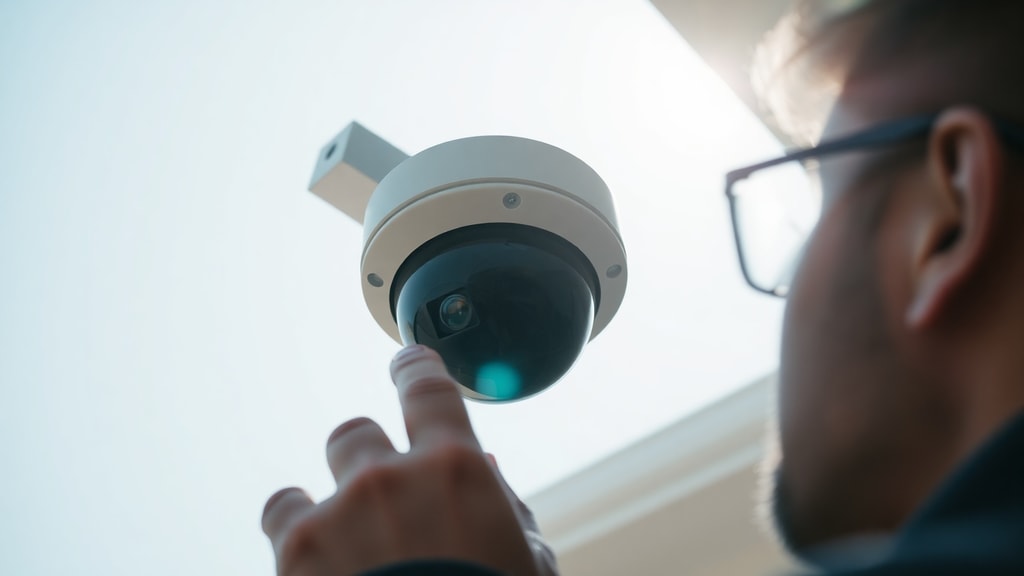
Some cameras produce sounds or movements when they are active. PTZ cameras often make a distinct mechanical humming or whirring noise when they pan, tilt, or zoom. If you hear a soft motor sound coming from the camera, it is receiving power and likely performing a preset scan or responding to a command. Even when idle, many PTZ cameras emit a low hum from their internal cooling fan or motor. Place your ear near the camera to detect these sounds. In a quiet room, the noise can be quite noticeable. However, some modern cameras are designed to be silent, so the absence of sound does not guarantee the camera is off.
You can also check the physical condition of the camera. A camera that feels warm to the touch after being on for a while indicates that internal components are drawing power. Touch the housing gently. If it is warm, the camera is likely on. Be careful not to touch the lens directly. Warmth is especially common in cameras with infrared lights or continuous recording. If the camera is cold and no sounds are audible, it is more likely to be off, though some low‑power cameras can remain cool even when running.

For cameras with mechanical parts, such as those that have a lens cover or a shutter, you may see the cover open automatically when the camera powers on. If you manually move the camera and it does not resist or make noise, it might be unpowered. Many PTZ cameras will resist manual movement when they are on because the internal motors lock in place. If you try to rotate the camera head and it moves freely without any resistance, the camera is probably off.
List of Quick Methods to Determine Camera Status
The following list summarizes the most common and effective techniques for checking whether a camera is on. Each method can be used alone or in combination for a more reliable check.
- Look for a visible indicator LED, typically red, blue, or green, on the camera body.
- In a dark room, check for faint red or purple infrared lights around the lens.
- On your phone or computer, search for the camera’s Wi‑Fi network name in the list of available networks.
- Open the camera app or web interface and try to view the live feed.
- Wave your hand in front of the camera and wait for a motion detection notification on your phone.
- Listen for a mechanical hum or motor noise, especially from PTZ cameras.
- Touch the camera casing to see if it is warm from operation.
- Check the monitor or NVR screen for a video signal or recording indicator.
- Use a professional electronic signal detector if you need a high‑confidence check.
Comparison of Verification Techniques
Below is a table comparing several common verification methods, highlighting their advantages and limitations. This can help you choose the best approach for your situation.
| Method | Speed | Requires Darkness | Requires App Access | Reliability |
|---|---|---|---|---|
| Indicator light check | Instant | No | No | Moderate (lights can be disabled) |
| Infrared LED test | Instant | Yes | No | High (if camera has IR) |
| Live feed access | Fast | No | Yes | Very high (best method) |
| Motion notification | Medium | No | Yes | High (tests full system) |
| Audible noise | Instant | No | No | Low to moderate (depends on camera) |
| Warmth touch | Slow | No | No | Moderate (depends on usage) |
Advanced Electronic Detection Methods
For situations where visual and auditory checks are inconclusive, you can use electronic detection tools. These devices sense the electromagnetic fields emitted by active electronics. A camera that is powered on, even if stealthy, produces a small but measurable electrical signal. Professional bug sweepers and security auditors use such detectors to locate hidden cameras. The device is passed near the suspected camera, and if it beeps or lights up, there is likely an active electronic device. This method is not foolproof because metal objects or other electronics can also trigger false positives, but it adds an extra layer of verification. Keep in mind that these detectors are not commonly available in households and may require some expertise to use correctly.
Network‑Based Checks for IP Cameras
IP cameras that connect to your local network offer another way to check status. You can log into your router’s administration page and look at the list of connected devices. Most routers show the IP address and MAC address of each device. If you see the camera’s MAC address or a known device name, then the camera is powered on and connected to the network. Some routers even show whether the connection is active and the data transfer rate. Additionally, you can use network scanning software on your computer to search for devices on your LAN. A tool like Advanced IP Scanner or Angry IP Scanner will list all active IP addresses. If the camera responds to a ping or shows an open port, it is on. These network methods are very reliable for wired and wireless IP cameras, as they test the device’s communication ability.
Practical Steps for Different Camera Types
Each camera type may require a slightly different approach. For a standard home security camera, start with the indicator light. If you see a solid or blinking LED, the camera is likely on. If the light is off, check the power supply and cable connections. For a small hidden or spy camera, visual cues might be absent, so rely on the infrared test or use your phone camera. Many smartphone cameras can detect infrared light that is invisible to the human eye. Point your phone camera at the lens area in a dark room. If you see a purple or white glow on your phone screen, the camera has infrared LEDs and is on. For a PTZ camera, listen for mechanical sounds and try moving it manually. For a battery‑powered wireless camera, check the battery status in the app. If the battery is dead, the camera cannot be on until recharged. For a camera connected to a DVR or NVR, verify the recorder’s status. Many DVRs have a menu that shows which channels are receiving video. A blank screen with a no‑signal message often means the camera is off or unplugged.
It is also important to know that some cameras have a privacy mode or a schedule that turns them off at certain times. If you suspect the camera should be on but it appears off, check the app settings to see if the camera is disabled or if a time schedule is active. In some systems, the camera may be on but the LED is disabled in settings. This is common for indoor cameras meant to be discreet. Therefore, a lack of visible indicators does not guarantee the camera is off. Always combine multiple methods to increase confidence.
Conclusion
Determining whether a camera is on involves a mix of observation, technology, and practical testing. Start with the simplest signs like indicator lights and infrared glow. Move on to checking the live feed or motion notifications. For cameras that are hidden or have no visible cues, use network scanning or electronic detectors. Each method has its own strengths and weaknesses, so using several together gives the most reliable answer. Understanding these techniques helps you maintain security, protect your privacy, and troubleshoot equipment effectively. Whether you are a homeowner, a renter, or a security professional, these skills are valuable in a world where cameras are everywhere.
References
Verisure. Como saber se uma câmera está ligada: métodos simples para verificar. Available at: https://www.verisure.com.br/blog/como-saber-se-uma-camera-esta-ligada-metodos-simples-para-verificar (Accessed March 2025).
Click Seg. Como identificar se uma câmera está ligada: dicas úteis. Available at: https://clicksegbrasil.com.br/como-identificar-se-uma-camera-esta-ligada-dicas-uteis/ (Accessed March 2025).
MVTEAM CCTV. Teste de IR e movimento para verificação de câmeras. Available at: (source referenced in bullet facts, but no direct URL provided; general knowledge from security camera manuals and field practice).