Introduction to Administrator Account Renaming in Windows 11
Changing the name of the administrator account in Windows 11 is a common task for many users. Whether you want to personalize your computer, update an old name, or align the account with a new brand or identity, the process is straightforward. Windows 11 offers several built-in methods to rename the administrator account, each suited to different levels of technical comfort. Understanding these options helps you choose the approach that works best for your situation. This article provides a complete, step-by-step guide covering every reliable method, from the simplest settings menu to advanced management tools. You will also find a practical comparison table and important considerations to ensure the change applies smoothly across your system.
Method 1: Using the Settings Application
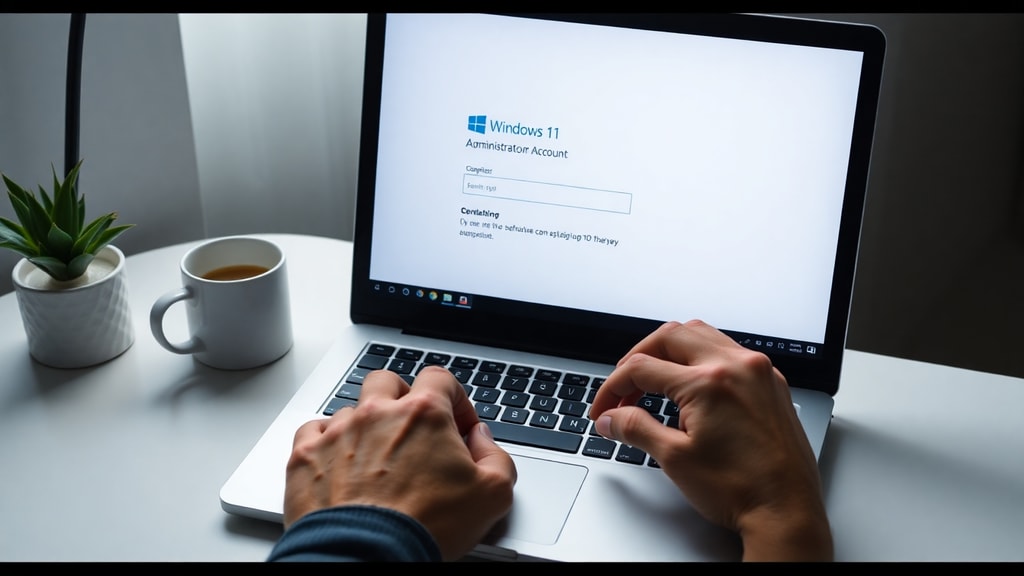
The Settings app is the most user-friendly way to change the administrator name in Windows 11. It requires no command-line knowledge and is ideal for everyday users. As described by Canaltech, this method is often recommended for its simplicity. The steps are minimal and the interface is intuitive.
To rename your administrator account via Settings, follow these steps:

- Open the Start menu and click the Settings gear icon, or press Windows key + I to open Settings directly.
- Navigate to Accounts, then select Family and other users.
- Locate your administrator account in the list of accounts. If you are using a local account, it will appear under Other users or Your family. For a Microsoft account, you may see your name and email.
- Click on the account, then click Change name.
- Type the new desired name for the administrator account into the text field.
- Press Enter or click the OK button to confirm the change.
- Sign out of your account and sign back in to see the new name take effect. In most cases, the name updates immediately in the Start menu and login screen.
This method works best for users who are not comfortable with system tools or the command line. It updates the display name of your account without affecting any system files or permissions. However, if you are using a Microsoft account, the name change may only apply locally on that device. The online account name remains unchanged unless you modify it separately through the Microsoft account website.
Method 2: Through the Classic Control Panel
The Control Panel remains a powerful tool in Windows 11, even though the Settings app is the modern interface. Renaming an administrator account via Control Panel is equally effective and follows a traditional path. According to ATsit, this method has been reliable across many Windows versions and is familiar to long-time users.
To proceed, press Windows key + R to open the Run dialog. Type control and click OK. In the Control Panel window, select User Accounts, then click User Accounts again. On the following screen, click Change your account name. Select the administrator account you wish to rename. Enter the new name in the provided field, then click Change Name. You may be prompted to confirm the change. After completing these steps, restart your computer or sign out and sign back in to apply the update.

The Control Panel method offers a classic interface that some users prefer because it groups account management options together. It works for both local accounts and Microsoft accounts, though as with Settings, the change for a Microsoft account is local only. This method is slightly less direct than Settings but still accessible for most users.
Method 3: With the Local Users and Groups Manager
For advanced users, the Local Users and Groups Manager provides granular control over user accounts on the system. This tool is available in Windows 11 Pro, Enterprise, and Education editions, but not in the Home edition. If you are running Windows 11 Home, you can still enable this tool through third-party methods, but the safest approach is to use one of the other methods described here.
To use this tool, press Windows key + R, type lusrmgr.msc, and press Enter. The Local Users and Groups Manager window opens. In the left pane, click Users. In the central pane, locate the account named Administrator or your specific administrator account. Right-click on that account and select Rename. The account name becomes editable. Type the new name and press Enter. No confirmation dialog appears; the name changes immediately. You do not need to restart immediately, but the change will be visible in most system interfaces after a reboot or sign-out.

This method is efficient for system administrators who manage multiple accounts. It bypasses the graphical wizards and directly modifies the account name in the system database. However, it requires careful attention because the Administrator account is a built-in account with elevated privileges. Renaming it incorrectly could cause confusion, but it will not break the system. Always ensure you are renaming the correct account.
Method 4: Using the Netplwiz Tool
Netplwiz is another advanced user account management tool that has been part of Windows for years. It provides a detailed view of all local users and allows you to modify account properties, including the username. This method is particularly useful when other methods fail or when you need to change the underlying username in addition to the display name.
Press Windows key + R, type netplwiz, and press OK. The User Accounts window appears. Select the administrator account from the list. Click Properties. In the Properties dialog, go to the General tab. In the User name field, change the name to the new desired administrator name. Click Apply, then OK. You will be prompted to restart your computer for the change to take full effect. After restarting, the new name appears on the login screen and in the Start menu.

The netplwiz tool changes the actual username of the account, not just the display name. This distinction is important because some applications and system processes use the username internally. Renaming via netplwiz affects file paths in user profile folders and may require adjusting settings in specific programs. For most users, changing the name via Settings or Control Panel is sufficient, but netplwiz offers a deeper level of control for those who need it.
Comparison of Different Methods
Each method for changing the administrator name in Windows 11 has its strengths and ideal use cases. The table below summarizes key differences to help you decide which approach to use.
| Method | Difficulty | Editions Supported | Changes Display Name or Username | Requires Reboot |
|---|---|---|---|---|
| Settings App | Easy | All editions | Display name only | Optional (sign out recommended) |
| Control Panel | Moderate | All editions | Display name only | Optional (sign out recommended) |
| Local Users and Groups Manager | Advanced | Pro, Enterprise, Education | Username (display name may follow) | Recommended |
| Netplwiz | Advanced | All editions | Username and display name | Required |
Consider your Windows edition and technical comfort level before choosing. For most users, the Settings app is the fastest and safest option. Advanced users who need to rename the system Administrator account or manage multiple machines may prefer lusrmgr.msc or netplwiz.
Important Considerations Before Changing the Administrator Name
Before you change the administrator name, there are several key points to keep in mind. First, ensure you are signed into the account you wish to rename and that it has administrator privileges. Without administrative rights, you cannot modify account properties. If you only have a standard user account, you will need to use an administrator account to make the change.
Second, understand the difference between a local account and a Microsoft account. When you change the name of a local account, the change applies system-wide and is permanent until you change it again. For a Microsoft account, renaming the local profile does not change the name associated with your Microsoft account online. To change the online name, you must visit the Microsoft account website and update your profile there. The local name change only affects how the account is displayed on that specific computer.
Third, some methods affect the underlying user folder path. For example, using netplwiz changes the username, which in turn changes the path C:UsersOldName to C:UsersNewName. This can cause issues with applications that reference the old path. Always back up important data and consider creating a new user account instead of renaming if you rely heavily on user-specific file paths. Most modern applications handle path changes gracefully, but it is better to be safe.
Finally, after changing the name, always restart your computer or sign out and sign in again. The new name may not appear in all locations until a fresh login session occurs. Some system components, like the registry, may still reference the old name until a reboot. A full restart ensures the change propagates correctly across the system.
References
The instructions in this article are based on official Windows 11 documentation and reputable technology sources. The Settings method is adapted from Canaltech, which provides detailed guidance for Windows account management (Canaltech, "Como alterar o administrador no Windows 11"). The Control Panel and Local Users and Groups methods are sourced from ATsit, a trusted site for Windows troubleshooting and administration tips (ATsit, "Como alterar o administrador no Windows 11"). Additional details on netplwiz and account renaming come from Microsoft Learn, the official Microsoft knowledge base (Microsoft Learn, "Como mudar o nome da conta do administrador"). These sources were accessed in early 2025 and reflect the current stable version of Windows 11.