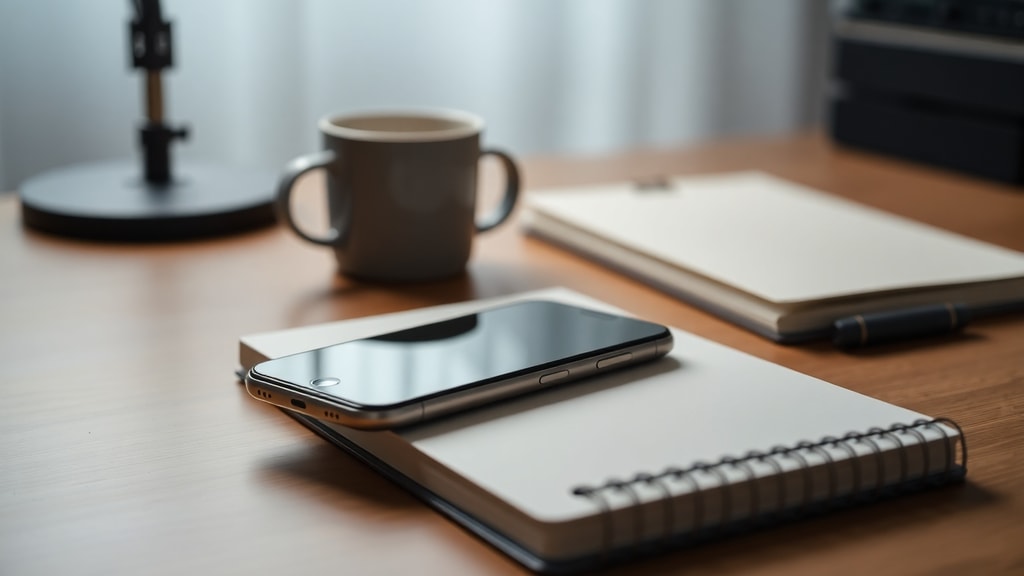
Using the Built-in Voice Recorder
Every modern smartphone includes a preinstalled voice or audio recorder app. This app is often labeled "Gravador" on devices with Portuguese language settings, or simply "Voice Recorder" in English. You can find it in the app drawer or inside a folder named "Google" or "Tools." Tapping the app opens a clean interface that usually shows a large red record button. There is no need to install any extra software if you only want to capture ambient sound. Simply press the record button and your phone will start picking up the surrounding audio. The app stores the file in a common format such as MP3 or AAC, and you can rename or share it later. This method is ideal for quick recordings like lecture notes, meeting reminders, or environmental sounds. For better results, you should first clean the microphone opening on the bottom of the phone. A small piece of dust can degrade the audio quality significantly. If you are using a case, ensure it does not block the microphone. The built-in recorder also offers basic controls like pause and stop. Some models allow you to switch between different microphone modes, such as mono or stereo, but the default setting works fine for most ambient recordings. For more tips on setting up the voice recorder, you can check the official support guide.
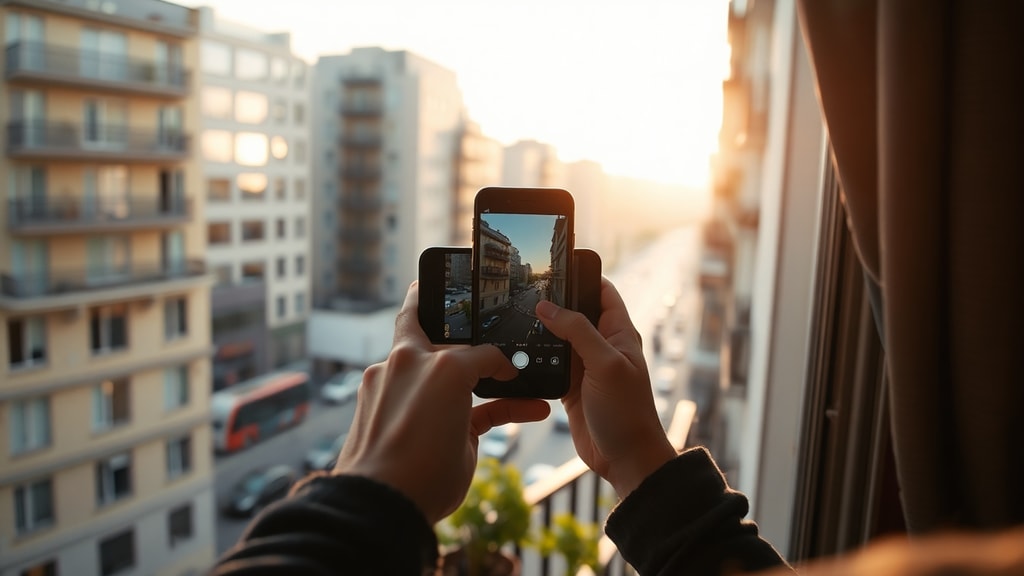
Positioning Your Phone for Best Audio
Where you hold the phone matters more than you might think. For podcasts, speeches, or any recording where your voice is the main focus, keep the phone 15 to 25 centimeters away from your mouth. This distance reduces plosive sounds like "p" and "b" while still capturing clear speech. If you are recording ambient sound only, such as birds singing or street noises, you do not need to hold it close. Instead, place the phone on a stable surface or tripod to avoid handling noise. Never cover the microphone with your finger or palm. The microphone is usually located at the bottom edge of the phone, near the charging port. Some phones have an additional microphone on the back. Check your device manual to locate the primary mic. When holding the phone, grip the sides firmly and keep your fingers away from the bottom. If you are using a stand, make sure the phone is not vibrating. Even a small shake can create low rumble in the recording. The key is to maintain a consistent distance and angle. For ambient recordings that include both foreground and background sounds, you may want to move the phone around to test different positions before starting the final take. This step helps you choose the position that delivers the most balanced audio.
Minimizing Interference with Airplane Mode
Cellular signals, notifications, and background apps can introduce unwanted noise into your recording. A sudden text alert or an incoming call can ruin a perfect take. The simplest solution is to enable Airplane Mode on your phone before you start recording. This disables the cellular radio, Wi-Fi, and Bluetooth, completely silencing all network activity. If you need internet access during the recording, for example to consult research notes or use a cloud-based app, you can turn off only the mobile data while keeping Wi-Fi on. Many recording apps also have a "do not disturb" mode that blocks notifications. You can activate that separately. However, Airplane Mode is more reliable because it stops all radio transmissions that could cause electromagnetic interference with the microphone. Some users report a faint buzzing when the phone is connected to a cellular network. Turning off data and switching to airplane mode eliminates this buzz. Additionally, closing unnecessary apps frees up processing power and reduces the chance of the phone overheating during a long recording. Make it a habit to set your phone to Airplane Mode each time you plan a serious audio capture. After the recording is saved, you can re-enable the connection. This small action significantly improves the signal-to-noise ratio of your final file.
Choosing the Optimal Environment
The space where you record has a direct impact on the quality of your ambient audio. Hard surfaces such as bare walls, tile floors, and glass windows create echo and reverberation. Soft surfaces absorb sound and reduce these reflections. For the best results, choose a room with carpeting, thick curtains, or upholstered furniture. A walk-in closet full of clothes works exceptionally well because the fabric absorbs excess noise. This is often called a "dead" room. Avoid recording in rooms with large empty spaces, high ceilings, or metal furniture. If you cannot move to a better room, you can improvise by hanging blankets on walls or placing pillows around the phone. Constant noise sources are another enemy of clean ambient audio. Turn off air conditioners, fans, heaters, and refrigerators before you start. Close windows that face busy streets. If the room has a noisy ventilation system, cover the vents with a towel temporarily. Even a ticking clock or a dripping faucet can become a distraction in the final recording. You should also listen for intermittent noises like a dog barking or a car passing. Sometimes these sounds are part of the ambient atmosphere you want to capture. In that case, plan the recording time accordingly. For example, record in early morning when traffic is lighter. Choosing the environment is a strategic decision. You cannot easily remove background noise after recording, so prevention is far more effective than post-processing.
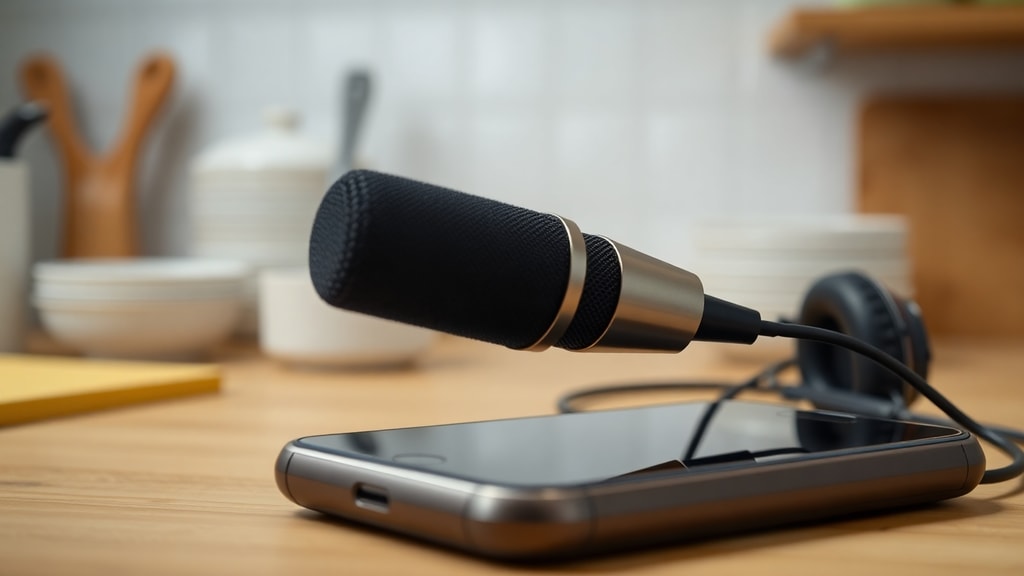
Leveraging Screen Recorder Apps
Screen recorder apps are not just for capturing video of your screen. Many of them include an option to record audio from the phone's internal microphone, which picks up ambient sound. Apps like AZ Screen Recorder and DU Recorder allow you to choose the audio source: microphone only, internal audio, or both. If you want to capture ambient sound while also recording what is playing on the phone (for example, a video response or a live stream), these apps are very useful. You can set the video resolution low to save storage space, since you only need the audio track. After recording, you can extract the audio using a video converter. However, note that screen recorder apps often compress the audio, which may lower quality compared to a dedicated audio app. For casual use, they are perfectly acceptable. Always test the audio settings before the actual recording. Some apps have a limit on recording duration or add a watermark unless you pay. Check the permissions required: the app needs access to the microphone and storage. If you are concerned about privacy, use an open-source recorder instead. For most users, the convenience of having both video and audio in one tool outweighs the slight loss in fidelity. Just remember to enable the microphone in the app settings. By default, some screen recorders record system audio only. Toggle the options to ensure ambient sounds are included.
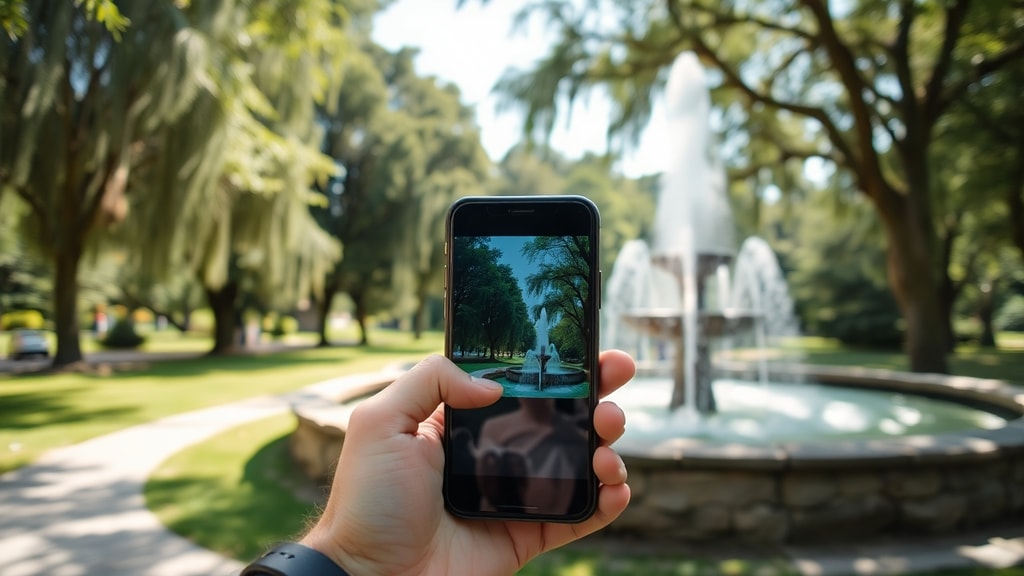
Tips for Recording in Large Spaces
Large rooms, auditoriums, or outdoor areas present a challenge because sound waves spread out and lose clarity. If you are recording a speaker or an event in a big space, position the phone as close to the source as possible. For example, place it on a table near the speaker's podium rather than in the back row. The phone's tiny microphone is not designed to capture sound from far away. You may also try propping the phone on a small stand to raise it above the level of the audience. This reduces the pickup of shuffling feet and chair noises. If you are recording ambient sound in a large hall, move the phone around during a test minute and listen to the result. You might find that a spot near the center of the room captures a better balance of direct and reflected sound. For outdoor ambient recordings, such as nature sounds, you can place the phone on the ground or on a low tripod. Avoid pointing the microphone into the wind; a simple foam windscreen can be attached to the phone to reduce wind noise. Even a thin piece of fabric over the microphone opening helps. In very large spaces, the ambient sound may include echo. You can minimize this by recording close to sound-absorbing objects like trees, walls with fabric, or people. The rule of thumb is: the farther the mic is from the source, the more room sound you will get. Decide whether you want that effect or not.
Key Tips at a Glance
To summarize the main points, here is a list of actionable steps that will improve your ambient audio recordings: 1. Use the built-in voice recorder app unless you need special features. 2. Position the phone 15–25 cm from your mouth for voice recordings. 3. Enable Airplane Mode to block notifications and network interference. 4. Choose a quiet room with soft furnishings to reduce echo. 5. Turn off fans, AC, and other constant noise sources. 6. For large spaces, get the phone as close to the sound source as possible. 7. Consider a screen recorder app if you also need to capture on-screen activity. 8. Always test-record a short sample and listen before the final take.
Comparison of Built-in Recorder vs Screen Recorder for Ambient Audio
Feature : Built-in Voice Recorder : Screen Recorder App. File Size : Small (audio only) : Larger (video + audio). Audio Quality : Usually high, uncompressed or medium compression : Often compressed, lower quality. Additional Features : Basic editing, sharing, pause : Screen capture, internal audio, video overlay. Ease of Use : One tap to record : Requires app setup and permissions. Best For : Quick, high-quality ambient recordings : Combining ambient sound with screen activity or live commentary.
Conclusion
Recording ambient