The Importance of Lighting in Home Photography
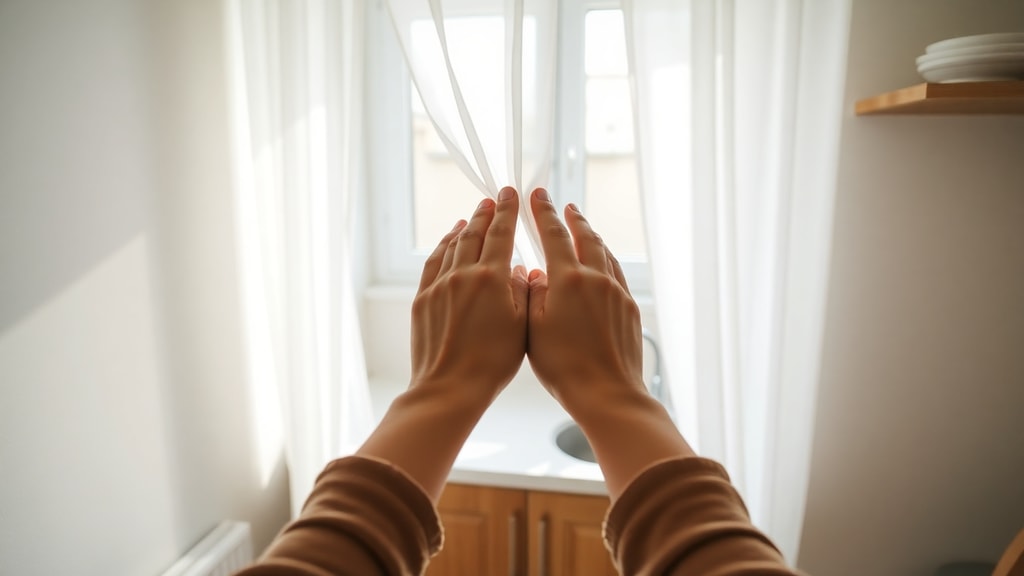
Natural light is the single most powerful tool in home photography. It is free, abundant, and when used correctly, it transforms a room. The best times to shoot are early morning and late afternoon when the sun is low and soft. During these hours, light enters windows at a gentle angle, casting pleasant shadows and warming up the colors in the room. Midday sunlight can be harsh and create strong contrasts that are difficult for cameras to handle. To make the most of natural light, open all curtains, blinds, and shutters. If a room faces a particularly bright window, consider shooting with the light coming from the side rather than directly behind the camera.
Artificial lighting also plays a role. Turn on every light fixture in the house, including lamps, ceiling lights, and even bathroom vanity lights. This brightens dark corners and creates a welcoming glow. Combining natural and artificial light gives a room depth and dimension. Avoid mixing color temperatures, as different bulbs can cast conflicting tones. For the best results, use bulbs with a similar color temperature throughout the home, preferably warm white. Another effective technique is to use a reflector, such as a white foam board, to bounce light into shadowed areas under tables or in corners. This softens the overall look and reduces unflattering dark spots. If you have windows on only one side of a room, place the reflector on the opposite side to bounce light back into the space. Small adjustments like these can dramatically improve the quality of your images without requiring expensive equipment.
- Shoot during the golden hours, early morning or late afternoon, for softer natural light.
- Open all window coverings to let in maximum daylight.
- Turn on every light in the house to brighten dark areas.
- Use side lighting from windows to create depth and texture.
- Avoid mixing warm and cool light sources in the same shot.
- Consider using a reflector or white board to bounce light into shadowed areas.
For more detailed advice on using natural light effectively, you can refer to guidelines from hoz.com.br, which emphasizes the importance of daytime shooting and maximizing natural illumination to achieve bright, inviting interiors.
Decluttering and Staging Your Space
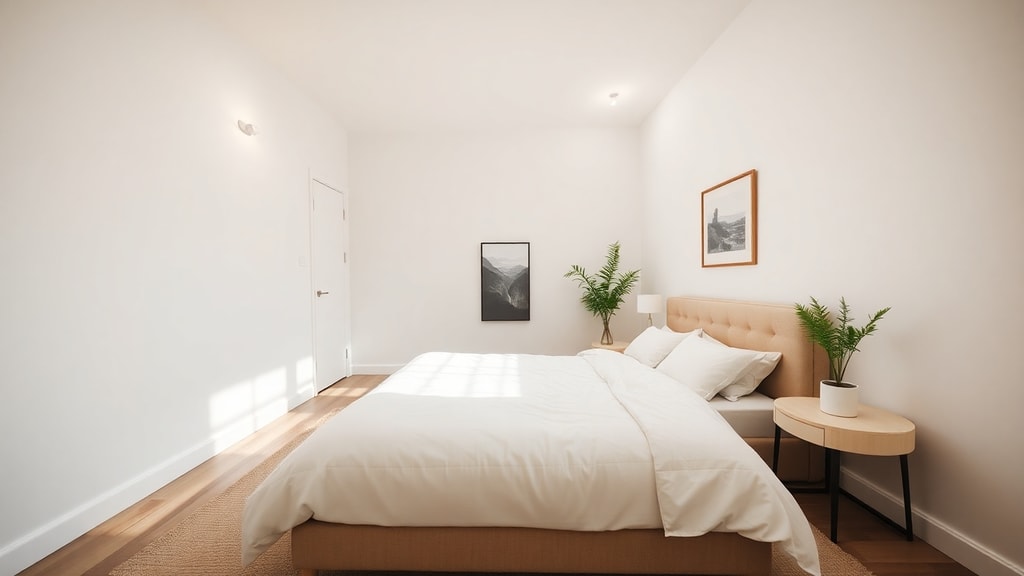
Before you take a single photo, your home needs to be clean and free of distractions. Personal items such as toothbrushes, mail, pet toys, and clothing should be removed from visible areas. A clutter-free space allows potential buyers or viewers to imagine themselves living there. Staging does not mean removing everything, but rather arranging furniture and decor in a way that feels open and inviting. Start by dusting all surfaces, vacuuming floors, and wiping down countertops. Pay attention to details like smudged mirrors, dirty dishes, and overflowing trash bins. Make beds, fluff pillows, and arrange throws neatly. In the kitchen, remove small appliances from the counter and leave only a few decorative items. In the bathroom, put away toiletries and display fresh towels. A clean home photographs better and feels more spacious.
Decluttering also applies to outdoor areas. Sweep patios, trim overgrown plants, and remove garden hoses or toys. The exterior of your home is the first thing viewers see, so it should look tidy and well-maintained. Beyond cleaning, consider rearranging furniture to improve flow. Pull sofas away from walls slightly, create clear pathways, and remove oversized pieces that dominate a room. In smaller rooms, consider removing a few items to make the space feel larger. If you have neutral colored walls and furniture, add small pops of color with cushions or fresh flowers to create visual interest without overwhelming the frame. Each room should tell a story of comfort and functionality. When staging, think about what a viewer would want to see: clean lines, open space, and a sense of calm. Avoid over-accessorizing, as too many objects can distract the eye and make a room look busy. The goal is to present a blank canvas that feels lived in but not crowded. Taking before and after photos can help you see the improvements and adjust as needed.
For additional insights on preparing your home for photography, the team at homify.pt offers practical advice on removing personal items and ensuring the house is spotless before shooting, which is a critical step for professional results.
Camera Techniques for Professional Results
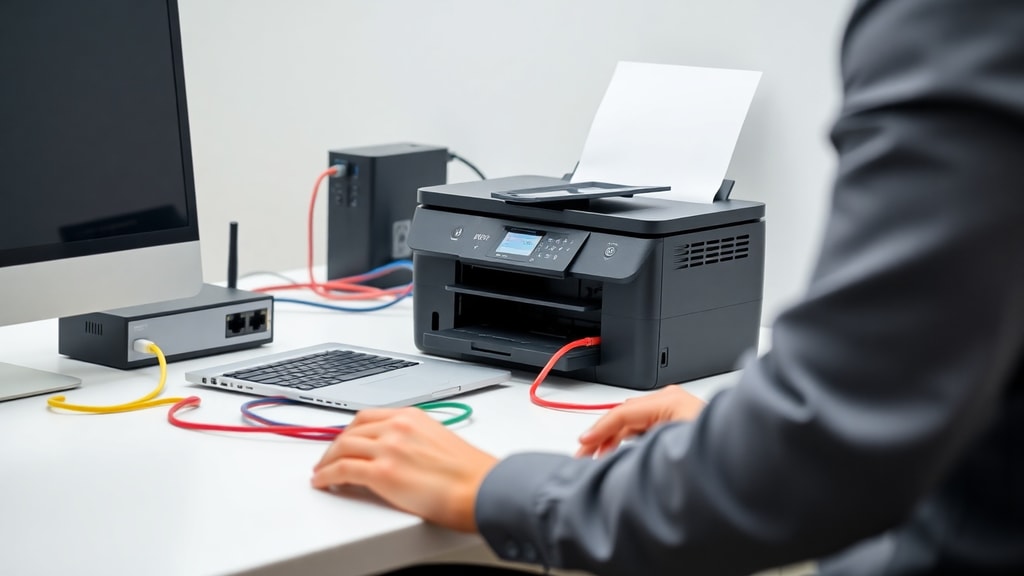
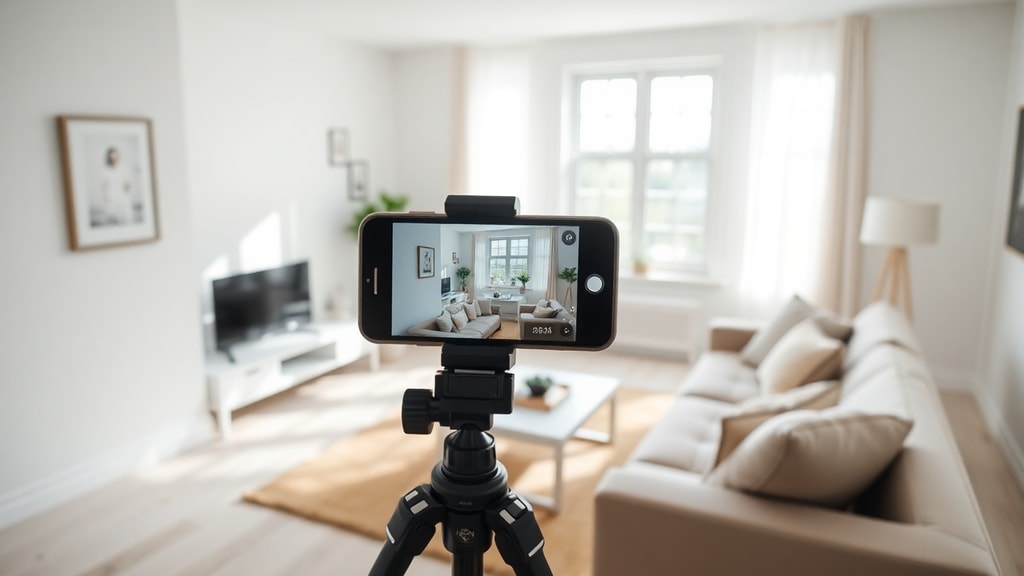
While modern smartphones are capable of taking excellent photos, using a few camera techniques can elevate your results to a professional level. One of the most important habits is to keep the camera steady. Use both hands to hold the phone or, even better, mount it on a tripod. A tripod eliminates blur caused by shaky hands and ensures that each shot is level and consistent. If you are using a DSLR or mirrorless camera, a tripod is essential for long exposures and low-light situations. Another key technique is to shoot in landscape orientation, also known as horizontal mode. Landscape orientation mimics the way human eyes naturally perceive a room, providing a wider and more panoramic view. Vertical photos tend to cut off important details on the sides and make spaces look smaller. Most real estate professionals recommend landscape orientation for interior shots.
Beyond orientation, pay attention to focus and exposure. Tap on the screen to set focus on a mid-toned area of the room, such as a wall or piece of furniture, rather than a bright window or dark corner. This helps the camera balance the exposure across the entire frame. If your camera has an HDR mode, use it for rooms with high contrast, such as those with large windows. HDR combines multiple exposures to capture details in both bright and shadow areas. Avoid using digital zoom, as it reduces image quality. Instead, physically move closer or use a wide-angle attachment. Many smartphones now have a dedicated night mode for low light, but for interiors, it is better to rely on good lighting and a steady hand. If you are using a DSLR or mirrorless camera, a wide-angle lens with a focal length between 16mm and 24mm is ideal for capturing entire rooms. Set the aperture to around f/8 for maximum sharpness and depth of field. Keep the ISO as low as possible, ideally between 100 and 400, to minimize noise and grain.
| Scenario | Recommended Setting or Technique |
|---|---|
| Bright daylight room | Use a low ISO (100-200) to reduce noise; aperture around f/8 for sharpness |
| Low-light interior | Use a tripod to allow slower shutter speed; keep ISO low to avoid grain |
| Wide-angle shot | Use a wide-angle lens or smartphone wide mode to capture the full room |
| Close-up detail | Use macro mode or lens; ensure good lighting to highlight texture |
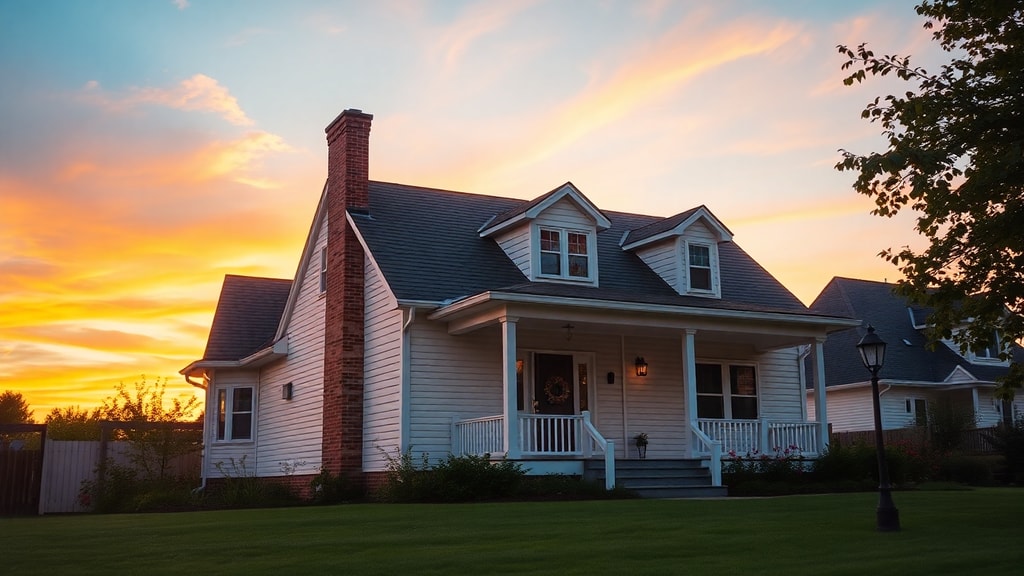
| Exterior shot | Shoot during golden hour; use HDR mode to balance sky and building exposure |
| Night or evening | Use a tripod and longer exposure; turn on all interior lights for warmth |
Using these settings will help you capture clear, well-exposed images that look professional and inviting, regardless of the equipment you are using.
Composition and Camera Angles
How you position the camera within a room has a huge impact on the final image. The most effective technique is to shoot from a corner of the room, pointing diagonally toward the opposite corner. This approach creates a sense of depth and makes the space appear larger and more expansive. It also allows the camera to capture two walls, the floor, and the ceiling, giving viewers a complete sense of the room. Avoid shooting directly against a wall or from the center of the room. These angles tend to flatten the space and make it feel cramped. Instead, look for a corner that offers the best view of the room's key features, such as a fireplace, large window, or architectural detail. Keep the camera level, with the horizon line straight, to avoid distortion. Many cameras and smartphones have a grid overlay feature that you can enable to help keep lines straight. Align the horizontal grid lines with the floor or ceiling lines for perfect balance.
Height is another important factor. Shoot at eye level or chest level, approximately 1.2 to 1.5 meters from the floor. This height closely matches how a person would naturally view the room when standing. Avoid very high angles, such as shooting from above furniture, as this can make the room feel small and unnatural. Similarly, avoid shooting from too low, which can exaggerate ceiling height and distort proportions. If a room has a particularly attractive ceiling detail, such as exposed beams or a chandelier, you can tilt the camera slightly upward, but keep the distortion minimal. For rooms with low ceilings, shooting from a slightly lower height can make the ceiling appear taller. Always take test shots and review them on a larger screen before committing to a series of photos. Composition is not just about angle, but also about what you include in the frame. Remove any items that stick out from the edges, such as lampshades or plants, as they can distract the eye. Frame the shot to include the most attractive elements of the room while excluding less desirable areas like trash cans or utility doors.
Choosing the Right Orientation and Height
As mentioned earlier, landscape orientation is the standard for professional home photography. It aligns with the natural horizontal field of vision and allows viewers to see more of the room in a single frame. Vertical orientation, on the other hand, can be useful for capturing tall features like floor-to-ceiling windows or a grand staircase, but for most interior shots, landscape is the better choice. When shooting in landscape mode, hold the camera so that the long edge is horizontal. This format is also ideal for online listings and social media platforms, which typically display landscape images more prominently. If you plan to use the photos in a printed brochure or portfolio, landscape images are easier to arrange on a page.

The height at which you hold the camera should remain consistent across all shots. A consistent height creates a cohesive visual story and makes it easier for viewers to compare rooms. If you are using a tripod, set it to the same height for every interior shot. This consistency also helps when editing or compiling images for a listing or album. Some photographers recommend shooting at a height of about 1.2 meters for standard rooms and slightly lower for rooms with lower ceilings. Experiment with a few test shots to find the height that best represents the space. Always review your images on a larger screen to check for distortion or uneven lines. If you notice that vertical lines are converging, it means the camera is tilted. Use the grid overlay or a hot shoe level to ensure perfect alignment. Consistent height and orientation not only improve the visual quality but also make the entire set of photos look more professional and intentional.
Creating a Logical Flow for Your Photo Tour
When photographing your home, it helps to follow a logical sequence that mirrors how a visitor would naturally walk through the property. Start with the exterior, including the front facade, entrance, and any outdoor living spaces. Then move inside, beginning with the living room or main gathering area. Continue into the kitchen, dining area, bedrooms, and bathrooms. Finish with any additional spaces like a home office, laundry room, or backyard. This order helps viewers build a mental map of the home and makes the photo set feel organized and professional. It also ensures that you do not miss any important areas. Take multiple shots of each room from different angles, but be selective about which ones you include in the final set. Quality matters more than quantity. For each room, choose the best two or three images that show the space from its most flattering angles.
While photographing, pay attention to details that add value, such as built-in shelving, updated fixtures, or a view from a window. These details can be the deciding factor for a potential buyer or renter. Do not forget transitional spaces like hallways and staircases, as they connect the rooms and contribute to the overall flow. If your home has unique architectural features, such as archways or crown molding, capture them from angles that highlight their character. For outdoor areas, include wide shots of the garden or patio as well as close-ups of landscaping or seating areas. The sequence should tell a story that invites viewers to imagine themselves living in the space. When editing the final set, arrange the images in the same logical order so that viewers can easily follow the tour. A well-organized photo set can significantly increase engagement and interest in the property.
Final Tips and Equipment
Beyond the basics, a few additional tools and habits can improve your home photography. A tripod is the most valuable accessory you can use, as it provides stability and allows for consistent framing. A wide-angle lens attachment for smartphones can help capture more of a room without distorting edges. If you are using a camera, a wide-angle lens with a focal length of 16-24mm is ideal for interior shots. Cleaning the lens before shooting is a simple step that many people overlook. A smudged lens will soften images and reduce contrast. Use a microfiber cloth to gently wipe the lens before each session. Editing software can also enhance your photos. Basic adjustments like brightness, contrast, and white balance can correct minor issues and make images pop. Avoid over-editing, as unnatural colors or exaggerated sharpness can deter viewers. A subtle increase in saturation and clarity is usually enough to make the image look vibrant without appearing fake.
Practice is the most important factor. The more you photograph your home, the better you will understand how light moves through the space, which angles work best, and how to stage each room effectively. Experiment with different times of day and lighting conditions to see what works for each room. Keep a record of your settings and compositions so you can replicate successful shots in the future. If you are using a smartphone, explore its manual mode or use third-party camera apps that give you more control over exposure and focus. Do not be afraid to take many photos and then cull them down to the best ones. With time and attention to detail, you will be able to produce images that rival those taken by professional real estate photographers.
References
This article was informed by a number of trusted sources in real estate photography and home staging. For further reading on natural light usage and daytime shooting, visit hoz.com.br. Tips on decluttering and preparing your home for photography can be found at homify.pt. Additional guidance on camera orientation and shooting techniques is available from g1.globo.com and revistacasaejardim.globo.com. Corner shooting methods and height recommendations are detailed by inmoedit.com. Lighting and room-by-room advice was also referenced from blog.hcpro.pt. These sources provide practical, field-tested advice for anyone looking to improve their home photography skills.