Introduction to Setting Up Printers and Scanners
Setting up a printer or scanner for the first time can feel like a leap into the unknown, especially when you are faced with a new device, a tangle of cables, and an operating system that seems to speak a language of its own. The good news is that modern printers and scanners are designed to be plugged in and used quickly, and the process has become far more intuitive over the years. Whether you are a home user trying to print a document or a small office worker scanning receipts, understanding the basic setup steps will save you time and frustration. This guide covers the most common methods for connecting printers and scanners to a Windows PC, a network, and even a Chromebook. We will walk through USB connections, wireless setup via Windows Settings, manual IP configuration, network sharing, and the specific steps for Chromebook users. Along the way, you will find practical tips for troubleshooting and a comparison table that helps you decide which connection method fits your situation best.
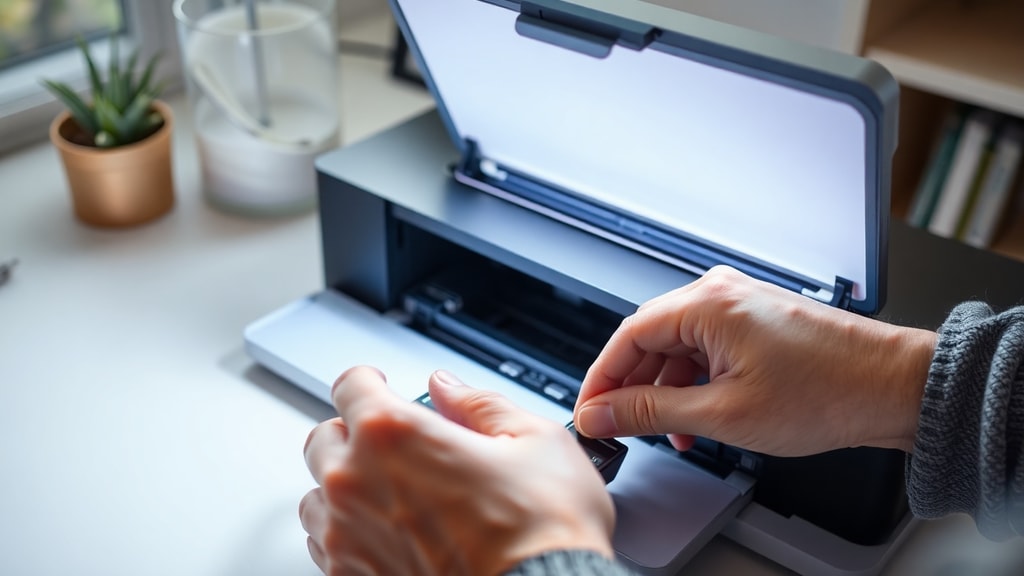
Connecting a Printer or Scanner via USB
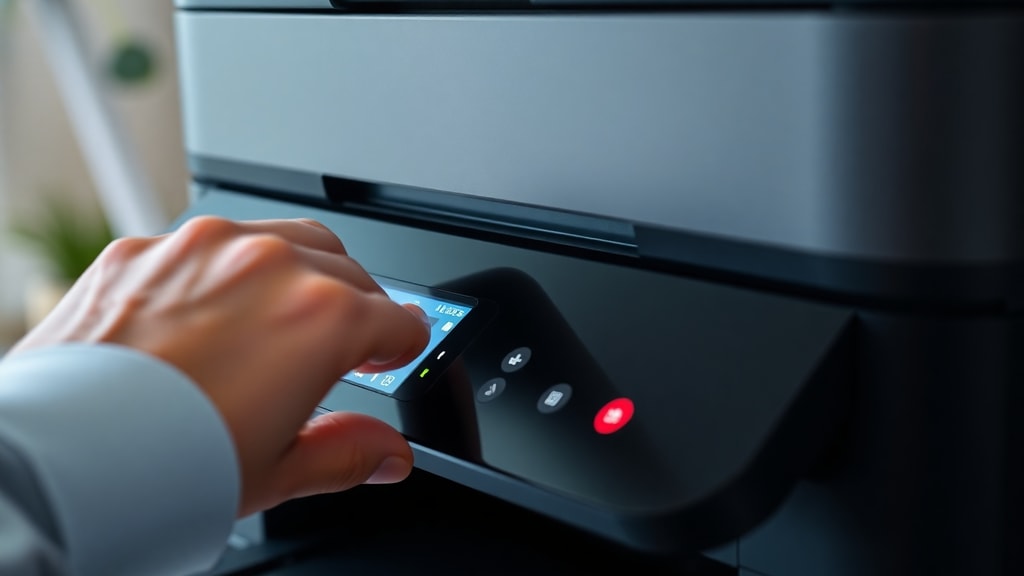
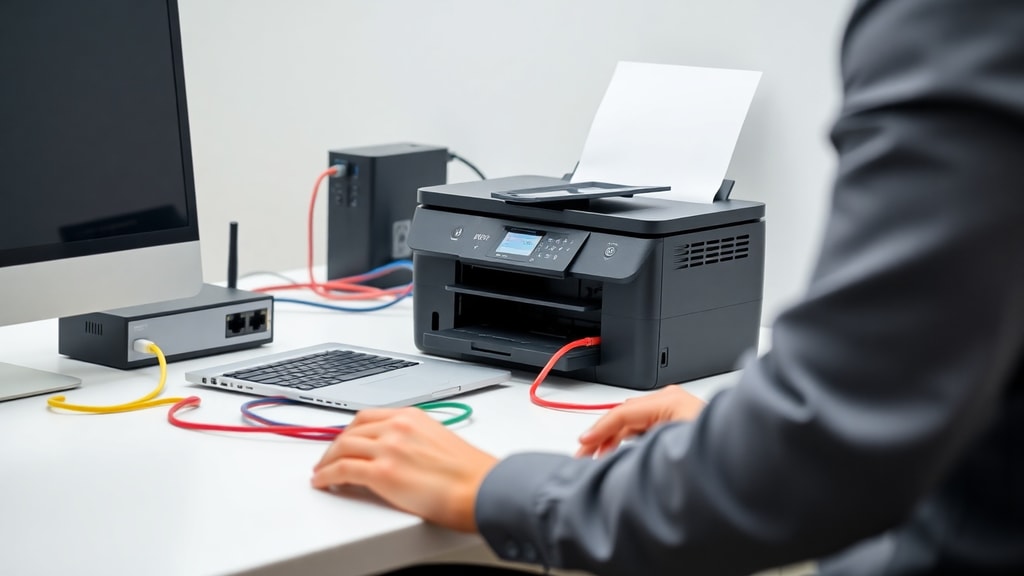
The simplest and most reliable way to connect a printer or scanner is through a USB cable. Most devices still come with a standard USB‑A to USB‑B cable, and almost every computer has at least one USB port. To begin, locate an available USB port on your computer and plug the printer or scanner USB cable directly into it. Then power on the device. In many cases, Windows will automatically detect the new hardware and begin installing the necessary drivers. This auto‑detection works for a large number of modern printers and scanners because the operating system includes generic drivers that support common models. If Windows does not find a driver automatically, you can visit the manufacturer's website to download the correct software. One important tip is to always install the driver from an official source, as third‑party driver download sites can carry malware. After the driver is installed, you can verify that the device is ready by going to Start > Settings > Devices > Printers & scanners and checking if your model appears in the list. If it does, you are good to go. For scanners, you may also need to open the Windows Scan app or a manufacturer‑specific utility to start scanning. The USB method is ideal when you need a fast, stable connection and you are not sharing the device with multiple computers.
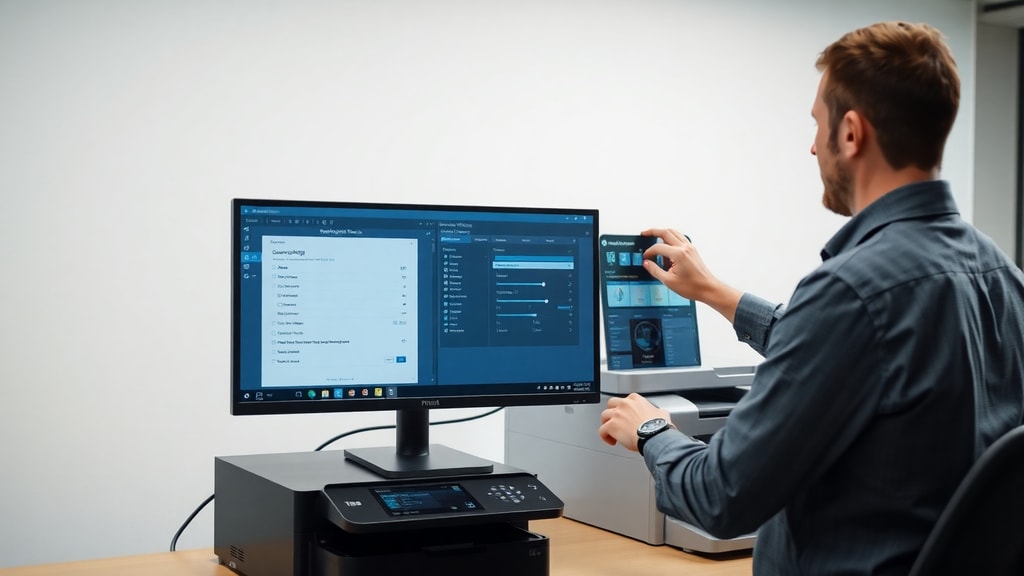
Adding a Device via Windows Settings – Network or Bluetooth
Wireless printers and scanners have become very common, and Windows offers a straightforward way to add them over Wi‑Fi or Bluetooth. The first step is to ensure your printer or scanner is powered on and connected to the same network as your computer – either through its own Wi‑Fi setup or via a wired Ethernet connection. For Bluetooth devices, make sure the computer's Bluetooth is turned on and the device is in pairing mode. On your Windows PC, navigate to Start > Settings > Devices > Printers & scanners. Click the button that says Add a printer or scanner. Windows will search for any nearby devices that are advertising themselves on the network. If your printer appears in the list, simply click on it and follow the on‑screen instructions to add it. If it does not show up, do not worry. You can click the link that says The device I want isn't listed to open a manual setup wizard. This wizard lets you choose alternative methods, such as adding by IP address or browsing the network. Note that for some older printers, you may need to install the manufacturer's software first, especially if the printer uses a proprietary network protocol. Microsoft Learn provides detailed assistance for this process, including handling situations where the printer has a static IP address. Once the printer is added, you may be asked to set it as the default device. For scanners, the same settings panel can be used, but some scanner drivers require you to access the scanner through the Windows Scan app after the device is added. Overall, the network or Bluetooth method is perfect for avoiding cable clutter and for sharing the device across multiple computers without physically moving it.
Setting Up a Network Printer Using an IP Address
Advanced network printers, especially those used in small offices or over corporate networks, often require a manual setup using the printer's IP address. This method is useful when the printer does not appear in the automatic list, or when you need to connect to a device that is on a different subnet. First, you need to find the printer's IP address. Many network printers have a small display panel where you can navigate to a network settings page and see the IP; alternatively, you can print a configuration page directly from the printer. Once you have the IP address (for example, 192.168.1.100), go to your Windows PC and open Control Panel > Devices and Printers. Click Add a printer and then select Add a printer using an IP address or hostname. Windows will prompt you to choose the device type; typically you select TCP/IP device. In the next field, enter the IP address (do not use backslashes; just the numbers and dots). Windows will try to detect the printer and its driver. If it finds a compatible driver, it will install it automatically. If not, you may need to provide the driver manually from a disk or a downloaded file. After the driver is installed, you can name the printer and choose whether to share it. This method works well for printers that have a fixed IP, and it avoids relying on automatic discovery which can be unreliable on large networks. Brother Support offers detailed guides for setting up their network printers using IP addresses, including specific steps for configuring the printer itself to ensure it accepts incoming connections. This approach gives you fine‑grained control and is a good fallback when simpler methods fail.
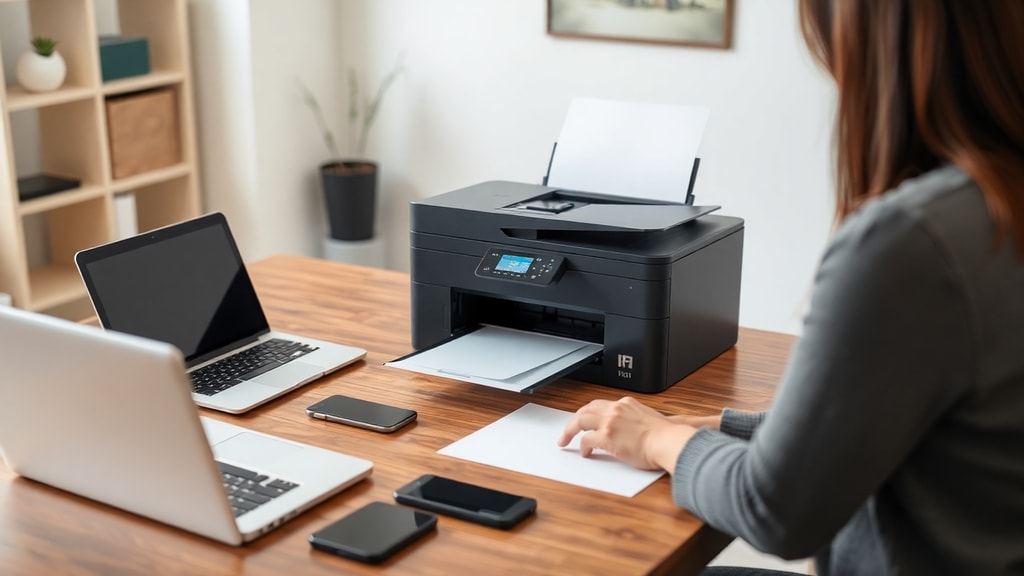
Sharing a Printer or Scanner Across a Network
If you have a printer or scanner connected directly to one computer (via USB), you can share that device with other computers on the same network. This is a cost‑effective way to give multiple users access without buying a network‑ready device. On the host computer – the one directly connected to the printer – open Control Panel > Devices and Printers. Right‑click the printer you want to share and select Printer properties. Go to the Sharing tab and check the box that says Share this printer. You can also give it a friendly network name, such as "OfficePrinter". Click Apply then OK. Make sure the host computer's network discovery and file and printer sharing are turned on (you can check this in Network and Sharing Center). On the other computers that need to use the printer, open Devices and Printers and click Add a printer. Select Add a network, wireless or Bluetooth printer. Windows should list the shared printer from the host computer. If it does not appear, you can manually browse the network by choosing the option Select a shared printer by name and typing the network path, such as \\HOSTCOMPUTERNAME\OfficePrinter. Once added, the other computers can print to it whenever the host computer is on and connected to the network. For scanners, sharing is a bit more complex because scanning software usually requires direct access to the device. Some manufacturers provide network scanning utilities that can work through the host; otherwise, you may need to use a dedicated network scanner. TechTudo has a resource that explains how to configure a scanner in a network environment, covering both Windows and third‑party tools. Remember to keep the host computer turned on and awake for others to access the device. Also, be aware of privacy settings – if the host PC requires a password for network access, you may need to enter credentials on the client machines.
Setting Up a Printer on a Chromebook
Chromebooks use Chrome OS, which handles printing differently from Windows or macOS. Most modern printers support Google Cloud Print or the newer “native” printing protocol. To set up a printer on a Chromebook, first ensure the printer is connected to your Wi‑Fi network. This usually involves using the printer’s own control panel or a mobile app to connect it to the same Wi‑Fi network that your Chromebook uses. Once the printer is online, open your Chromebook’s Settings by clicking the time in the bottom‑right corner, then the gear icon. Navigate to Devices and then Printers. Click Add printer. The Chromebook will scan the network for available printers. If it finds yours, it will appear in the list; select it and click Add. If the printer is not detected automatically, you can manually add it by entering its IP address. Look for the printer’s IP address using its control panel or by printing a network configuration page. Then, in the “Add printer” dialog, choose the option to add by IP and enter the address. Chrome OS will attempt to locate the correct driver from its built‑in database. For some older or less common models, you may need to check the manufacturer’s website for Chrome OS‑compatible drivers, though many newer printers work out of the box. Once added, any app that supports printing (such as Google Docs or the Chrome browser) will show the printer as an option. Setting up a scanner on a Chromebook is less straightforward because Chrome OS has limited scanning support. You can use the built‑in Scan app, which works with certain MFP (multifunction) printers that support eSCL (AirScan) protocol. If your printer supports that, you simply open the Scan app, and it will detect the device over the network. Otherwise, you may need to use a third‑party scanning app from the Chrome Web Store that is compatible with your specific scanner model. Despite these limitations, Chromebook printing is becoming more seamless, and for many users it works as well as on a traditional PC.
Troubleshooting Common Setup Issues
Even with careful steps, you may encounter problems. Here is a list of frequent issues and how to resolve them:
- Printer not detected: Check that the device is powered on and cables are secure. For network printers, verify that the printer and computer are on the same network. Restart both devices and the router.
- Driver installation fails: Download the latest driver from the manufacturer's website. Uninstall any previous driver versions first. Use the Device Manager to remove any unrecognized devices.
- Printer shows offline: Go to Settings > Devices > Printers & scanners, click on your printer, and select Open print queue. In the Print Queue window, from the Printer menu, ensure Use Printer Offline is not checked. Restart the print spooler service if necessary.
- Scanner not working: Open the Windows Scan app and see if the device appears. Try using the manufacturer's scanning software. Check that the scanner is not being used by another application.
- Wireless connection drops: Move the printer closer to the router or use a wired Ethernet connection. Update the printer's firmware. Change the Wi‑Fi channel to avoid interference.
- Chromebook printing fails: Ensure the printer is connected to the same Wi‑Fi network. Forget the printer in Chrome OS settings and add it again. Verify that the printer supports native printing (Google Cloud Print is deprecated).
If you continue to have trouble, consulting the printer’s manual or the manufacturer's support website is advisable. Many issues are solved by simply resetting the device to its factory defaults and starting the setup process from scratch.
Comparison of Printer Connection Methods
The table below summarizes the main characteristics of the three most common connection methods, helping you choose the best option for your environment.
| Connection Method | Advantages | Disadvantages | Best For |
|---|---|---|---|
| USB | Simple plug‑and‑play, reliable, no network configuration, low cost | Limited to one computer, cable clutter, need to be close to PC | Single user, home office, quick setup |
| Wi‑Fi (Network) | No cables, access from multiple devices, convenient placement | Wi‑Fi may be slower, requires network setup, possible interference | Multiple users, shared space, modern households |
| Wired Ethernet (Network) | Stable connection, faster than Wi‑Fi, secure, works for large offices | Physical cable needed, requires router port, less flexible location | Businesses, high‑volume printing, stable networks |
Each method has its own trade‑offs. If you only need to print from a single computer and want the least hassle, USB is the way to go. For a home with multiple laptops or a small office, Wi‑Fi provides flexibility without extra wires. Ethernet is best when reliability and speed are critical, such as in a professional setting where many users send jobs to the same printer.
Conclusion
Setting up printers and scanners does not have to be a frustrating experience. By understanding the fundamental methods – USB, wireless network, manual IP, network sharing, and Chromebook setup – you can connect almost any device in a few minutes. The key is to identify the type of connection that matches your hardware and your environment. Always keep your drivers up to date and check for firmware updates from the printer manufacturer. If you run into trouble, a simple reboot of the printer and computer often clears up most issues. Remember that sharing a printer across a network requires the host computer to remain on, while wireless printers give you more freedom. For Chromebook users, compatibility is improving, but it is wise to verify that your printer supports Chrome OS before purchasing. With the steps outlined in this article, you can confidently set up any printer or scanner and get back to your work. For more detailed guidance, refer to the sources listed below.
References
The information in this article is based on official documentation and reputable technology sources. The USB and auto‑detection details are supported by Mekano Tech (How to Add a Scanner in Windows 10 and Windows 11). The steps for adding a device via Settings and the manual wizard come from Microsoft Learn (Configurar impressora utilizando Wi‑Fi no Windows). Instructions for manual IP setup were adapted from Brother Support. Network sharing guidance was informed by TechTudo. Chromebook setup steps follow generic Chrome OS documentation. For specific devices, always consult the manufacturer's support page first.