Introduction to Digital Drawing
Digital drawing opens up a world of creative possibilities, from quick sketches to polished illustrations, all without the mess of traditional media. Whether you are a complete beginner or transitioning from paper, learning how to use digital drawing tools effectively will help you build a smooth, enjoyable workflow. This guide covers everything from setting up your hardware to saving your final artwork, with practical steps you can follow immediately. By the end, you will understand the core concepts that professional digital artists use every day, and you will be ready to start your own projects with confidence.
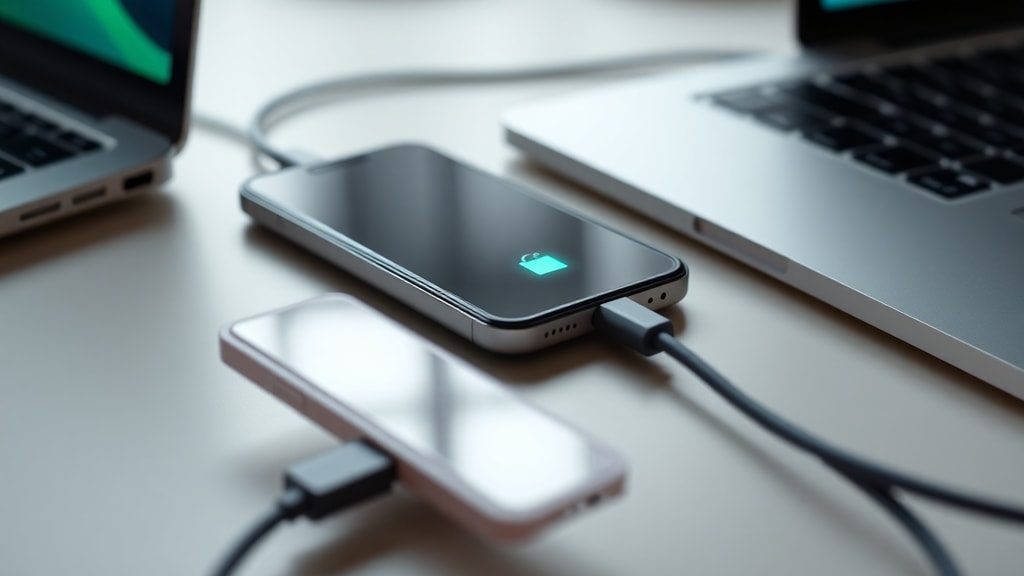
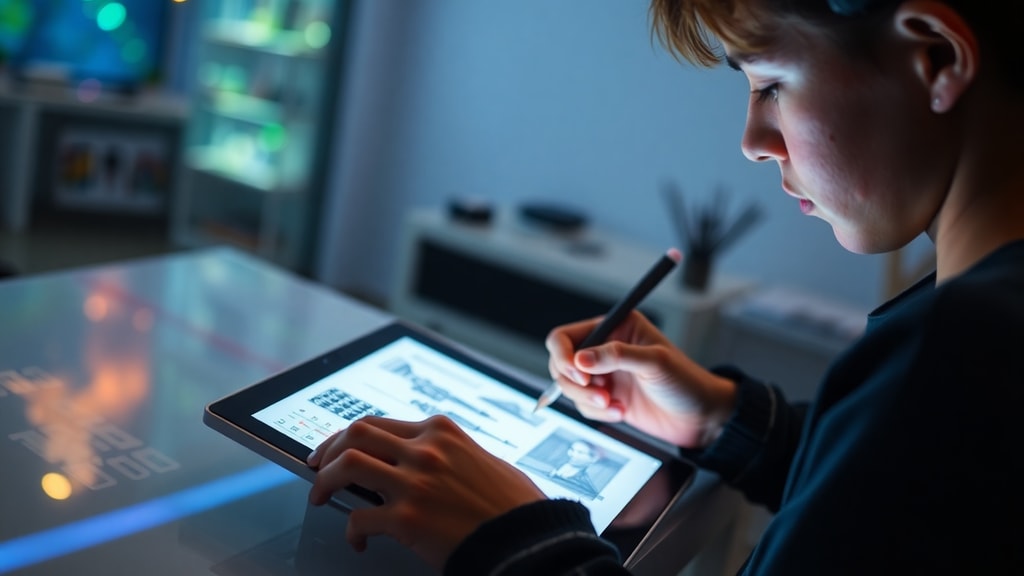
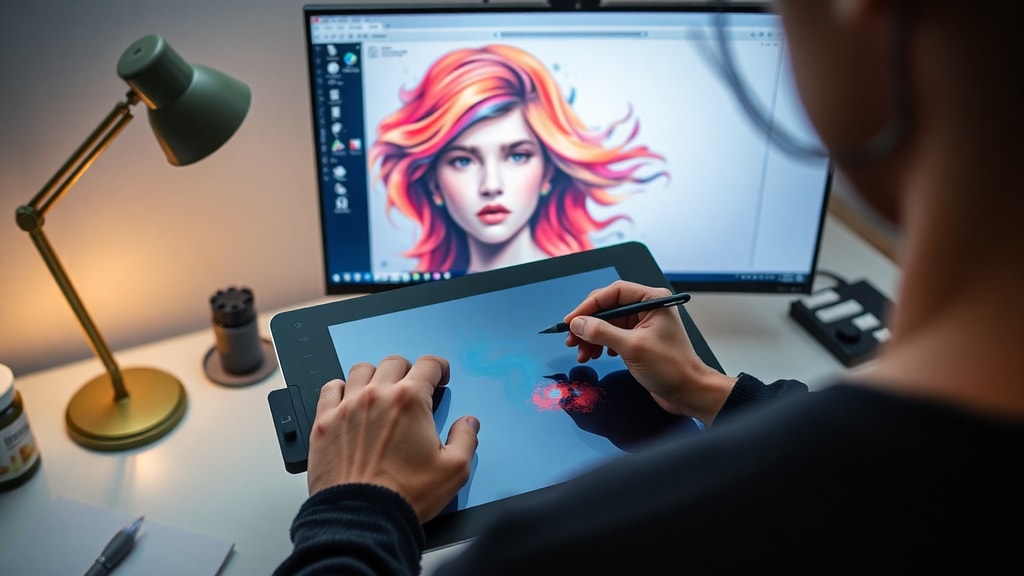
Getting Started with Hardware
The first step in digital drawing is connecting and configuring your hardware. Most artists use a drawing tablet or a pen display. A drawing tablet is a flat surface that you draw on while looking at your computer monitor. A pen display, sometimes called a drawing monitor, lets you draw directly on a screen, which many beginners find more intuitive. Whichever device you choose, you connect it to your computer via a USB cable or wirelessly. After connecting, you must install the official drivers from the manufacturer. These drivers allow your operating system and art software to recognize the stylus and its pressure sensitivity. Without proper drivers, your pen may only act as a mouse, and you will lose the ability to vary line thickness based on how hard you press.
Once the drivers are installed, open your drawing software and locate the pressure sensitivity settings. In programs like Clip Studio Paint, Photoshop, or Krita, you can usually test the pressure curve by drawing a stroke. Adjust the curve so that light pressure produces a thin, faint line and heavy pressure gives a thick, dark line. This calibration is essential for natural-looking strokes. Many tablets also let you customise the buttons on the stylus or the tablet itself. For example, you can set one button to undo and another to switch between brush and eraser. Taking a few minutes to set up these shortcuts will save you a lot of time later.
Understanding Layers in Digital Drawing
Layers are one of the most powerful features of digital drawing. Think of them as transparent sheets stacked on top of each other. You can draw on one layer without affecting the content on other layers. This allows you to separate your sketch, line art, colour, shadows, and highlights into distinct levels that you can edit individually. For beginners, a common mistake is drawing everything on a single layer, which makes corrections difficult. Instead, create a new layer for each major part of your artwork.
Here is a list of the most common layer types and their purposes in a digital drawing workflow:
- Normal layer: The default layer type for drawing and painting. Use it for your sketch and for the final line art.
- Multiply layer: Darkens the layers below. Ideal for shadows and shading because it blends with the colour underneath.
- Overlay layer: Increases contrast and saturates colours. Great for adding highlights and lighting effects.
- Screen layer: Lightens the layers below. Use it for glow effects or bright highlights.
- Colour layer: In some software, this layer type lets you paint only on the areas where there is already colour, perfect for adding details without going outside the lines.
Name your layers according to their content, such as "sketch", "line art", "base colour", "shadows", and "highlights". This simple habit makes it easy to find and edit specific elements later. You can also adjust the opacity of any layer to make its content translucent, which is useful when you are tracing a sketch or blending colours. Remember that layers are not permanent; you can merge, duplicate, or delete them as your drawing progresses.
Configuring Brush Settings for Your Style
The brush tool is your main instrument, and its settings dramatically affect the look of your strokes. Most digital art programs offer a wide range of preset brushes, but you should learn to adjust the key parameters to suit your style. The most important settings are hardness, opacity, size, and pressure sensitivity. Hardness controls how sharp the edges of the brush are. A hardness of 100% gives a crisp, jagged line similar to a fine-tipped pen. A low hardness creates a soft, airbrushed edge. For clean line art, set hardness to full or near full. For smooth shading, use a softer brush.
Opacity determines how transparent the brush stroke is. When you lower opacity, each stroke builds up colour gradually, mimicking traditional watercolour or airbrush techniques. Many artists combine opacity with pressure sensitivity: pressing harder increases opacity, while a light touch produces a semi-transparent mark. You can also adjust the flow rate, which controls how quickly colour is applied as you drag the stylus. Experiment with these settings to find what feels comfortable for your hand. If your brush strokes feel jagged or laggy, check your tablet's pressure sensitivity curve and your computer's performance. A stable frame rate is important for smooth strokes.
A Step-by-Step Digital Drawing Workflow
Now that you understand the basics, let us walk through a typical digital drawing workflow. This process works for everything from character illustrations to landscapes. Follow these steps on your own project to see how layers, brushes, and settings come together. The table below summarises the key stages.
| Step | Action | Layer Name / Type |
|---|---|---|
| 1 | Create a new file. Set the canvas size and resolution. For print, use 200–300 DPI. For screen use, 72 DPI is sufficient. | Background layer (usually locked and white) |
| 2 | Sketch the basic shapes and composition on a transparent layer. Use a hard, low-opacity brush so the lines are light and easy to erase. | Layer named "Sketch" (Normal mode) |
| 3 | Create a new layer above the sketch. On this layer, draw the final line art. Use a stable brush with full opacity and pressure-controlled size. | Layer named "Line Art" (Normal mode) |
| 4 | Lower the opacity of the sketch layer or hide it. Create a new layer below the line art for base colours. Use the fill tool (often called "Magic Wand") to quickly colour enclosed areas. | Layer named "Base Colour" (Normal mode) |
| 5 | Add shadows and highlights on separate layers. Set shadow layers to Multiply mode and highlight layers to Overlay or Screen mode. Use soft brushes for smooth gradients. | Layers named "Shadows" (Multiply) and "Highlights" (Overlay) |
This workflow keeps your project organised and makes it easy to adjust colours or shading without redrawing everything. If you make a mistake on one layer, you can simply erase or repaint it without affecting the rest of the artwork. As you gain experience, you may add more detailed steps such as texturing, blending, or using adjustment layers for colour grading. The key is to develop a routine that feels natural and efficient for you.
Saving and Exporting Your Artwork
When your digital drawing is complete, you need to save it in a way that preserves your work and allows others to view it. Always save a copy in the native file format of your software, such as PSD for Photoshop, KRA for Krita, or CLIP for Clip Studio Paint. These formats keep all your layers, blend modes, and settings intact, so you can return to the project later and make changes. If you only save a flattened image like JPG or PNG, you lose the ability to edit individual layers.
After saving the editable version, export a copy for sharing. The most common formats are PNG and JPG. PNG is lossless and supports transparency, making it ideal for logos or images that will be placed on different backgrounds. JPG compresses the file size but may introduce minor artifacts; it is good for photographs or full-colour illustrations without transparency. Adjust the resolution and quality settings based on where the image will be used. For social media posts, a resolution of 72 DPI and a width of 1500 pixels is usually adequate. For print, keep the DPI between 200 and 300 and ensure the colour mode is CMYK if your printer requires it.

References
The information in this guide is based on reputable sources for digital drawing beginners. For further reading, you can refer to the following:
Clip Studio. "How to Start Digital Art." https://www.clipstudio.net/como-desenhar/archives/173551
LipeDiaz. "Guide for Beginners in Digital Drawing and Painting." https://www.lipediaz.com/post/guia-para-iniciantes-desenho-e-pintura-digital
Autodesk. "Digital Drawing Software Guide." https://www.autodesk.com/br/solutions/digital-drawing-software
Mailchimp. "Complete Guide to Digital Illustration." https://mailchimp.com/pt-br/resources/digital-illustration-complete-how-to-guide/
Canva. "Free Online Drawing Tool." https://www.canva.com/pt_br/ferramenta-de-desenho/