Introduction
Setting a default printer is one of those small tasks that can save you a lot of time and frustration. Every time you print a document, your operating system sends the job to the printer you have designated as the default. If you have multiple printers at home or in the office, or if you frequently switch between a wired and a wireless device, knowing how to set your preferred printer as the default makes the process seamless. This article will walk you through the steps for Windows 10 and 11, macOS, and even show you how to adjust driver-level preferences so that every print job starts with your chosen settings. Whether you are a casual user or someone who prints daily, these instructions are designed to be clear, practical, and easy to follow.
Understanding Default Printer Preferences
Before diving into the how-to, it helps to understand what a default printer actually is. When you click the print button in any application, the system automatically sends the job to the default printer unless you manually select a different one. This is especially useful if you always use the same printer for most of your work. Modern operating systems like Windows and macOS allow you to choose whether the system manages the default automatically or you control it manually. In Windows, there is a setting called “Let Windows manage my default printer” that can change your default based on which printer you used last. For many people, disabling this option and setting a fixed default is more reliable. On macOS, you can set a specific printer as the default and also configure default paper size, orientation, and other options that apply to all print jobs from that printer.
Setting Default Printer in Windows 10/11 (Settings App)
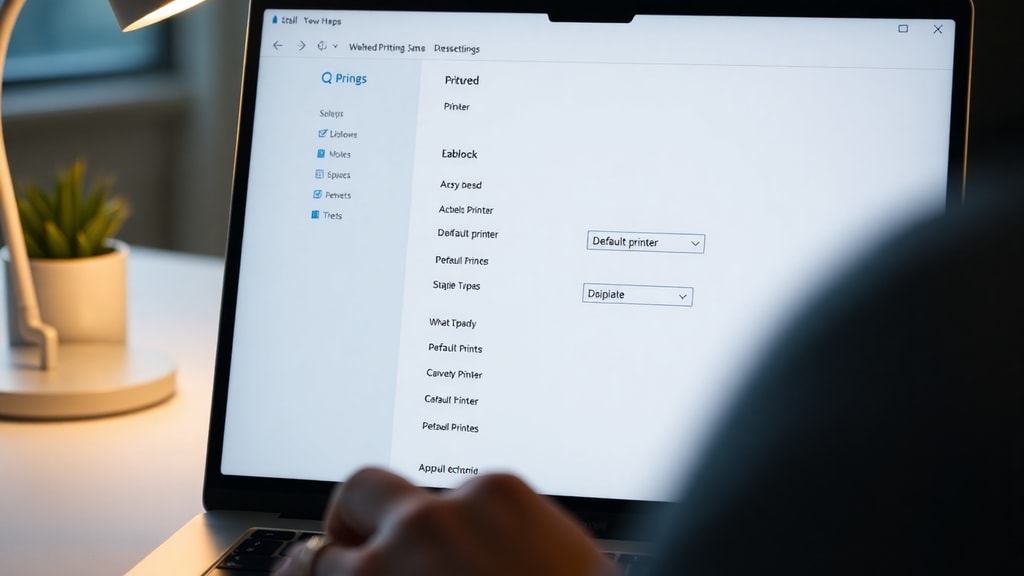
The most straightforward way to set a default printer in Windows 10 or Windows 11 is through the Settings app. This method gives you a clean interface and quick access to printer management. Follow these steps:
- Press the Windows key + I to open Settings.
- In Windows 10, click “Devices” and then select “Printers & scanners”. In Windows 11, go to “Bluetooth & devices” and then “Printers & scanners”.
- Look for the toggle that says “Let Windows manage my default printer”. If it is on, turn it off. This ensures that your chosen printer stays as the default even if you use another printer occasionally.
- From the list of printers, click on the one you want to set as default.
- Click the “Manage” button that appears.
- Click “Set as default”. A checkmark or label will indicate it is now your default printer.
This method is recommended because it gives you full control. After disabling the automatic management, your default printer will not change unless you manually update it. For official guidance, you can refer to Microsoft Learn for further details on this process.
Setting Default Printer via Control Panel
If you prefer the classic Control Panel interface, Windows still offers that option. It works the same way in Windows 10 and Windows 11, and some users find it faster because it shows all devices in a single view. Here is a table comparing the two methods for setting a default printer in Windows.
| Method | Steps | Best For |
|---|---|---|
| Settings App | Windows + I > Devices/Bluetooth & devices > Printers & scanners > Turn off auto-management > Select printer > Manage > Set as default | Users who prefer modern UI and want to control automatic management |
| Control Panel | Open Control Panel > Hardware and Sound > View devices and printers > Right-click printer > Set as default printer | Users familiar with classic Windows dialogs or who need quick access |
To use the Control Panel, open it by searching in the Start menu. Navigate to “Hardware and Sound” and click “View devices and printers”. You will see all your installed printers. Right-click the printer you want as the default and choose “Set as default printer”. A green checkmark will appear on the icon. This method also works if you have disabled the automatic management. For more details on the Control Panel approach, you can check 101-help.com which explains multiple ways to set the default printer in all Windows versions.
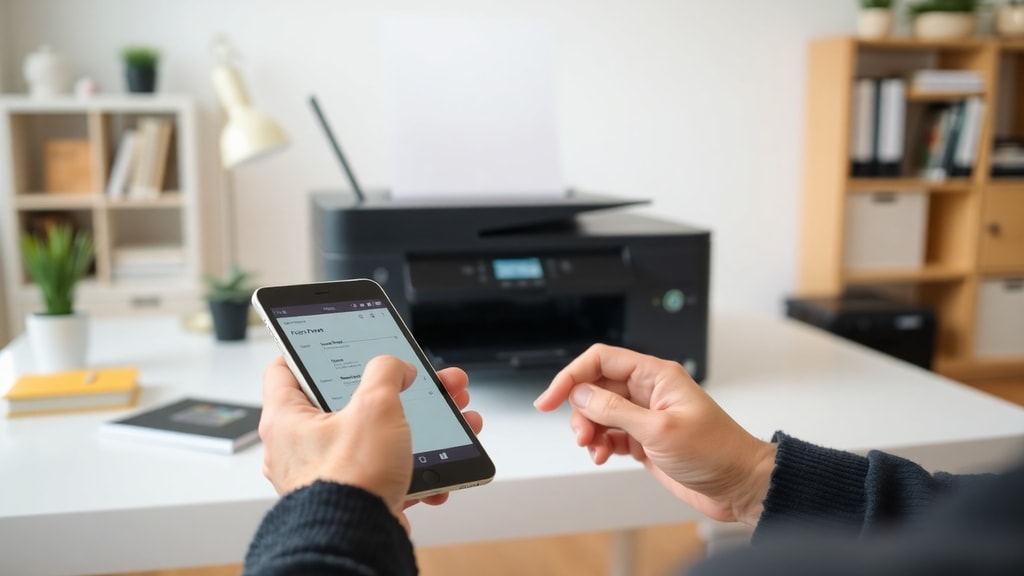
How to Set Default Printer on macOS
On a Mac, the process is similarly simple, though the interface differs from Windows. Apple’s macOS uses System Settings (or System Preferences on older versions). To set your default printer on macOS, follow these steps:
Open System Settings (click the Apple menu and select System Settings). Go to “Printers & Scanners” – in older macOS versions this might be simply “Printers”. You will see a list of all printers added to your Mac. Click on the printer you want to be the default. Below the list, there is a dropdown menu or a checkbox labeled “Default Printer”. Choose your preferred printer from that dropdown, or check the box that says “Set as default”. Some versions of macOS also let you set default paper size and other preferences in the same window.
Once set, every time you print from any application, that printer will be selected automatically. You can still override it by choosing another printer in the print dialog. For additional guidance, Tungsten Automation provides a helpful user guide that covers default printer settings on macOS. Their instructions are reliable and up-to-date.
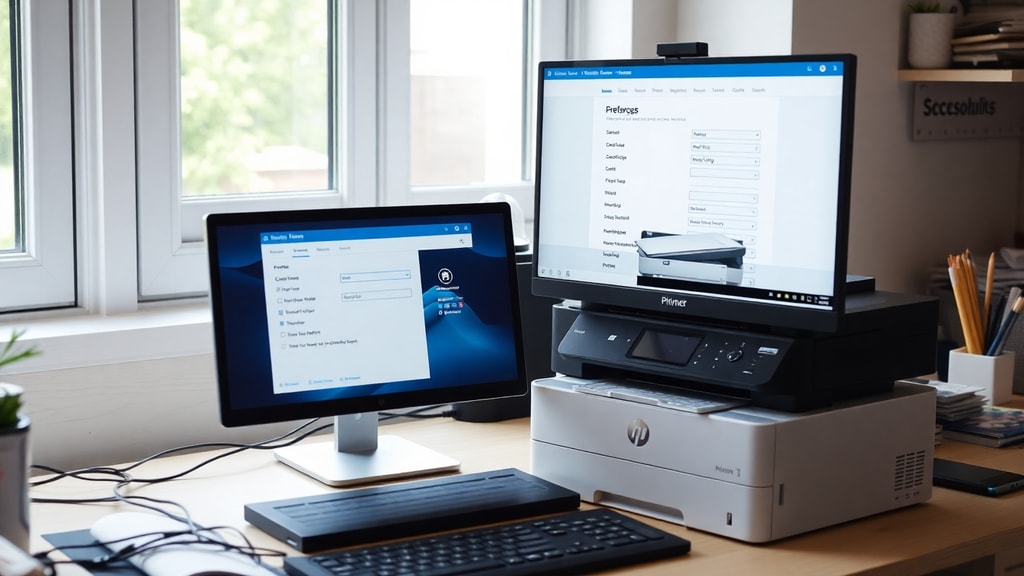
Configuring Printer Driver Defaults for All Programs
Setting the default printer is only half the picture. Many users also want to set default print preferences such as paper size, print quality, color or black and white, and duplex (double-sided) printing. These settings are stored in the printer driver and can be applied to all print jobs from any program. Here is how to do it on Windows:
First, open the list of printers. You can do this by right-clicking the printer icon in the system tray (if available) and selecting “Printer Settings”. Alternatively, go to Control Panel > Hardware and Sound > View devices and printers, right-click your printer, and choose “Printing preferences”. This opens a dialog with tabs such as Layout, Paper/Quality, and Advanced. Adjust the settings you want to be the default for every print job. For example, you can set the paper size to A4, the print quality to “Normal”, and enable double-sided printing. Click OK to save. These preferences will then be used by all applications unless you override them in the print dialog.
For Brother printers, the process is slightly different. Right-click the Brother printer icon, select “Printing Preferences”, then go to the General tab and click the “Printing Preferences” button again to access the detailed settings. Set your desired defaults and click OK. For specific instructions, Brother Support provides detailed documentation for their printer models.

Troubleshooting Common Issues
Even after following the steps, you might encounter situations where the default printer does not stick, or the settings do not apply. Here are a few common issues and their solutions.
If Windows keeps changing your default printer, it is likely because the “Let Windows manage my default printer” option is still enabled. Go back to Settings > Printers & scanners and disable that toggle. Some users also find that network printers with dynamic IP addresses can cause the system to lose track of the default. In that case, try setting the printer using a static IP or add the printer again using its hostname.
On macOS, if the default printer setting does not save, check that you have the latest printer drivers installed. Also, ensure that the printer is not set to “Last Printer Used” in the Print & Scan preferences. Change it to a specific printer name.

If driver-level preferences do not stick, make sure you are saving them in the correct location. Some printers have both “Printing Preferences” (per-user) and “Printer Properties” (device-level). For most home users, using the “Printing Preferences” accessed from the right-click menu works best. If you are using a shared network printer, the defaults might be overridden by the print server settings. Contact your network administrator in that case.
References
Microsoft Learn. “How to set a default printer in Windows 10/11.” Accessed 2025. https://learn.microsoft.com/pt-br/answers/questions/3742985/impressora-padr-o
101-help.com. “5 maneiras de definir a impressora padrão no Windows (todas as versões).” Accessed 2025. https://pt.101-help.com/5-maneiras-de-definir-a-impressora-padrao-no-windows-todas-as-versoes-bb3eb54fae/
Tungsten Automation. “How to set default printer on macOS.” Accessed 2025. https://docshield.tungstenautomation.com/Printix/pt_BR/help/user/Printix_user/t_how_to_set_default_printer.html
Epson Support. “Selecting default settings for Windows.” Accessed 2025. https://files.support.epson.com/htmldocs/tx235_/tx235_brupsug7/source/printers/source/printing_software/printing_windows_consumer/tasks/selecting_defaults_windows.html
Brother Support. “Setting default printing preferences for Brother printers.” Accessed 2025. https://support.brother.com/g/s/id/htmldoc/mfc/cv_dcp520/bpr/html/GUID-F764A6C8-520D-44C5-AD79-2345322DF9A9_1.html