Introduction
Your laptop camera is an essential tool for video calls, online meetings, and remote collaboration. When it stops working or you simply want to confirm it is functioning correctly, knowing how to check it quickly saves time and frustration. This article walks you through straightforward methods to verify your laptop camera, from built-in Windows tools to online services. Each step is designed to help you identify whether the camera hardware, software, or system settings are causing any issues. By the end, you will have a clear process for testing your camera and resolving common problems.
Use the Windows Camera App
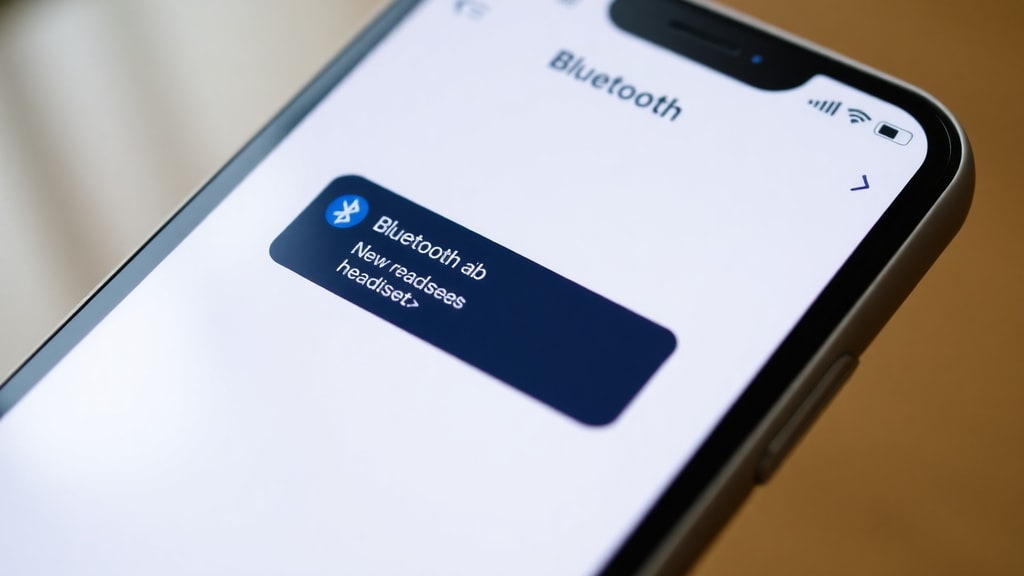
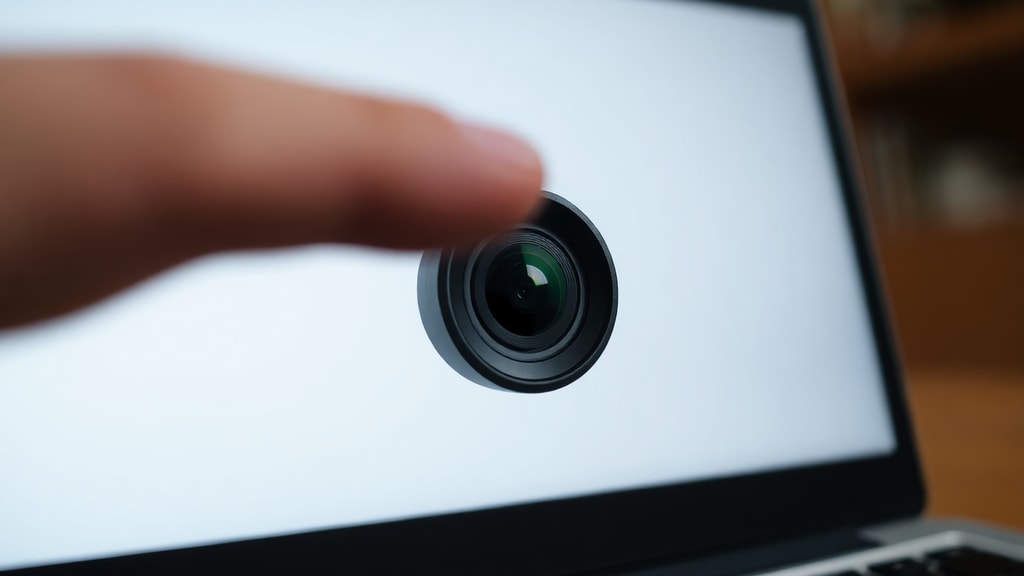
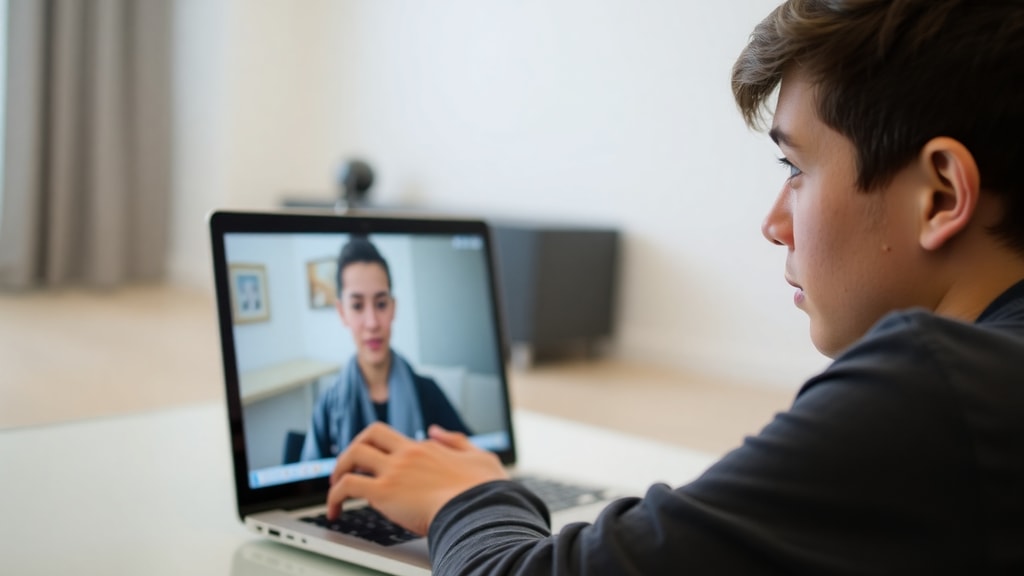
The easiest and fastest way to check your laptop camera is by using the built-in Windows Camera application. This app is included with Windows 10 and Windows 11 and allows you to see a live feed from your camera without any additional software. To open it, simply type "Camera" in the Start menu and click the app. If the camera is properly connected and recognized by your system, you will see a live image on the screen. If you see a black screen or an error message such as "We can’t find your camera," then the device is not being detected. This test confirms that the hardware is present and that the operating system can communicate with it. For more detailed troubleshooting when the camera is not detected, Microsoft provides a comprehensive support guide that covers common issues and solutions. You can refer to the Microsoft Support article for further assistance.
Verify Camera Permissions in Windows
Sometimes the camera hardware is fully functional, but the operating system blocks access due to privacy settings. Windows includes a permission control that allows you to decide which applications can use the camera. If you cannot see an image in the Camera app, or if specific programs like Zoom or Teams show a black feed, check these permissions. Go to Settings > Privacy & Security > Camera. Ensure that the toggle for "Camera access" is turned on. Also, under "Let apps access your camera," make sure the setting is enabled. If you have toggled these off previously, turning them back on can restore camera functionality immediately. This step is often overlooked and can resolve many camera problems without any hardware intervention. The Learn Microsoft community forum provides a detailed walkthrough of how to check and adjust these permissions, especially for users running Windows 11.
Update or Reinstall the Camera Driver
Outdated or corrupted drivers are a frequent cause of camera malfunctions. To check and update the driver, open Device Manager by right-clicking the Start button and selecting Device Manager. Expand the section labeled "Cameras" or "Imaging devices." You will see your camera listed, often with a name like "Integrated Webcam" or a specific brand. Right-click on it and choose "Update driver." Select "Search automatically for drivers" to let Windows find the latest version. If no new driver is found, you can also try uninstalling the device. Right-click the camera entry, select "Uninstall device," and then restart your laptop. Windows will automatically reinstall the driver upon reboot. This process clears any corrupt driver configurations and can restore full functionality. For persistent issues, check the laptop manufacturer’s website for a dedicated driver. The same Learn Microsoft answer mentioned earlier includes instructions for driver management and can be a helpful reference.

Scan for Hardware Changes
If your camera still does not appear after updating drivers, the system might not have detected the hardware correctly. In Device Manager, click on the "Action" menu at the top and select "Scan for hardware changes." This forces Windows to re-enumerate all connected devices, including the internal camera. You will see a brief refresh, and sometimes the camera entry reappears or becomes active. This step is especially useful after a system update or if you recently disconnected and reconnected internal components (such as after cleaning the laptop). It does not require any technical knowledge and takes only a few seconds. Microsoft Support recommends this as a regular troubleshooting step for undetected hardware, as it can resolve detection issues that driver updates alone cannot.

Test Your Camera with Online Tools
Beyond built-in apps, online camera testing tools provide an easy way to verify not just the image but also resolution, frame rate, and audio synchronization. Websites such as WebcamTests.com or Device-Test.com allow you to test your camera directly in the browser without installing any software. These tools access your camera through the browser’s permissions and display a live feed with technical details. They often show the current resolution, frames per second (FPS), and even test the microphone simultaneously. To use them, simply visit the site, grant permission when prompted, and you will see your camera feed. If the feed appears correctly, your camera hardware and drivers are working. If not, the issue may be related to browser permissions rather than the device itself. These online tests are particularly helpful for verifying that the camera works across different applications and can highlight problems that only appear in specific software.
Troubleshoot Common Camera Problems
Even after following the steps above, you might encounter specific problems. Below is a list of common issues and their quick fixes:
- Black screen in Camera app: Check if the camera is physically blocked by a privacy shutter or sticker. Also ensure no other application is using the camera.
- Camera works in one app but not another: Verify that the specific app has camera permission enabled under Settings > Privacy & Security > Camera > App permissions.
- Flickering or poor image quality: Adjust lighting conditions and clean the camera lens with a soft cloth. Update the graphics driver as well.
- Camera not listed in Device Manager: Perform a "Scan for hardware changes" as described earlier. If it still does not appear, the hardware may be disabled in BIOS or physically disconnected.
- Error message "0xA00F4244" or "0xA00F4271": These codes typically indicate that the camera is already in use by another app or that a driver issue exists. Restart your laptop and try again.
Comparison of Camera Testing Methods
The table below summarizes the key testing methods covered in this article, comparing their ease of use, what they test, and when to use each one. This can help you choose the most appropriate approach based on your skill level and the nature of the problem.
| Method | Ease of Use | Tests | Best Used When |
|---|---|---|---|
| Windows Camera App | Very easy | Basic camera detection and live feed | Quick check if camera works |
| Privacy Permissions | Easy | System-level access control | Camera works nowhere, or for specific apps |
| Driver Update/Reinstall | Moderate | Driver functionality and compatibility | Camera not detected or shows errors |
| Hardware Change Scan | Easy | Device detection by Windows | After updates or disconnections |
| Online Testing Tools | Very easy | Resolution, FPS, audio sync | Detailed performance check |
Each method complements the others. For instance, if the Camera app shows an image but online tools do not, the issue likely lies with browser permissions rather than the camera itself. Using this table, you can systematically work through potential causes.
References
Microsoft Support. "A câmera não funciona no Windows." Accessed February 2025. https://support.microsoft.com/pt-br/windows/a-c%C3%A2mera-n%C3%A3o-funciona-no-windows-32adb016-b29c-a928-0073-53d31da0dad5
Learn Microsoft. "Solucionar problemas de câmera no notebook." Accessed February 2025. https://learn.microsoft.com/pt-br/answers/questions/4081992/solucionar-problemas-de-camara-no-notebook-noteboo
WebcamTests. "Teste sua webcam online." Accessed February 2025. https://pt.webcamtests.com