Understanding KB5074109 and Why Manual Uninstallation May Be Necessary
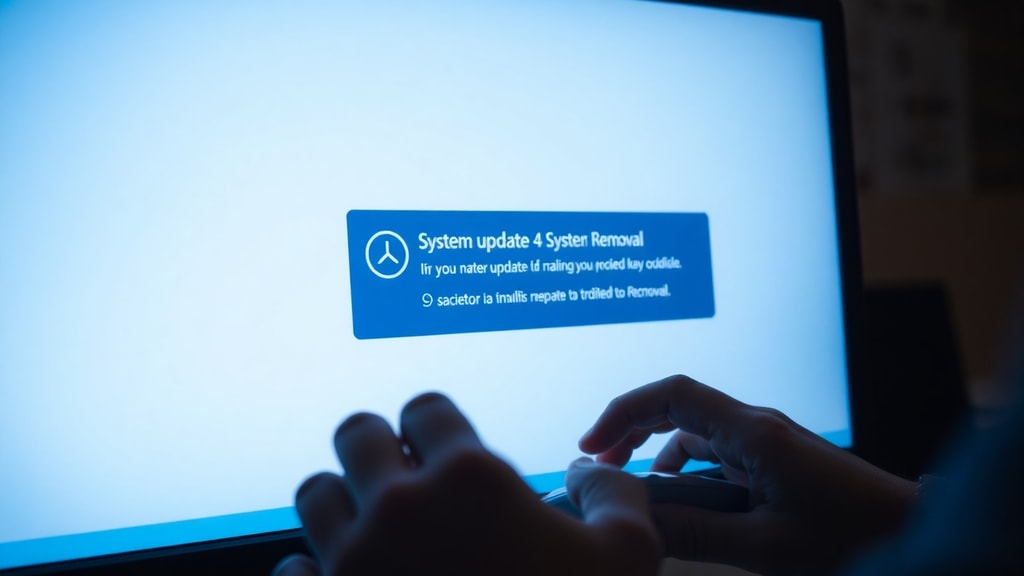
Windows updates are designed to improve security, fix bugs, and add features. However, occasionally an update can introduce new problems rather than solve existing ones. This has been the case with KB5074109, a security update released for Windows 11 in January 2026. Shortly after its distribution, users began reporting system instability, performance degradation, and application crashes. Microsoft officially acknowledged the issues and recommended that affected users uninstall the update. Knowing how to perform this manual uninstallation is essential for anyone experiencing these problems, especially if automatic fixes are not yet available.
Uninstalling a Windows update is a straightforward process that can be accomplished through several methods. The built-in graphical interfaces are the most accessible, but when those fail, command line tools provide a reliable alternative. This article explains the known issues with KB5074109, provides step-by-step instructions for manual removal using different approaches, and offers tips to prevent the update from being automatically reinstalled. Whether you are a casual user or an IT administrator, you will find clear guidance here.
Known Issues Caused by KB5074109
According to user reports and Microsoft’s own acknowledgment, KB5074109 has been linked to several disruptive symptoms. These include sudden system freezes, slow boot times, network connectivity drops, and errors when opening certain applications such as the Microsoft Store or built-in utilities like Snipping Tool. Some users have also reported that their printers or external drives stopped being recognized after the update. In enterprise environments, the update has caused remote desktop sessions to disconnect intermittently.
Because these issues can severely impact productivity, Microsoft has advised users to uninstall KB5074109 manually if they are affected. The company is working on a permanent fix, but for the time being, removing the update is the only reliable way to restore normal system behavior. It is important to note that not every system experiences these problems, so you should only uninstall the update if you are encountering these symptoms. If your computer is running smoothly, it is safer to wait for a corrective patch rather than removing a security update that still addresses certain vulnerabilities.

Manual Uninstallation via Windows Settings
The simplest way to remove KB5074109 is through the Windows Settings app. This method does not require any technical knowledge and works on most Windows 11 systems. Follow these steps carefully:
- Open the Settings app by pressing the Windows key + I on your keyboard.
- In the left-hand menu, click on Windows Update.
- On the right side of the screen, select Update history.
- Scroll down to the section labeled Related settings and click on Uninstall updates.
- A list of installed updates will appear. Locate KB5074109 in the list. You can sort by date or name to find it faster.
- Click once on the entry for KB5074109 to select it, then click the Uninstall button that appears above the list.
- A confirmation dialog will appear. Click Uninstall again to confirm the action.
- Windows will begin the removal process. When finished, you will be prompted to restart your computer. Click Restart now to complete the uninstallation.
After the restart, check if the previously encountered issues are resolved. If they are, the uninstallation was successful. If you still experience problems, consider performing a clean boot or checking for other conflicting updates.
Using the Control Panel as an Alternative
Some users prefer the classic Control Panel interface, which also provides a way to uninstall updates. This method is nearly identical to the Settings approach but uses a different navigation path. It can be useful if the Settings app is not responding or if you are accustomed to the older Windows layout.
Open the Control Panel by searching for it in the Start menu. Click on Programs, then under Programs and Features, select View installed updates. You will see a list of all updates installed on your system. Locate KB5074109, right-click on it, and choose Uninstall. Confirm the action when prompted and restart your computer when the process is complete.

This method works on both Windows 11 and Windows 10 systems. It is slightly faster than the Settings route for some users because it eliminates an extra click. However, the end result is exactly the same: the update is removed and the system returns to its pre-update state.
Advanced Method: Using Command Line Tools
Sometimes the graphical interface may fail to uninstall an update, especially if the system is in an unstable state. In such cases, the command line provides a powerful alternative. You can use either the wusa.exe tool or the DISM (Deployment Image Servicing and Management) tool. Both require administrative privileges.
To use wusa.exe, open Command Prompt as Administrator. Type the following command and press Enter:
wusa /uninstall /kb:5074109

A dialog will appear asking you to confirm the uninstallation. Click Yes and wait for the process to finish. You may need to restart the computer manually if prompted.
If wusa does not work or you need more control, use DISM. First, you must obtain the exact package name for KB5074109. Run the following command to list all installed packages:
dism /online /get-packages
Scroll through the output to find an entry that contains KB5074109 in its name. The package name will look something like Package_for_Rollupfix~31bf3856ad364e35~amd64~~22621.26200.7623.1. Copy that entire string. Then run:

dism /online /remove-package /packagename:<exact package name>
Replace the placeholder with the actual package name. This method may take several minutes and is less user-friendly, but it is highly reliable. It is the preferred choice for IT professionals managing multiple systems.
Comparison of Uninstallation Methods
| Method | Ease of Use | Reliability | Requires Restart |
|---|---|---|---|
| Windows Settings | Very Easy | High | Yes |
| Control Panel | Easy | High | Yes |
| Command Line (wusa) | Moderate | High | Usually |
| Command Line (DISM) | Advanced | Very High | Sometimes |
Choose the method that best matches your comfort level and system state. In most cases, the Settings method works fine. If you encounter errors, proceed to the command line options.
Preventing Automatic Reinstallation
After you manually uninstall KB5074109, Windows Update might try to install it again during the next automatic update cycle. To avoid this, you can temporarily pause updates. Go to Settings > Windows Update and click on Pause updates for 1 week. This gives you time until Microsoft releases a fixed version of the update. Alternatively, you can use the Show or hide updates troubleshooter tool from Microsoft to hide the update and prevent it from appearing again.
Be aware that pausing updates means you will also miss other important security patches. Therefore, it is a temporary measure. Keep an eye on Microsoft’s official communication about a corrected update, and once it is released, install it promptly to restore full security coverage.
What to Do If Uninstallation Fails
Occasionally, the uninstallation process may fail due to system file corruption or conflicts with other software. If you receive an error message, try the following troubleshooting steps. First, run the Windows Update Troubleshooter from Settings > System > Troubleshoot > Other troubleshooters. This tool can fix common update-related problems.
Second, perform a System Restore to revert your computer to a point before the update was installed. Go to Control Panel > Recovery > Open System Restore and choose a restore point dated before the update. This method is more aggressive because it reverts other system changes, but it usually resolves the issues completely.
If none of the above work, consider using the Reset this PC feature, but only as a last resort because it removes applications and settings. Always back up your important data before attempting a reset. For further assistance, consult Microsoft Support directly through the Microsoft Q&A page for KB5074109 where experts and official representatives provide additional guidance.
Additional Considerations for IT Administrators
For organizations managing multiple Windows 11 devices, manual uninstallation of KB5074109 across all machines can be time-consuming. Administrators can deploy a PowerShell script that uses the wusa or DISM commands remotely. Alternatively, they can use Windows Server Update Services (WSUS) to approve the removal of the update. It is also advisable to create a new Group Policy Object that blocks the update from being installed until a fix is released.
Detailed enterprise guidance is available from Windows Central’s article on this update, which includes step-by-step screenshots and advice for IT teams.
Conclusion
Manually uninstalling KB5074109 is a necessary step for many Windows 11 users who have experienced the documented bugs. Whether you choose the easy route through Settings, the classic Control Panel, or the advanced command line tools, the process is well-documented and generally reliable. After removal, remember to pause updates temporarily to avoid automatic reinstallation, and stay informed about the release of a corrected version. By following the instructions in this article, you can restore your system’s stability and continue using your computer without disruption.
References
Microsoft Support. How to delete Windows Update KB5074109. Available at: https://learn.microsoft.com/en-us/answers/questions/5744366/how-to-delete-windows-update-(kb5074109). Accessed March 2026.
Windows Central. Microsoft urges the uninstallation of KB5074109. Here’s how. Available at: https://www.windowscentral.com/microsoft/windows-11/microsoft-urges-uninstalling-the-update-kb5074109-after-bug-reports-on-windows-11-heres-how. Accessed March 2026.