Why Testing Your External Hard Drive Is Essential
External hard drives are convenient tools for storing backups, transferring large files, and expanding storage capacity. However, they are also susceptible to physical damage, logical errors, and gradual wear that can lead to data loss. Testing your external hard drive periodically helps you catch potential problems early, before they cause irreversible damage. A simple test can reveal bad sectors, failing mechanical components, or file system corruption, giving you time to back up your data and replace the drive if needed. Whether you rely on your drive for work archives, media collections, or system backups, understanding how to test it properly is a fundamental skill for any computer user.
Preparing Your External Hard Drive for Testing
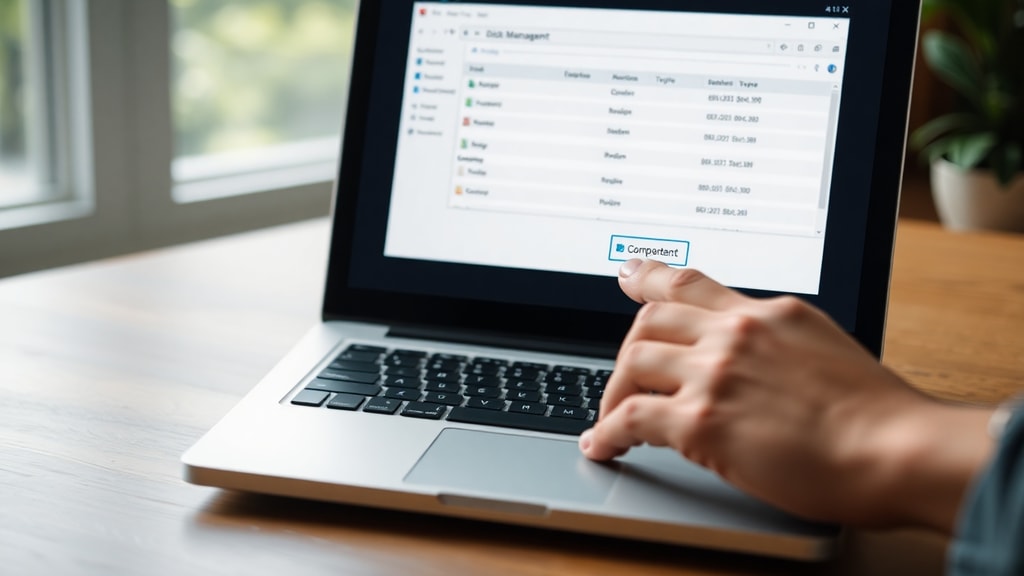
Before running any diagnostic tools, take a few precautionary steps. First, ensure that all important data on the drive is backed up to another location. While most testing software is read-only or non-destructive, some advanced tests write data and can interfere with existing files. Next, safely eject the drive from your computer, then reconnect it using a different USB port or cable if possible. This eliminates connectivity issues as a cause of false errors. Verify that the drive appears in your operating system’s file explorer or disk management utility. If the drive is not recognized at all, you may need to check the USB port on another computer or try a different cable before proceeding with software testing.

Using Built-in Windows Tools – CHKDSK
Windows includes a powerful command-line utility called CHKDSK (Check Disk) that can scan your external drive for file system errors and bad sectors. To use it, open Command Prompt as an administrator. Type the command chkdsk X: /f /r, replacing “X” with the letter assigned to your external drive. The /f flag fixes any logical errors it finds, while /r locates bad sectors and attempts to recover readable information. This process can take several hours depending on the size and condition of the drive. For a more detailed walkthrough, refer to this detailed guide on running CHKDSK. After the scan completes, review the summary at the end of the output. If it reports any bad sectors or unrecoverable errors, you should consider replacing the drive.
Monitoring Hard Drive Health with CrystalDiskInfo
Another excellent free tool for Windows is CrystalDiskInfo. It reads the S.M.A.R.T. (Self-Monitoring, Analysis, and Reporting Technology) data that your external hard drive collects internally. The software displays a “Health Status” indicator (usually a percentage or color code), along with temperature, power-on hours, and a list of attributes such as reallocated sectors, current pending sectors, and uncorrectable errors. A healthy drive will show a blue “Good” status, while yellow or red warnings indicate potential failure. CrystalDiskInfo runs in the background and can alert you to changes. For more information on interpreting S.M.A.R.T. data, check out this comprehensive guide on CrystalDiskInfo. Using this software regularly gives you a proactive way to monitor your drive's reliability without running lengthy scans.

Testing with H2testw for Full Integrity Check
H2testw is a free Windows application originally designed to test the integrity of memory cards but works equally well on external hard drives and SSDs. It fills the entire drive with test files and then reads them back, comparing the data to verify that every sector can be written and read correctly. This is particularly useful for detecting fake capacity drives that report more space than they actually have, as well as for finding intermittent read/write errors. To use it, download H2testw, run it, select your external drive, and choose “Write + Verify”. The process can be time-consuming for large drives, but it gives you a clear pass/fail result. If any errors appear, the drive is likely unreliable.
Using S.M.A.R.T. Tests on Linux with smartctl
Linux users have access to the smartctl command, part of the smartmontools package. After installing smartmontools, you can run a comprehensive self-test by typing smartctl -t long /dev/sdX in the terminal (replace “sdX” with the device identifier of your external drive, such as sdb or sdc). This command schedules a background test that checks the entire disk surface and updates the S.M.A.R.T. log. To view the results later, use smartctl -a /dev/sdX. The output includes detailed information about error logs, self-test results, and the overall health status. This method is preferred for drives that are connected via USB or SATA enclosures on Linux systems.

Checking for Bad Blocks with badblocks on Linux
Another Linux utility specifically designed to find bad sectors is badblocks. You can run a non-destructive read-write test with the command badblocks -c 65536 -s -v -w /dev/sdX, but be extremely careful because the -w (write) option destroys all data on the drive. For a read-only test that does not alter data, use badblocks -s -v /dev/sdX. The program prints a list of bad block numbers if any exist. You can then use fsck or e2fsck to mark those blocks as unusable. However, if a significant number of bad blocks appear, it is a strong indicator that the drive is failing and should be replaced.
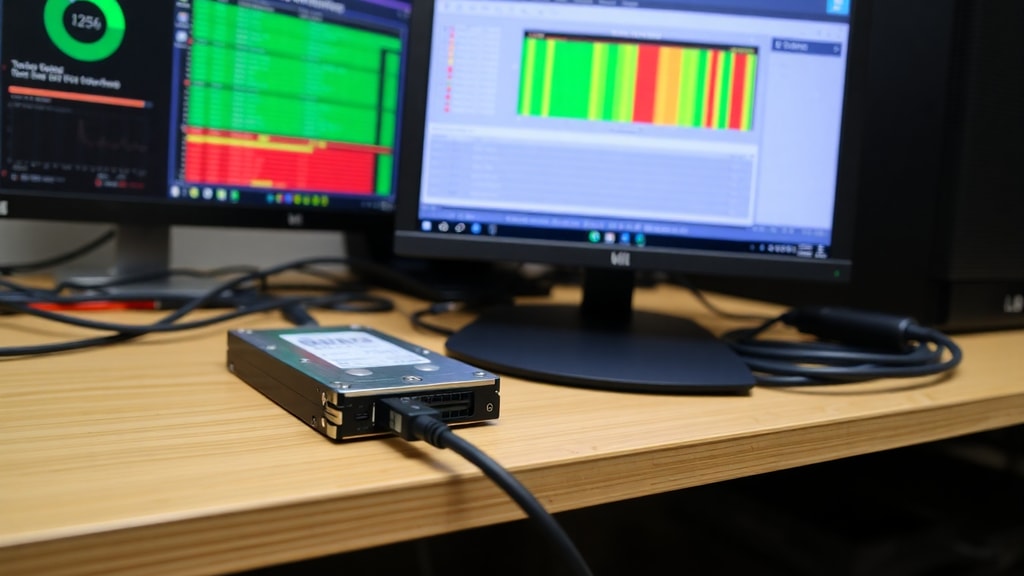
Professional Software Options – HD Sentinel
For users who want a more graphical interface and advanced features, HD Sentinel (Windows and DOS) offers comprehensive diagnostics. It displays S.M.A.R.T. data, real-time performance graphs, and a detailed health percentage. It can also perform surface tests and repair minor errors. While the free version provides basic functionality, the paid version includes scheduled tests and alerts. Below is a comparison of the tools discussed in this article.
| Tool | Platform | Key Feature | Free? |
|---|---|---|---|
| CHKDSK | Windows | File system and sector repair | Yes (built-in) |
| CrystalDiskInfo | Windows | S.M.A.R.T. monitoring | Yes |
| H2testw | Windows | Full integrity write/read test | Yes |
| smartctl | Linux | S.M.A.R.T. tests and log reading | Yes |
| badblocks | Linux | Bad sector detection | Yes |
| HD Sentinel | Windows/DOS | Comprehensive health analysis | Freemium |
Step-by-Step List for a Comprehensive Test
To ensure your external hard drive is fully evaluated, follow this systematic approach:
- Back up any important data from the drive to a separate storage device.
- Run CHKDSK (Windows) or smartctl self-test (Linux) to catch file system and S.M.A.R.T. issues.
- Use CrystalDiskInfo (Windows) or read the S.M.A.R.T. attributes via smartctl to check health status.
- Perform a write-and-verify test with H2testw (Windows) or a read-only badblocks test (Linux).
- Review all results and look for warnings, errors, or bad sectors.
- If the drive passes all tests, continue using it but schedule periodic checks. If it fails any, replace it immediately.
Interpreting the Results and Taking Action
After running the tests, you will likely see one of three outcomes. A clean result with no errors and a good S.M.A.R.T. status means your drive is in acceptable condition. You can continue using it, but you should still maintain regular backups. If you encounter a small number of bad sectors or reallocated sectors, the drive might be starting to fail. Increase your backup frequency and consider replacing the drive within a few months. A high number of bad sectors, pending sectors, or a failed S.M.A.R.T. self-test indicates imminent failure. In that case, immediately back up any remaining data and stop using the drive. Even if it still appears to work, the risk of complete data loss is high. Remember that testing is only one part of a broader data safety strategy. Always keep multiple copies of critical files, and do not rely solely on a single external hard drive for long-term storage.

References
EaseUS. (n.d.). How to check the health of an external hard drive. Retrieved from https://es.easeus.com/partition-manager-tips/comprobar-la-salud-del-disco-duro-externo.html
Aranzulla. (n.d.). How to test an external hard drive. Retrieved from https://www.aranzulla.it/come-testare-hard-disk-esterno-37779.html
Reddit DataHoarder. (2020). How to test external drive integrity. Retrieved from https://www.reddit.com/r/DataHoarder/comments/1qnufp6/how_to_test_external_drive_integrity/
Reddit TechSupport. (2021). How to check a hard disk. Retrieved from https://www.reddit.com/r/techsupport/comments/1n23ptv/how_to_check_a_harddisk/