Unboxing and Checking Your Keyboard
Before you plug anything into your computer, take a moment to unbox your keyboard carefully. Remove all protective materials and inspect the keyboard for any visible damage. It is also wise to check the box contents against the manufacturer's list. Typically, you should find the keyboard itself, a cable (if wired), a user manual, and possibly a driver disk or a wireless receiver. Identifying the type of connector on your keyboard cable is the first critical step. Most modern keyboards use a USB-A connector, which is a flat, rectangular plug. Older keyboards may use a PS/2 connector, which is round with six pins and a slightly different shape. Knowing this will help you find the correct port on your PC. If you have a wireless keyboard, look for a small USB receiver dongle or a Bluetooth pairing button. Setting up your keyboard correctly starts with understanding what you have in your hands.
Identifying the Correct Port on Your PC
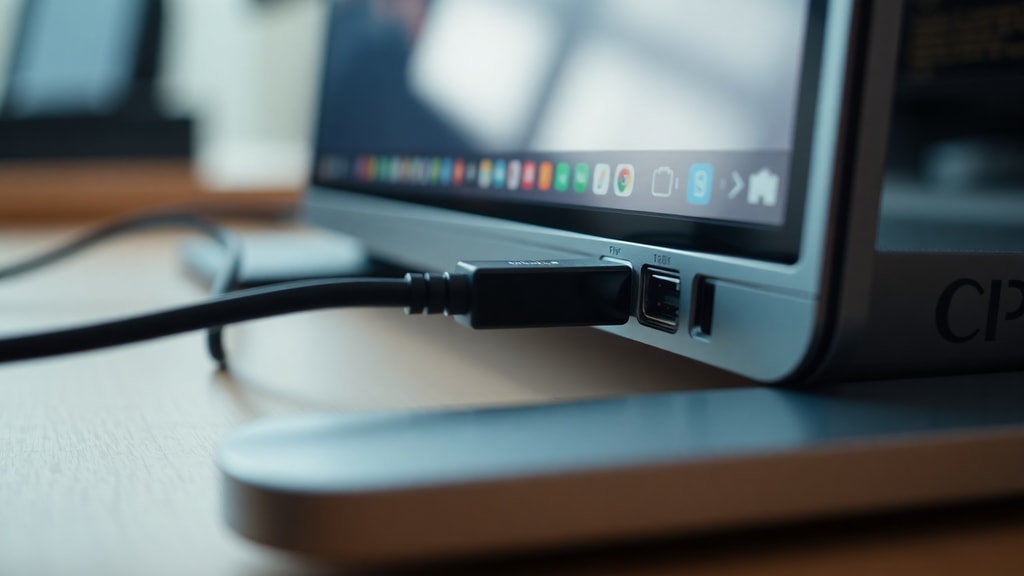
Now that you know your connector type, locate the right port on your computer. For USB keyboards, you have many options. Desktop PCs have USB ports on the front, side, and back of the tower. Laptops have USB ports on their left and right edges. Pick a free USB port that is easily accessible. Avoid using a USB hub if possible, as direct connection to the motherboard port gives the most stable performance. For PS/2 connectors, which are less common today, you will need to look at the back of a desktop PC. The PS/2 ports are usually color-coded: purple for the keyboard and green for the mouse. Line up the pins carefully before inserting. If your keyboard uses a wireless receiver, plug that receiver into a USB port now. For Bluetooth keyboards, you will not need to use a port, but you will need to enable Bluetooth on your PC.

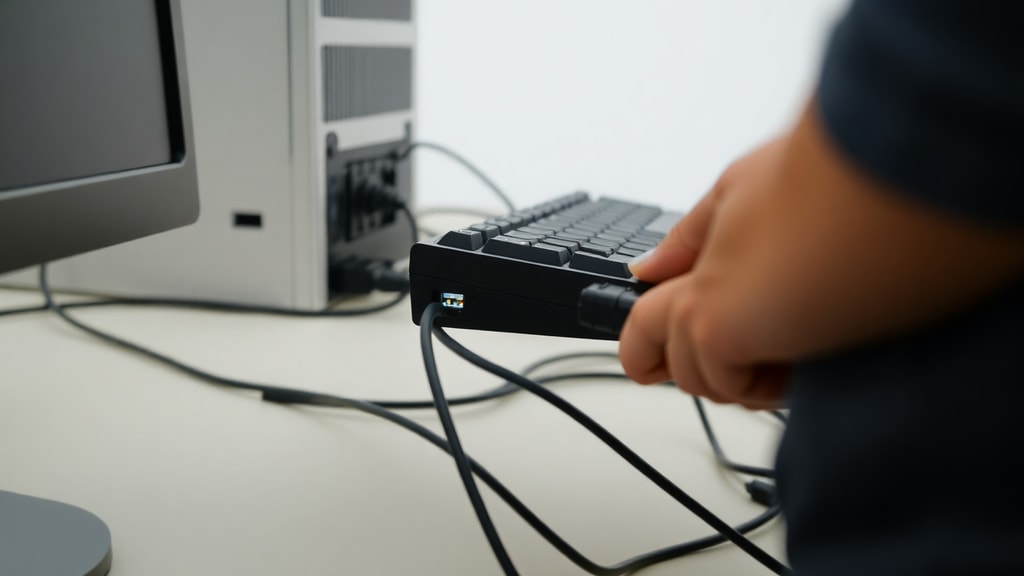
Physical Connection: Wired Keyboards
Connecting a wired keyboard is straightforward. Take the cable end and insert it into the chosen USB or PS/2 port. For USB, you can plug it in while the computer is on or off. The plug will only fit one way, so do not force it. If you are using a USB keyboard, your operating system should detect it instantly and install necessary drivers automatically. You will usually see a notification saying the device is ready. If you are using a PS/2 keyboard, it is recommended to plug it in while the computer is off and then restart the PC. This ensures the system recognizes the keyboard correctly. Some older systems may require a reboot for PS/2 devices to function. After connecting, wait a few seconds for the drivers to load. Most standard keyboards work without any additional software, but gaming or specialized keyboards might prompt you to install manufacturer software for advanced features.
Wireless Keyboard Connection: Bluetooth and USB Receiver
Wireless keyboards offer more freedom but require a few extra steps. If your keyboard has a USB receiver, insert the receiver into an available USB port. Then install the batteries, usually AA or AAA, into the keyboard. Turn on the keyboard using the power switch, often on the bottom or side. Press the connect button if there is one, and the keyboard should pair within seconds. For Bluetooth keyboards, start by turning on the keyboard and putting it in pairing mode. This is usually done by pressing a dedicated Bluetooth button or holding a combination of keys. On your PC, go to the Bluetooth settings. In Windows, click the Start button, go to Settings, then Devices, and turn on Bluetooth. Click Add Bluetooth or other device, select Bluetooth, and choose your keyboard from the list. Confirm the pairing code if prompted. Once connected, the keyboard will appear in your device list. Keep in mind that Bluetooth keyboards may need re-pairing after battery changes or system updates.
Testing Your Keyboard
After connecting, test that every key works. Open a text document or a simple text editor. Press each key one by one, including function keys, number row, and modifiers like Shift, Ctrl, and Alt. Check that the Caps Lock, Num Lock, and Scroll Lock lights respond when pressed. If some keys do not produce characters, the connection may be loose, or the keyboard may require specific drivers. For wireless keyboards, ensure the batteries have enough charge. If the keyboard is not recognized at all, try a different USB port or restart your computer. Testing ensures your keyboard is fully functional before you start serious work or gaming.
Configuring Keyboard Language and Layout
Now set your preferred keyboard language and layout. On Windows, go to Settings, then Time and Language, and select Language. Under Preferred languages, choose your language and click Options. Here you can add a keyboard layout, such as US QWERTY, UK QWERTY, or AZERTY if you use a different region. On macOS, open System Preferences, click Keyboard, then Input Sources, and add your layout. On Linux, you can change this in the keyboard settings of your desktop environment. Correct layout ensures keys produce the expected characters, especially for symbols and letters with accents. If you frequently switch between languages, you can enable a language bar or a shortcut to toggle layouts quickly.

Adjusting Keyboard Settings for Comfort and Productivity
Modern operating systems let you customize many keyboard behaviors. Increase or decrease the repeat delay and repeat rate to match your typing speed. This is found in keyboard properties on Windows, typically under the Keyboard settings in Control Panel. You can also turn on sticky keys, filter keys, or toggle keys if you have accessibility needs. For gaming keyboards, software like Logitech G Hub or Razer Synapse lets you remap keys, create macros, and adjust lighting. Disable features like Num Lock or Scroll Lock if you never use them. Adjust the keyboard height using the tilt legs on the bottom of the keyboard. Find a position that reduces wrist strain. Consider using a wrist rest if you type for long periods.
Common Troubleshooting Steps
If your keyboard does not work after connecting, do not panic. Start with simple checks. Make sure the keyboard is turned on if it is wireless. Verify the batteries are installed correctly and have power. For wired keyboards, check that the cable is fully inserted into the port. Try a different USB port, preferably one directly on the computer motherboard. If using a PS/2 keyboard, shut down the PC and plug it in before restarting. For Bluetooth keyboards, remove the device from your PC's Bluetooth list and pair again. Restart your computer if the keyboard is still unrecognized. If none of these work, test the keyboard on another computer to see if it is defective. Driver issues are rare for standard keyboards, but you can check Device Manager for any yellow exclamation marks. Update the driver or reinstall it if necessary.

Here are some quick troubleshooting steps in a list:
- Ensure the keyboard is powered on and batteries are fresh.
- Check that the USB or PS/2 cable is securely connected.
- Try a different USB port on your computer.
- Restart your PC after connecting.
- For Bluetooth, delete the device and repair it.
- Inspect the keyboard for physical damage.
- Update or reinstall keyboard drivers from Device Manager.
- Test the keyboard on another system to isolate the issue.
Comparing Keyboard Connection Types
Different connection methods have pros and cons. The table below summarizes the main types to help you decide which setup works best for your needs.
| Connection Type | Latency | Range | Ease of Setup | Battery Needed |
|---|---|---|---|---|
| Wired USB | Very low | Limited by cable length | Plug and play | No |
| Wireless USB Receiver | Low to moderate | Up to 10 meters | Simple pairing | Yes |
| Bluetooth | Moderate | Up to 10 meters | Requires pairing | Yes |
| PS/2 | Very low | Limited by cable length | May need reboot | No |
Choose wired for minimal lag and no battery concerns. Choose wireless receiver for easy setup and decent range. Choose Bluetooth if you want to connect multiple devices or avoid dongles. PS/2 is mostly for older systems but offers low latency.
Software and Driver Installation
Most keyboards work with built-in operating system drivers. However, advanced keyboards often require manufacturer software to unlock full functionality. This software allows you to program macro keys, customize lighting, and create profiles for different games or applications. Download the latest version from the keyboard brand's official website, such as Logitech, Corsair, or Razer. Installing this software may require administrative privileges. Follow the on-screen instructions, and restart your computer if prompted. Some software also offers firmware updates that can fix bugs or add new features. Keep your keyboard drivers and software up to date for the best performance. If you ever lose the software, you can usually reinstall it from the support page of the manufacturer.
Final Configuration and Tips
Once everything is connected and working, set up your keyboard shortcuts for common tasks. For example, you can use keyboard shortcuts to open the task manager, switch between applications, or lock the screen. On Windows, learn shortcuts like Windows Key + D to show desktop, or Windows Key + E to open File Explorer. On macOS, use Command + Space for Spotlight. You can also create custom shortcuts in some applications. Consider using a keyboard cover or cleaning it regularly to keep it in good condition. For wireless keyboards, turn off the keyboard when not in use to save battery. Place the keyboard on a stable, flat surface for comfortable typing. Adjust the angle so your wrists are straight. Taking these steps will ensure your keyboard setup enhances your productivity and comfort.
References
This article used information from several sources. Tecnobits provided guidance on unboxing and checking keyboard contents, as well as final testing and configuration steps at Como fazer um teclado caseiro para PC. Their article on keyboard connection details was also used for identifying ports and connection procedures at Como conectar o teclado ao PC. Dell support documentation offered insights on PS/2 and USB physical connection steps and the need for reboot with PS/2 keyboards. TechInfus provided specific instructions for connecting wireless keyboards via Bluetooth and USB receivers from their guide on wireless keyboard connection.