Why Regular Printer Cleaning Matters
Keeping your printer clean is one of the most effective ways to maintain print quality and extend the lifespan of your device. Over time, dust, ink residue, and paper debris accumulate inside the printer, leading to streaks, smudges, faded prints, and paper jams. Many users ignore routine maintenance until problems arise, but a simple cleaning schedule can prevent costly repairs and replacement cartridges. Whether you own an inkjet or laser printer, understanding the proper cleaning methods for each component ensures consistent, professional-looking output.
Safety Precautions Before You Start
Before you begin any cleaning procedure, safety must come first. Always turn off the printer and unplug it from the electrical outlet to avoid the risk of high-voltage shock. Laser printers contain hot internal components, so you must wait for the printer to cool down completely before opening the casing. Never use warm or hot water on toner, as heat can melt the toner powder and cause permanent damage to internal parts. Avoid touching the drum of a laser printer or the mirror inside the paper tray, because oils from your skin or abrasive materials can scratch these sensitive surfaces. Use only approved cleaning supplies such as lint-free microfiber cloths, isopropyl alcohol at 70 percent or higher, and distilled water. Paper towels, tissues, bleach, ammonia, and peroxide can scratch or corrode printer surfaces and should never be used.
Cleaning the Exterior and Control Panel
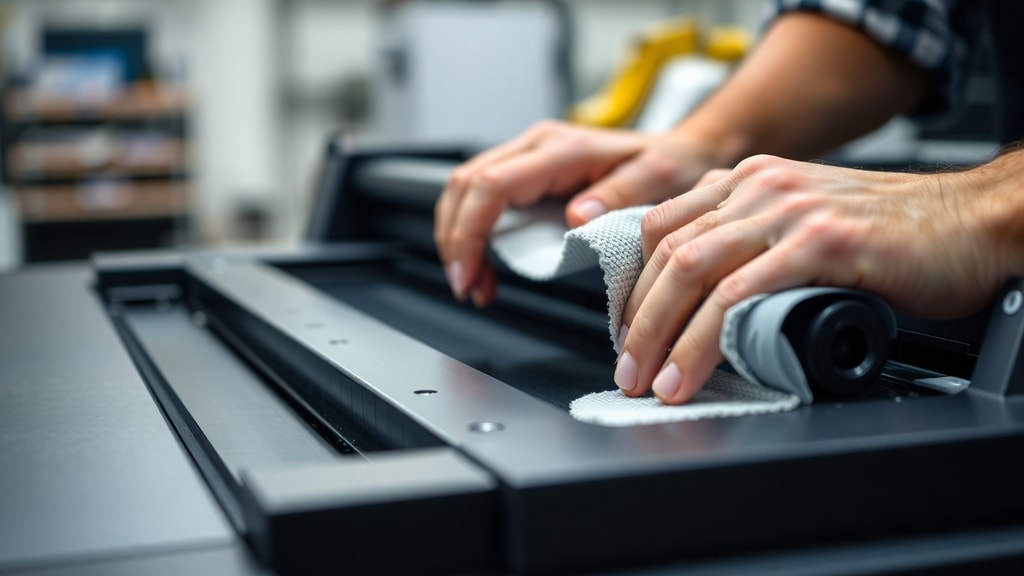
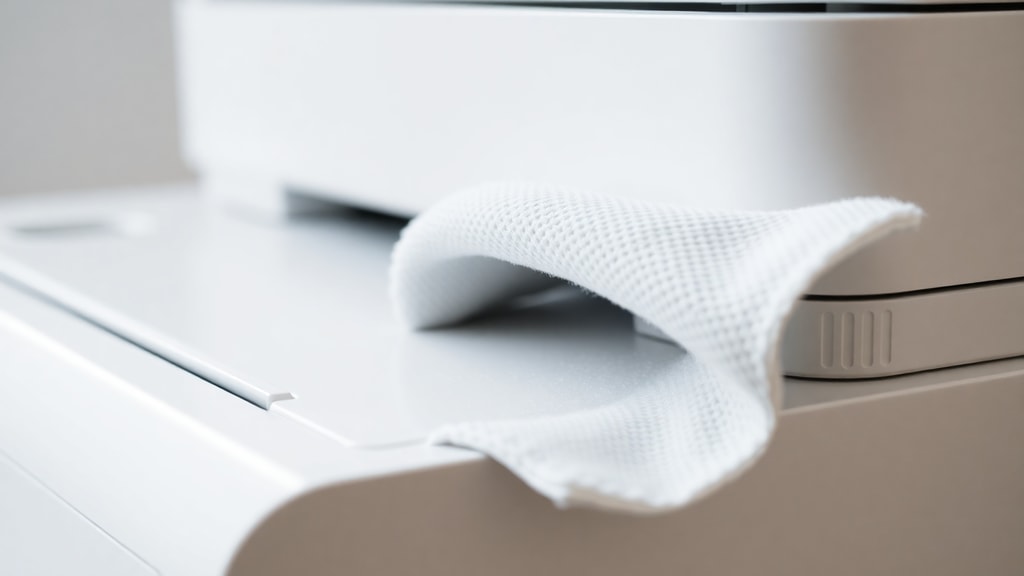
The exterior of your printer collects dust, fingerprints, and smudges from daily use. To clean it safely, take a lint-free microfiber cloth and slightly dampen it with water or a small amount of isopropyl alcohol. Wipe down the top cover, side panels, paper trays, and the control panel display. Do not spray any cleaning solution directly onto the printer; moisture can seep into vents and damage internal electronics. For stubborn residue, apply the solution to the cloth first. Pay attention to handles and buttons that get frequent contact. Avoid using abrasive pads or harsh chemicals, which can dull the finish and scratch plastic surfaces. Regular exterior cleaning not only keeps your printer looking new but also prevents dust from entering the paper path.
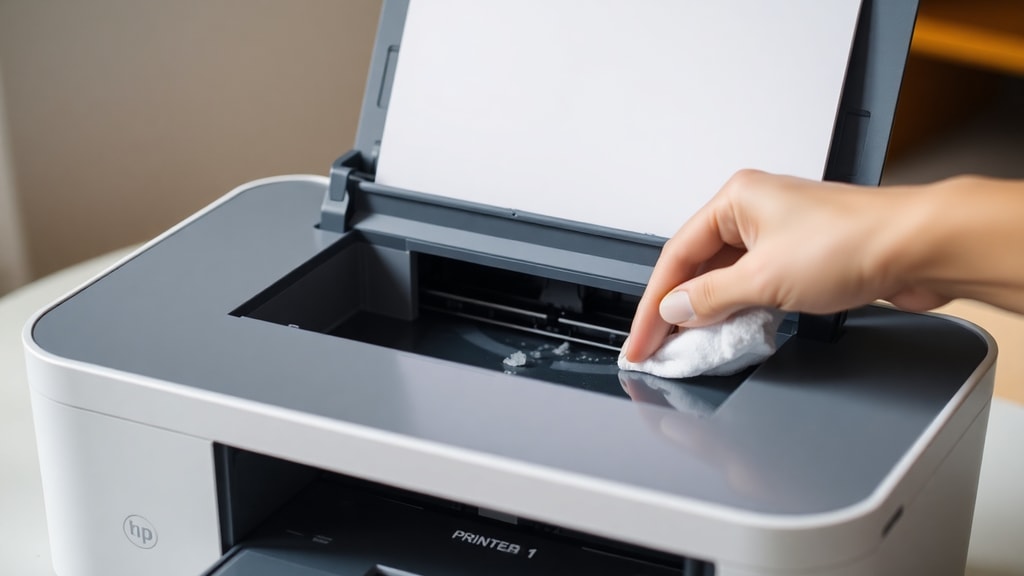
Cleaning Print Heads for Inkjet Printers
Print heads are the most critical components in an inkjet printer. They deliver tiny droplets of ink onto paper, and when they become clogged with dried ink, you will notice missing lines, banding, or faded colors. Many inkjet printers have a built-in cleaning cycle accessible through the driver software or control panel. Running this cycle once or twice can often clear minor clogs. For stubborn blockages, you can perform a manual cleaning. Remove the ink cartridges and locate the print head assembly. Moisten a soft swab with distilled water or isopropyl alcohol and gently wipe the nozzle plate. Do not press hard or use abrasive materials, as this can damage the delicate nozzles. Allow the print head to dry completely before reinstalling the cartridges. Running a nozzle check pattern after cleaning helps confirm that all jets are firing correctly.
Cleaning Rollers and Paper Path
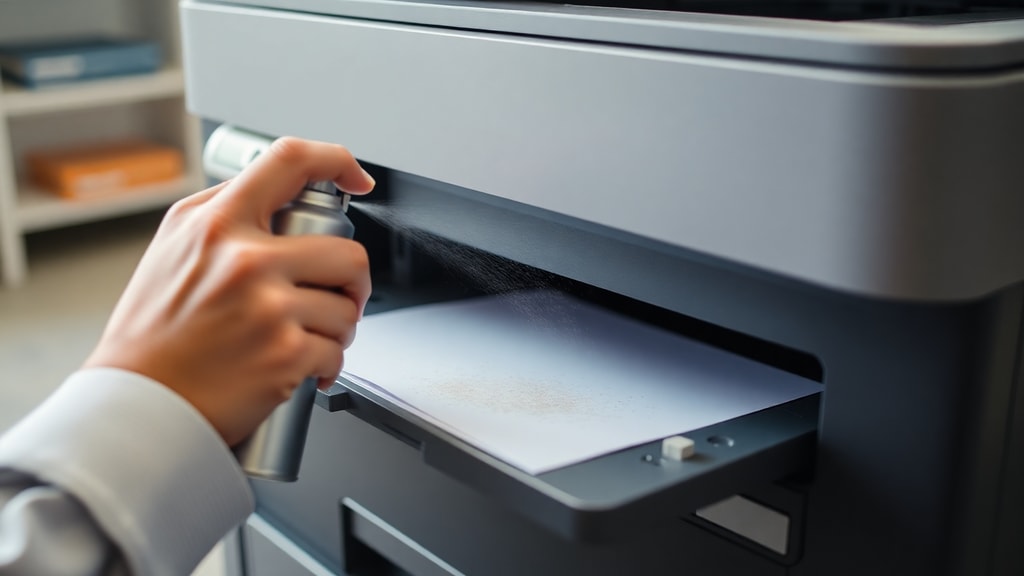
Paper-feed rollers are rubber components that pull sheets into the printer. Over time, they accumulate paper dust, ink residue, and debris, causing slips, skewed prints, and frequent paper jams. To clean them, first remove any loose paper from the tray. Dampen a lint-free cloth with isopropyl alcohol and wipe the rollers while rotating them manually. You should be able to see the dirt transfer onto the cloth. Do not touch the transfer rollers that are sponge-like; these are sensitive and can be damaged by cleaning. For the paper path inside the printer, use a soft brush or compressed air to remove loose dust and paper fragments. A vacuum with a HEPA filter can also be used carefully to capture particles without scattering them into the air. Regular roller cleaning every few months prevents most paper-feeding issues.
Laser Printer Cleaning Special Considerations
Laser printers require different cleaning methods because they use toner powder instead of liquid ink. Toner is a fine, dry powder that can become airborne and settle inside the machine. Using a standard household vacuum is not recommended, because it can blow toner particles into the air or create static electricity that damages components. Instead, use a vacuum equipped with a HEPA filter to safely capture fine toner dust. Open the printer casing and gently vacuum the interior, focusing on the toner cavity, transfer belt area, and any visible dust accumulations. Use a dry, lint-free cloth and a soft printer brush to wipe surfaces. Never use water or cleaning solutions on toner spills; instead, absorb excess toner with a paper sheet. Avoid touching the drum unit, which is a green or blue cylindrical component. Oils from your skin can cause print defects. If the drum needs cleaning, use a soft, dry cloth specifically designed for printer drums, following the manufacturer instructions.
Common Printer Problems Solved by Cleaning
Many print quality issues have simple cleaning solutions. If you see vertical streaks or lines, the print heads or drum may be dirty. Horizontal bands often indicate roller residue. Faded prints can result from clogged nozzles or toner buildup. Paper jams frequently occur when rollers lose grip due to accumulated dust. Ghosting, where faint images appear on the next page, may be caused by toner residue on the fuser unit. Before replacing expensive parts or cartridges, try cleaning the relevant components. A quick maintenance session can save time and money while restoring crisp, vibrant output.
Step-by-Step Cleaning Checklist
To make your cleaning routine easier, use the following checklist to ensure you do not miss any important steps.
- Turn off and unplug the printer, then wait for it to cool.
- Remove all paper from trays and open all access covers.
- Clean the exterior with a damp microfiber cloth.
- Run the printer software cleaning cycle for inkjet print heads.
- Manually clean print heads with alcohol if the cycle fails.
- Wipe paper-feed rollers with alcohol on a lint-free cloth.
- Vacuum interior toner dust with a HEPA filter vacuum.
- Gently clean the laser printer drum only if necessary.
- Allow all parts to dry completely before closing the printer.
- Reload paper and run a test print to verify quality.
Recommended Cleaning Frequency Table
Different printer components require cleaning at different intervals. The table below provides a general schedule based on typical home or small office use. Adjust frequency based on your printing volume and environment.
| Component | Recommended Frequency | Cleaning Method |
|---|---|---|
| Exterior surfaces | Every 1-2 months | Damp microfiber cloth |
| Print heads (inkjet) | Monthly or when streaks appear | Software cycle or manual alcohol wipe |
| Paper-feed rollers | Every 3 months or after jams | Isopropyl alcohol on lint-free cloth |
| Toner cavity (laser) | Every cartridge change or if dusty | HEPA vacuum and dry cloth |
| Drum unit (laser) | Only when print defects occur | Dry, soft drum-safe cloth |
| Paper path interior | Every 6 months | Compressed air or soft brush |
Additional Maintenance Tips for Long-Term Performance
Beyond cleaning, several habits can improve print quality and reduce the need for frequent maintenance. Always use high-quality paper that matches your printer type, as low-grade paper sheds more dust and fibers. Store paper in a dry, cool area to prevent moisture absorption, which can cause curling and jams. Keep ink cartridges sealed until you are ready to install them, and use them before the expiration date. For laser printers, avoid overfilling the toner hopper, as excess powder can spill inside. If you do not print often, run a small print job once a week to keep ink flowing and prevent nozzles from drying out. When moving or storing the printer, secure all cartridges and remove paper to avoid shifting debris.
When to Seek Professional Service
While regular cleaning resolves most issues, some situations require professional help. If you have cleaned the print heads and rollers thoroughly but still see persistent streaks, banding, or misalignment, there may be a hardware fault. Unusual noises, burning smells, or error messages that do not clear after cleaning indicate deeper problems. Laser printers contain high-voltage components and fuser units that operate at high temperatures; only trained technicians should service these parts. If your printer is under warranty, consult the manufacturer before attempting any disassembly. Professional cleaning services can also deep-clean internal mechanisms that are difficult to access with standard tools.
Tools and Supplies You Should Keep
Having the right supplies on hand makes cleaning quick and effective. Stock up on lint-free microfiber cloths, which do not leave fibers behind. Isopropyl alcohol at 70 percent or higher works well for dissolving ink and oils. Distilled water is preferable to tap water, which contains minerals that can leave deposits. Soft brushes with natural or synthetic bristles help dislodge dust from crevices. Compressed air cans are useful for blowing out hard-to-reach areas, but avoid shaking them and hold them upright to prevent moisture spray. For laser printers, a vacuum with a HEPA filter is essential for safe toner cleanup. You can find specialized printer cleaning kits online or at office supply stores, but many of these items are inexpensive and reusable.
Benefits of a Clean Printer
Investing time in regular cleaning pays off in several ways. Print quality improves dramatically, with sharp text, vivid colors, and no unwanted lines or spots. Fewer paper jams reduce frustration and waste. The printer runs more efficiently, using less ink or toner because nozzles and rollers are clear. Extending the life of your printer delays the cost of a replacement and reduces electronic waste. A clean printer also looks professional in a home office or workplace setting. When you need to produce important documents, photos, or reports, you can rely on your printer to deliver consistent results every time.
Final Thoughts on Printer Maintenance
Printer cleaning does not have to be a daunting task. With the right knowledge and a few simple tools, you can keep your device in top condition for years. Make it part of your routine maintenance, just like cleaning your computer keyboard or monitor. Establish a schedule based on your usage, and address print issues as soon as they appear rather than waiting for them to worsen. By following the tips outlined in this article, you can enjoy better print quality, fewer interruptions, and a printer that serves you reliably.
References
Red River Paper. How to Clean and Maintain Your Inkjet Printer. Retrieved from https://www.redrivercatalog.com/infocenter/how-to-clean-and-maintain-your-inkjet-printer.html
HP Tech Takes. Extend Your Printer Life with Simple Maintenance. Retrieved from https://www.hp.com/us-en/shop/tech-takes/extend-your-printers-life
Office Depot. Printer Maintenance Ideas. Retrieved from https://www.officedepot.com/l/ideas-center/find-solutions/printer-maintenance
Xerox. How to Clean Printers. Retrieved from https://www.xerox.com/en-us/about/how-to-clean-printers
Lenovo. How to Clean a Printer Head. Retrieved from https://www.lenovo.com/us/en/glossary/how-to-clean-a-printer-head/