Understanding Why You Might Need to Reset Audio Settings
Audio problems are among the most common issues computer users face. You might suddenly lose sound, hear crackling, experience low volume, or notice that your microphone stops working. In many cases, the root cause is not hardware failure but a misconfiguration in your audio settings. Over time, updates, driver changes, or accidental adjustments can corrupt the sound profile. Resetting these settings restores them to factory defaults, which often resolves the problem without requiring technical expertise. This article will walk you through several reliable methods to reset audio settings quickly and easily on Windows 10 and Windows 11. Each method addresses different layers of the audio system, from software settings to drivers and services.
Method 1: Reset Audio Settings in Windows 11
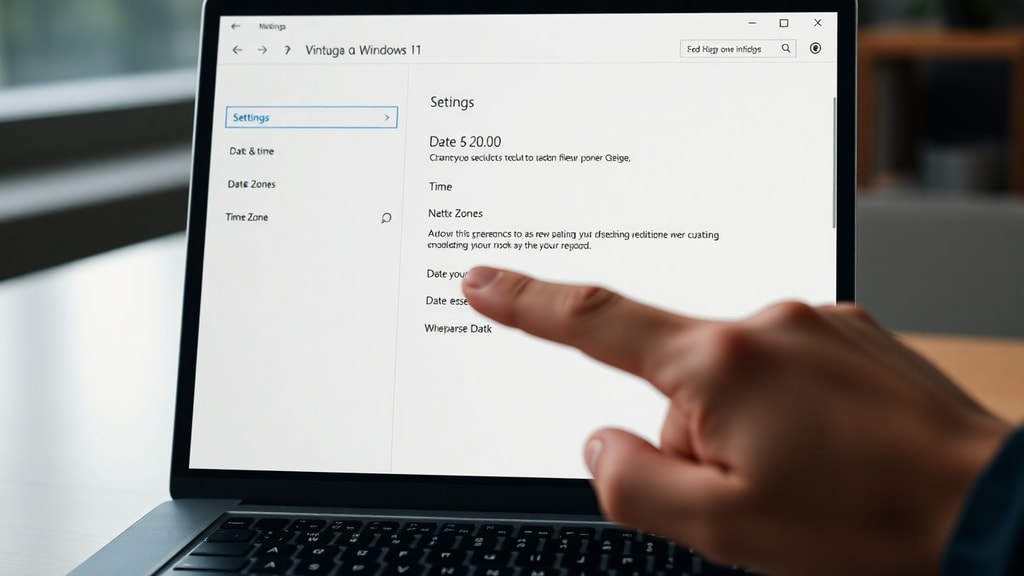
Windows 11 includes a dedicated reset option within the Sound settings page. This feature restores your volume levels, device preferences, and spatial sound settings to Microsoft's recommended defaults. To use it, open the Settings app by pressing Windows key + I. Navigate to System and then Sound. Scroll down until you see the section labeled Advanced. Click on All sound devices if available, or look directly for a button that says Reset. In the latest versions of Windows 11, the reset button is located under the Volume mixer or Output settings. Once you click Reset, your primary playback and recording devices will revert to standard configurations. This method is particularly useful if you have been experimenting with different audio enhancements or have accidentally muted certain applications. It does not affect your drivers, so it is a safe first step for anyone experiencing generic sound issues. For more details, Microsoft’s official support page provides guidance on this process. Microsoft Support confirms that this reset restores volumes and devices to their standard states.
Method 2: Reset Audio Settings in Windows 10
Windows 10 does not have a one-click reset like its successor, but you can achieve the same result through the Sound Control Panel. To access it, go to Settings, then System, and click on Sound. Under the Related Settings section, select Sound Control Panel. This opens a classic dialog box with multiple tabs. On the Playback tab, right-click your default device and choose Properties. Navigate to the Advanced tab. Here you will find an option to disable audio enhancements. Uncheck the box that says Enable audio enhancements and click Apply. Some versions of Windows 10 also include a Reset button on the Sound page itself, located under the device properties. If you see it, use it to restore defaults. Alternatively, you can adjust the default format to the highest possible quality to ensure compatibility. This method is effective for fixing distorted sound, latency, or apps that cannot access the audio device. The process is well documented by ZDNET, which highlights that disabling enhancements often resolves stubborn audio conflicts. ZDNET’s guide explains that this approach is a reliable way to restore clean audio output without reinstalling any software.
Method 3: Reinstall Audio Drivers via Device Manager
Sometimes the issue lies deeper within the driver layer. Corrupted or incompatible audio drivers can cause complete sound loss or severe distortion. Reinstalling the driver forces Windows to load a fresh copy, effectively resetting all driver-level settings. To do this, press Windows key + X and select Device Manager. Expand the section called Sound, video and game controllers. Locate your audio device, which might be listed as Realtek Audio, High Definition Audio Device, or something similar. Right-click it and choose Uninstall device. A confirmation dialog appears; check the box that says Attempt to remove the driver for this device if you want a completely clean slate. After the uninstallation completes, restart your computer. Upon reboot, Windows will automatically detect the missing hardware and reinstall the driver. If it does not, you can manually trigger a scan by selecting Action and then Scan for hardware changes in Device Manager. This method resets all custom configurations, including enhancements, spatial sound profiles, and default formats. It is especially useful after a major Windows update or when a new peripheral has caused a conflict. Microsoft Learn notes that this process effectively restores audio settings to their original state.
Method 4: Disable Audio Enhancements
Audio enhancements are software effects applied by the operating system or driver to improve sound quality. They include features like bass boost, loudness equalization, virtual surround, and room correction. While these can enhance the experience, they often conflict with applications or cause crackling, echo, or muffled audio. Disabling all enhancements resets the audio processing chain to a clean, unaltered signal. To access this setting, right-click the speaker icon in the system tray and select Sound settings. Then open the Sound Control Panel by clicking More sound settings or Sound Control Panel. Right-click your default playback device and choose Properties. Go to the Enhancements tab. You will see a list of available enhancements with checkboxes. Select the checkbox that says Disable all enhancements or Disable all sound effects. Some versions of Windows may show a different label, but the function is the same. Click Apply and then OK. If you do not see an Enhancements tab, your driver may not support it, or the device may be using a universal driver. In that case, use the Advanced tab to uncheck Enable audio enhancements. This simple reset can fix issues with audio dropping out, metallic sounds, or apps that crash when playing sound. All Things Windows confirms that disabling all enhancements is a standard troubleshooting step for audio conflicts.
Method 5: Reset the Windows Audio Service
The Windows Audio service is a background process that manages all sound output and input. If this service stops running or becomes corrupted, you will have no audio at all. Restarting the service resets its state and clears any temporary glitches. To do this, press Windows key + R to open the Run dialog, type services.msc, and press Enter. Scroll down until you find a service named Windows Audio. Right-click it and select Restart. If the service is already stopped, choose Start instead. After restarting, ensure that the startup type is set to Automatic. You can check this by right-clicking the service, selecting Properties, and looking at the Startup type dropdown. If it is not Automatic, change it and click Apply. For more thorough reset, you can also restart the Windows Audio Endpoint Builder service, which handles endpoint detection. Right-click it and select Restart as well. This method is particularly effective after installing new audio hardware or when the sound icon in the system tray shows a red X. It does not affect your personal settings, but it reinitializes the audio subsystem. The procedure is recommended by ZDNET as a fast way to restore audio functionality without making permanent changes.
Step-by-Step List for Resetting the Windows Audio Service
To make the process even clearer, here is a numbered list of the exact actions you need to take:
- Press Windows key + R on your keyboard.
- Type services.msc and press Enter.
- Locate the service named Windows Audio in the list.
- Right-click on it and select Restart.
- Also right-click Windows Audio Endpoint Builder and select Restart.
- Close the Services window and test your audio.
This simple reset often resolves issues where sound suddenly stops working after a sleep cycle or when switching audio devices.
Troubleshooting Common Audio Issues After Reset
Once you have reset your audio settings using one of the methods above, you may still encounter minor issues. The table below outlines common post-reset problems and their solutions.
| Issue | Possible Cause | Solution |
|---|---|---|
| No sound after driver reinstall | Default device not selected | Right-click speaker icon, select Sounds, and set correct device as default. |
| Volume still too low | Volume mixer levels are low | Open Volume Mixer and raise each slider individually. |
| Crackling sound persists | Sample rate mismatch | Go to device properties, Advanced tab, and lower the default format to 16 bit, 44100 Hz. |
| Microphone not working | Privacy settings blocking access | Go to Settings, Privacy & security, Microphone, and allow app access. |
| Sound cuts out randomly | Power management on audio device | In Device Manager, right-click audio device, Properties, Power Management tab, uncheck Allow computer to turn off this device. |
This table covers the most common scenarios after a reset. If the problem continues, you may need to try a different reset method or check for Windows updates that include audio driver patches.
Additional Tips for Maintaining Stable Audio Settings
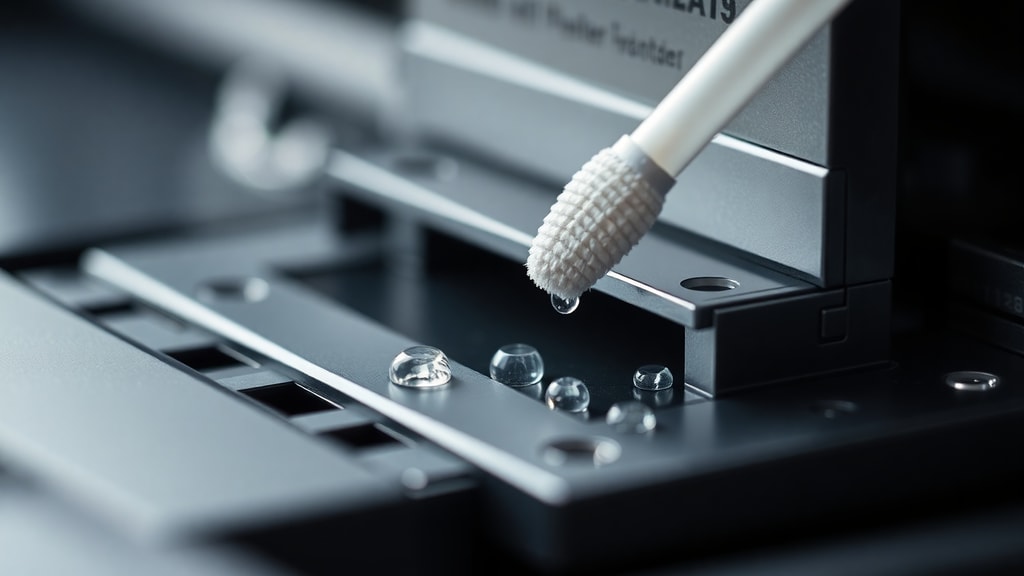
After successfully resetting your audio configuration, you can take a few precautions to prevent future problems. First, avoid installing third-party audio managers or equalizers unless you fully understand their impact. These tools often override system settings and can cause conflicts. Second, keep your audio drivers updated through Windows Update or your device manufacturer’s website. Outdated drivers are a leading cause of audio issues. Third, regularly clean your audio jacks and ports with compressed air to prevent hardware problems that mimic software faults. Finally, create a system restore point before making major changes to audio settings. This allows you to revert quickly if something goes wrong. Maintaining a clean audio profile will save you time and frustration in the long run. Most users find that a simple reset every few months keeps their sound system running smoothly, especially after installing new applications or peripherals.
When to Seek Professional Help
While the methods described here resolve the vast majority of audio problems, there are situations where professional assistance is warranted. If you have tried all five reset techniques and still experience no sound, it could indicate a hardware issue. Faulty speakers, damaged audio jacks, or a failing sound card require physical repair or replacement. Similarly, if the audio problem only occurs in one specific application, that application may need to be reinstalled or updated. In rare cases, a malware infection can disable audio services repeatedly. Running a full antivirus scan is advisable. If your computer is under warranty, contact the manufacturer before attempting any hardware repairs. For business users, resetting audio settings can be part of a broader IT troubleshooting workflow, and documented procedures help maintain consistency across devices.
References
Microsoft Support. "Fix sound or audio problems in Windows." Accessed March 2025. https://support.microsoft.com/pt-br/windows/corrigir-problemas-de-som-ou-%C3%A1udio-no-windows-73025246-b61c-40fb-671a-2535c7cd56c8
ZDNET. "How to reset your audio settings in Windows." Accessed March 2025. https://www.zdnet.com/article/how-to-reset-your-audio-settings-in-windows/
Microsoft Learn. "Get help with audio settings." Accessed March 2025. https://learn.microsoft.com/pt-br/answers/questions/3943744/obter-ajuda-com-as-configura-es-de-som-estou-tendo
All Things Windows. "Disable all audio enhancements in Windows." Accessed March 2025. https://windows.atsit.in/12516/