Understanding Car Head Gasket Cleaning and Repair
Car head gasket cleaning and repair is a critical maintenance procedure for any vehicle owner. The head gasket sits between the engine block and the cylinder head, sealing the combustion chambers and preventing coolant and oil from mixing. Over time, this gasket can fail due to overheating, age, or improper installation. When it fails, you may notice white smoke from the exhaust, coolant loss, or oil contamination. Cleaning the head gasket area involves removing old gasket material, carbon deposits, and residue to ensure a proper seal when replacing the gasket. This guide covers the definition, when to perform the procedure, methods for cleaning, recommended products, and precautions to avoid damage.
The term limpeza de cabecote, which translates to head gasket cleaning, refers to the process of removing deposits and residues from the cylinder head surface. This is essential for restoring engine performance and preventing further damage. Whether you are a DIY enthusiast or a professional mechanic, understanding the steps and tools involved can save you time and money. A clean surface ensures that the new gasket seals correctly, reducing the risk of future leaks.
Definition of Head Gasket Cleaning
Head gasket cleaning, or limpeza de cabecote, is a procedure that removes accumulated deposits of carbon, oil, coolant residue, and old gasket material from the cylinder head and engine block surfaces. These deposits can form over time due to combustion byproducts, coolant leaks, or oil contamination. If left uncleaned, they prevent a tight seal, leading to compression loss, overheating, and engine failure. The cleaning process can be performed using chemical solvents, manual scraping, or specialized tools. Proper cleaning is vital for any head gasket replacement or engine repair job.
According to Cidesp, a leading source for printing and automotive maintenance, limpeza de cabecote is also relevant for inkjet printers where nozzle cleaning removes dried ink deposits. However, in the automotive context, it focuses on the engine head gasket. The definition emphasizes removing all foreign material to create a smooth, clean surface. This ensures the new gasket bonds effectively and lasts longer.
When to Perform Head Gasket Cleaning
You should perform head gasket cleaning when you observe specific warning signs. Common indicators include white smoke coming from the exhaust, which suggests coolant burning in the combustion chamber. Another sign is a sweet smell from the exhaust or under the hood. You might also notice oil that looks milky or frothy, indicating coolant mixing with oil. Overheating, loss of coolant without visible leaks, and bubbling in the radiator or coolant reservoir are further symptoms. If you experience any of these, it is essential to check the head gasket and clean the surfaces before replacing it.
Epson Support recommends cleaning the print head when printing shows missing dots, white bands, or low color density. Similarly, for car engines, cleaning the cylinder head is necessary when the gasket has failed. Perform this procedure during a head gasket replacement, engine rebuild, or when inspecting the engine for performance issues. Ignoring these signs can lead to severe engine damage, including warped cylinder heads or cracked blocks.
How to Clean a Head Gasket Using Software Methods
While software methods are typical for printer head cleaning, the automotive world relies on mechanical and chemical methods. The concept of using software to clean a car head gasket does not apply. Instead, you use manual cleaning techniques. However, if your vehicle has a diagnostic system, you can use software to monitor engine parameters and identify gasket failure. For actual cleaning, you must remove the cylinder head and physically clean it.
For printer heads, as explained in the Epson L3250 tutorial, you can use the printer driver utility. Go to Control Panel, select Printers, then Configuration, and click Head Cleaning. This sends cleaning cycles through the nozzles. For car engines, no software cleaning exists. You must rely on manual methods and chemical products to remove deposits from the head gasket surface.
How to Clean a Head Gasket Manually
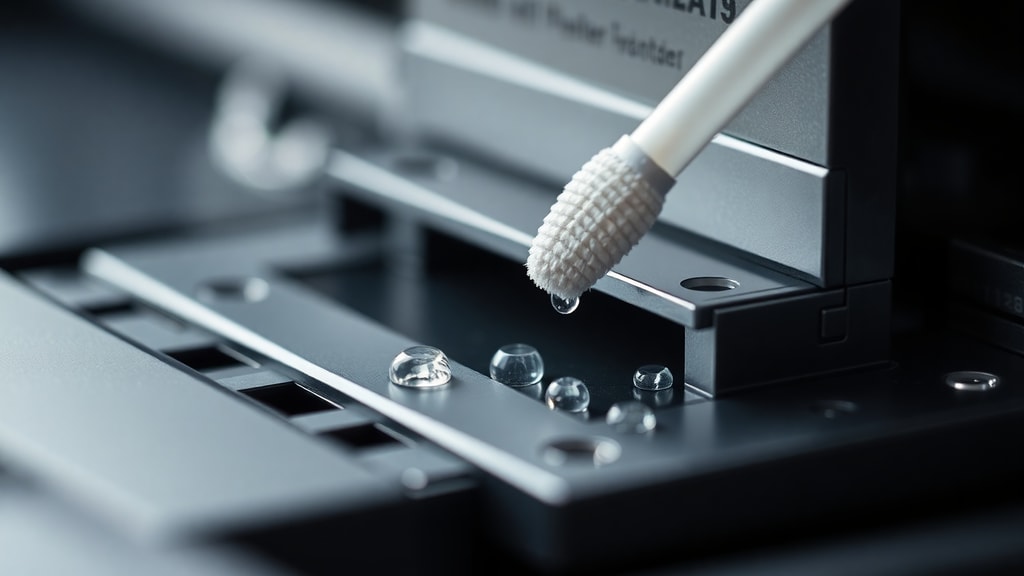
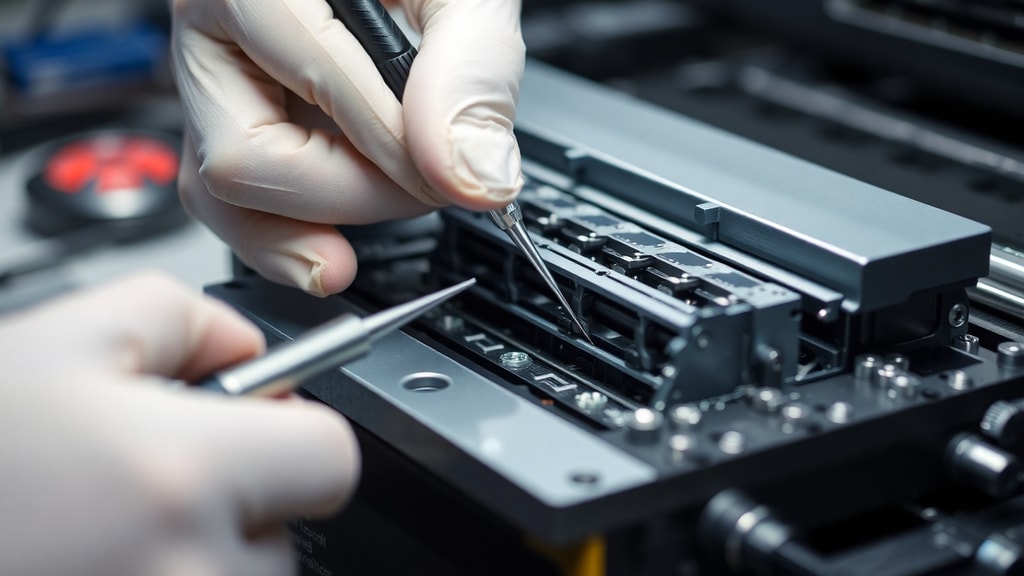
Manual head gasket cleaning is the primary method for vehicles. Start by disconnecting the battery and draining the coolant and oil. Remove the cylinder head bolts and lift the head off the block. Carefully scrape off the old gasket material using a plastic scraper or a razor blade. Avoid using metal scrapers that can scratch the surface. After scraping, apply a chemical cleaner to dissolve carbon deposits. Let it sit for 2 to 24 hours, depending on the product instructions. Then, use a soft brush or cloth to wipe away residue. Finally, clean the surface with isopropyl alcohol to remove any remaining oil or grease.
According to the Epson L3110 tutorial, manual printer head cleaning involves applying cleaning solution directly to the nozzles with cotton or a brush and letting it sit. For car heads, the technique is similar but uses more robust tools. You can use a drill brush attachment with a soft bristle to scrub stubborn deposits. Ensure the surface is perfectly flat and clean before installing the new gasket. Any unevenness can cause leaks.
Recommended Products for Head Gasket Cleaning
Several products are effective for cleaning head gasket surfaces. One popular choice is decarburizer C-30, which dissolves carbon deposits without damaging metal. Another is chrome polish or green polish from brands like Limflex. These products are designed for automotive use and can remove heavy residue. Always choose a cleaner specifically formulated for engine parts. Avoid using harsh chemicals like brake cleaner or acetone on aluminum heads, as they can cause corrosion.
Below is a table of common products and their recommended uses:
| Product Name | Type | Best For |
|---|---|---|
| Decarburizer C-30 | Chemical solvent | Carbon deposits on iron and aluminum heads |
| Limflex Chrome Polish | Abrasive polish | Removing old gasket residue and light corrosion |
| Isopropyl Alcohol | Solvent | Final cleaning to remove oil and grease |
| Plastic Razor Blade Set | Tool | Scraping without scratching surfaces |
Before using any product, read the manufacturer instructions. Test on a small area first to ensure compatibility with your engine material. Proper product selection makes cleaning more effective and reduces effort.
Precautions for Safe Head Gasket Cleaning
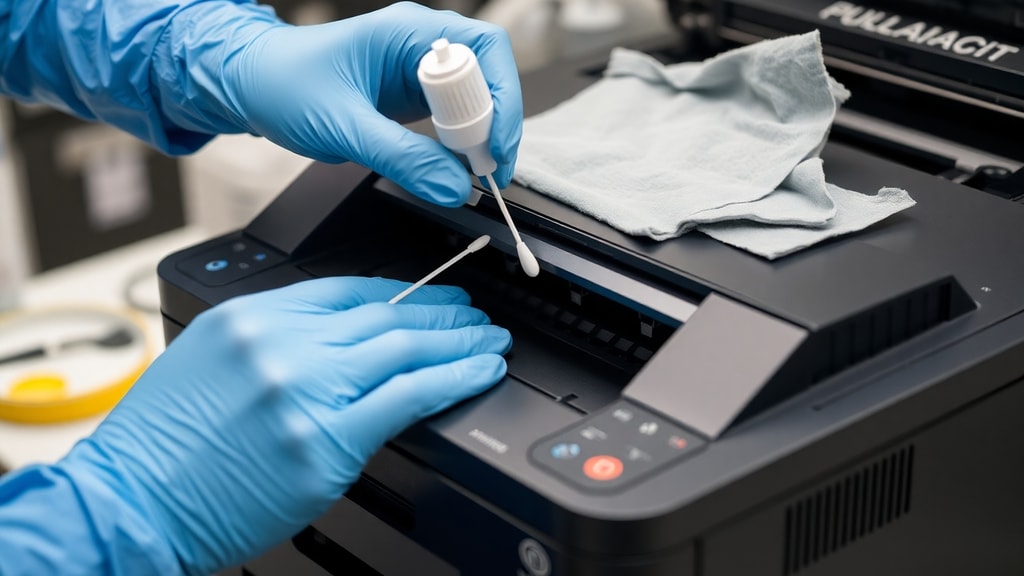
Cleaning a head gasket area requires caution to avoid damaging the engine. First, never use cotton swabs around the head gasket surface or near the cylinder head. They can leave fibers that clog oil passages or prevent a proper seal. Avoid using steel wool or abrasive pads that can scratch the metal. Scratches create pathways for leaks. Instead, use plastic scrapers and soft cloths.
According to Mimaki Brasil, which focuses on printer maintenance, precautions include not rubbing with stiff brushes on the print head. For car engines, similar care applies. Do not use metal brushes on aluminum cylinder heads. Always wear safety gloves and goggles when handling chemicals. Work in a well-ventilated area. Ensure the engine is cool before starting. If you are unsure, consult a professional mechanic. Proper precautions prevent costly mistakes.
Alternative Approaches for Head Gasket Cleaning
Some manufacturers, like HP, recommend alternative methods for print head cleaning, such as using alcohol and cotton swabs or a paper clip to clear clogs. In automotive contexts, alternatives include using a head gasket sealer instead of replacing the gasket. However, these are temporary fixes. The best long-term solution is to clean and replace the head gasket properly. Some people use oven cleaner or carburetor cleaner, but these can be too aggressive. Stick to dedicated automotive products.
If you need additional guidance, refer to this list of steps for manual cleaning:
- Disconnect battery and drain fluids.
- Remove cylinder head and old gasket.
- Scrape off residue with a plastic scraper.
- Apply chemical cleaner and let it sit.
- Scrub with a soft brush or cloth.
- Wipe clean with isopropyl alcohol.
- Inspect for warpage or damage.
- Install new gasket and reassemble.
Following these steps ensures a thorough clean. For more information, see Cidesp: Limpeza de Cabeçote: O Que É e Como Fazer for a broader understanding of cleaning procedures.
Advanced Tips for Professional Results
For best results, after cleaning, use a straight edge and feeler gauge to check the cylinder head for warpage. If the head is warped, it must be machined flat before installation. Apply a thin layer of gasket sealant if recommended by the gasket manufacturer. Torque the head bolts in the correct sequence and to the specified torque value. Let the vehicle idle and check for leaks after reassembly.
Regular maintenance can prevent head gasket failure. Keep the cooling system in good condition, use quality coolant, and avoid overheating. If you encounter persistent issues, consult the Epson Support: Limpeza do cabeçote de impressão guide for analogous printer maintenance, which shares principles of thorough cleaning and care. For car engines, professional shops offer hot tank cleaning or ultrasonic cleaning for cylinder heads, which remove all deposits without manual effort.
References
This article was created using information from the following sources:
Cidesp. Limpeza de Cabeçote: O Que É e Como Fazer. Available at: https://cidesp.com.br/post/limpeza-cabecote/
Epson Support. Limpeza do cabeçote de impressão. Available at: https://support.epson.com.br/limpeza-cabeçote
Epson L3250 Tutorial. Limpeza via Windows 11. Available at: https://www.youtube.com/watch?v=JNhSLXMi-9U
Epson L3110 Tutorial. Desentupimento manual. Available at: https://www.youtube.com/watch?v=ajA4g1-A7gs
Limflex. Produto para limpeza de cabeçotes. Available at: https://www.limflex.com.br/produto-limpeza-cabecotes
Mimaki Brasil. Cuidados e Manutenção. Available at: https://brasil.mimaki.com/archives/110/202307/D203679-10_Cuidados%20e%20Manuten%C3%A7%C3%A3o.pdf