Understanding the Concept of Printing an Image on Four Sheets
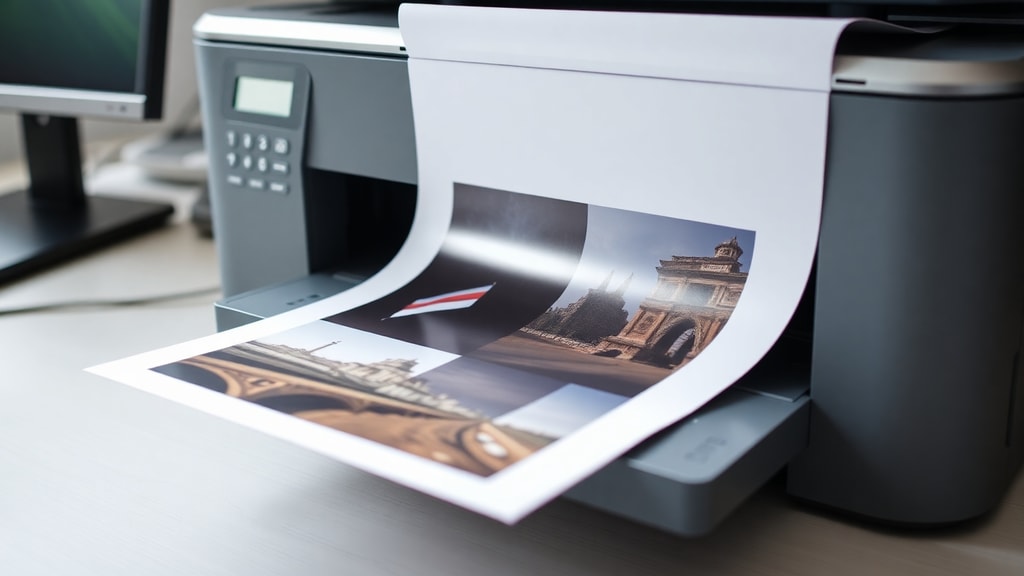
Printing an image across four sheets of paper is a practical technique often called poster or mosaic printing. Instead of sending a huge file to a specialized plotter, you let your regular printer divide a large image into a grid of smaller pages. In this case, you want a 2x2 grid, meaning the image is split into two columns and two rows, resulting in four separate sheets. When assembled, these sheets form a larger version of your original picture. This method is particularly useful for creating posters, banners, or large visuals at home without needing expensive equipment. The process relies on settings within your software or printer driver that handle the slicing automatically.
Preparing Your Image for Printing
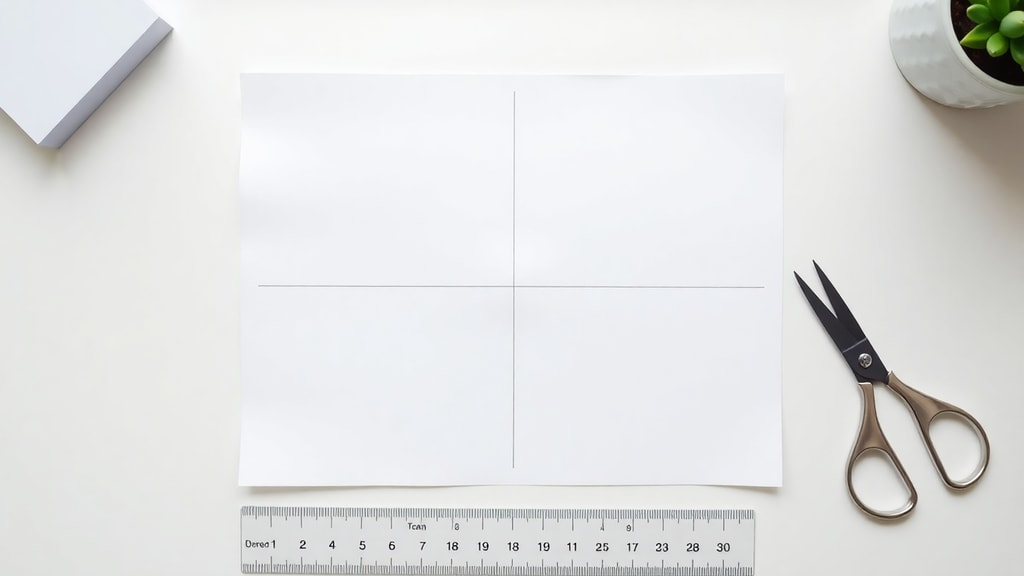
Before you start the printing process, it is essential to prepare your image properly. The quality of the final assembled poster depends heavily on the resolution and aspect ratio of the source file. Use a high-resolution image, ideally with a minimum of 300 DPI, to ensure the individual sheets do not appear pixelated or blurry. If your image is too small, enlarging it across four sheets will make the pixels visible. You can also crop or resize the image to match the proportions you want for the final poster. For example, if you want a square poster, ensure your image is close to square shape so that the 2x2 grid looks balanced. Basic image editing software like Microsoft Paint, Photoshop, or free online tools can help you adjust the size before you open the print dialog.
Using Microsoft Paint for Poster Printing
Microsoft Paint is a simple and widely available tool that includes built-in poster printing options. To print an image on four sheets using Paint, open your image in the program. Go to the File menu and select Print, then choose Page Setup. In the Page Setup window, look for the Scaling section. You will see options like Fit to or Pages. Select the option that says Pages and enter 2 by 2 in the boxes for width and height. This tells Paint to stretch your image across exactly two pages horizontally and two pages vertically. After applying these settings, preview the print layout to see how the image will be divided. Once satisfied, click Print. Paint automatically handles the slicing, and you will receive four printed pieces that fit together seamlessly.
If your version of Paint does not show the Pages option directly, look for a checkbox labeled Fit to page scale. You may need to manually set the scale percentage to something around 100% or adjust the number of pages in the Print dialog. Another approach within Paint is to use the Print command, then select Printer Properties, and find the Multiple Pages or Poster tab. The exact steps can vary slightly depending on your Windows version, but the core idea remains the same: configure the printer to output a 2x2 grid.
| Software | Steps to Print 2x2 Grid |
|---|---|
| Microsoft Paint | Open image > File > Print > Page Setup > Set scaling to 2 by 2 pages > Print |
| Microsoft Word | Insert image > File > Print > Printer Properties > Select Multiple Pages > Set to 2x2 |
| Adobe Reader | File > Print > Poster > set Tile Scale to 100% and overlap 0.005 in |
| Printer Driver (Epson/HP) | Print dialog > Properties > Layout > Poster Printing > Select 2x2 |
Printing from Microsoft Word
Microsoft Word also offers a straightforward method for printing images as a multi-sheet poster. Start by inserting your image into a blank Word document. You can drag and drop the image or use the Insert menu. Once the image is placed, you may resize it to fill the page or leave it at its default size. Go to the File menu and select Print. Before sending the job, click on Printer Properties to access the printer driver settings. Look for a section named Multiple Pages, Page Layout, or Poster Printing. The exact label depends on your printer brand. Choose the option that allows you to print one image across multiple pages. Set the layout to 2 pages wide by 2 pages high, or select a 2x2 grid. Confirm the setting and click Print. Word will split the image and generate four pages, each containing a portion of the original image.
One advantage of using Word is that you can add text or other elements around the image before printing. However, keep in mind that Word may add its own margins, so you might need to reduce margins in the page setup to maximize the image area. Also, ensure the image is set to be in front of text or behind text, depending on your layout needs.
Adjusting Printer Driver Settings Directly
Many modern printers come with software drivers that include a poster printing feature. This method works regardless of which program you use to open the image. Whether you are printing from a photo viewer, web browser, or any other application, you can access the same printer driver settings. When you open the print dialog, click on Properties or Preferences. Look for a tab labeled Layout, Finishing, or Advanced. Within these tabs, search for an option named Poster Printing, Poster, or Multiple Pages. Select this option and then choose the grid size 2x2. Some drivers allow you to specify the number of pages horizontally and vertically separately. For a four-sheet print, set horizontal to 2 and vertical to 2. Confirm the setting and proceed to print. The driver will automatically slice the image into the four sheets.
This direct driver method is often the most reliable because it works consistently across different software applications. However, interface differences between printer brands mean you might need to look around a bit. For example, on HP printers, the poster setting is often under the Finishing tab, while on Epson printers, it is under the Layout or Page Layout menu. Canon printers may call it a poster or banner print option. In case you cannot find the setting, consult your printer manual or the manufacturer website for guidance. One helpful resource is the Brother support page for printing images on multiple sheets, which provides detailed steps for their printers.
Using Adobe Reader for PDF Images
If your image is saved as a PDF file, Adobe Reader offers a powerful poster printing feature. Open the PDF file in Adobe Reader. Go to File and select Print. In the Print dialog, look for a section called Page Sizing Handling. Choose the option labeled Poster. Then set the Tile Scale to 100 percent. This ensures each tile fits on a single page without distortion. You can also adjust the overlap setting to a small value like 0.005 inches if you want a slight margin for gluing or taping the sheets together. Select Tile All Pages to get all four pieces. Under the Page Tiling tab, you can also choose the tile range if you only want to print specific sections. For a full image, select All. Adobe Reader will generate the individual pages, and you can print them all at once.
One of the benefits of using Adobe Reader is the ability to see a preview of how the image will be sliced. The preview window shows exactly which part of the image goes on each page. You can also adjust the overlap and scale to fine-tune the final assembly. If your image is not a PDF, you can convert it to PDF using many free online converters or by using the print to PDF feature in Windows.
List of Tips for Successful Multi-Sheet Printing
- Always use high-resolution images to avoid pixelation when enlarged across four sheets.
- Check the paper size and type in the printer settings before printing to ensure consistency.
- Print a test page on plain paper to verify the alignment and clipping before using expensive paper.
- Reduce margins in your software to maximize the printed area on each sheet.
- Consider enabling borderless printing if your printer supports it to minimize the white gap between sheets.
- Use the same printer and the same paper batch to avoid differences in color or size.
- After printing, let the ink dry completely before assembling the sheets to prevent smudging.
- Trim the edges carefully, especially if you have borderless printing, to align the image parts correctly.
- Use removable tape or glue sticks for temporary assembly before permanent mounting.
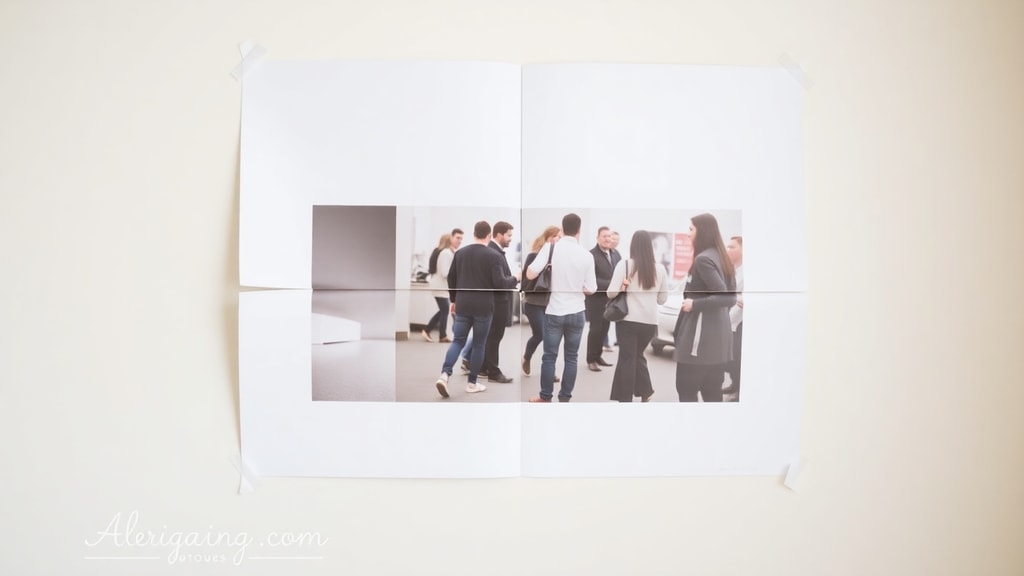
Assembling the Four Printed Sheets
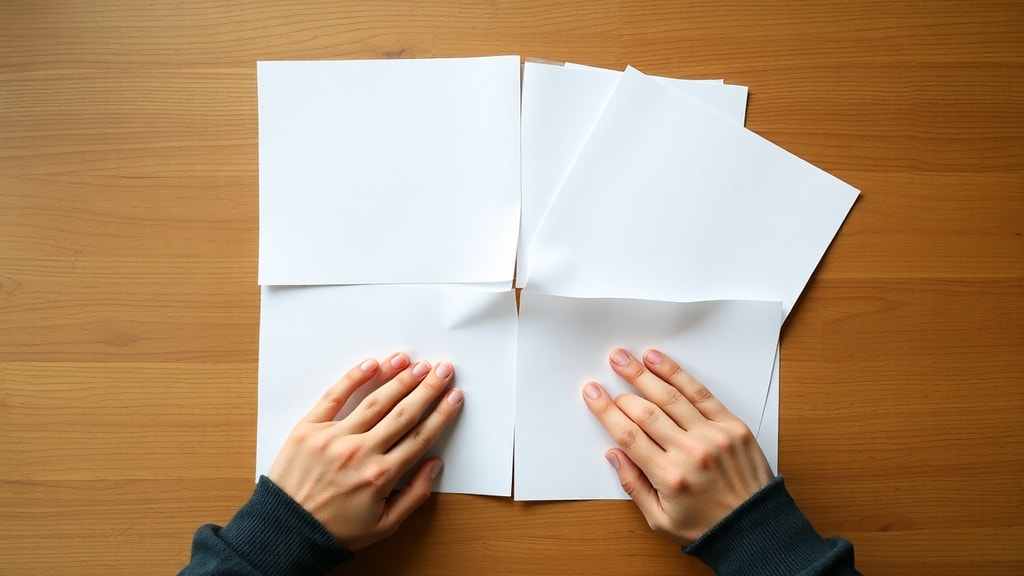
After printing, you will have four separate pieces that need to be combined into one large image. Lay the sheets on a flat surface in the correct order. Typically, the top-left sheet contains the upper-left corner of the image, the top-right sheet contains the upper-right corner, and so on. Arrange them so that the edges align as perfectly as possible. If your printer added margins, you may see white borders that need to be trimmed. Use a ruler and a sharp craft knife or scissors to cut along the inner edges of each sheet where they meet the adjacent page. Remove only the thin white margin to allow the image parts to join without a gap. If you have borderless printing, you can skip the trimming step and simply align the pages edge to edge.
Once the edges are trimmed, tape the sheets together on the back side. Use clear tape or acid-free tape to avoid damaging the image over time. For a more permanent solution, mount the assembled poster onto a backing board using spray adhesive. If you plan to frame the poster, ensure the assembly is smooth and no tape is visible from the front. Patience is essential here, as rushing this part can misalign the image and ruin the effect. For more visual guidance, you can watch an official tutorial video that demonstrates the entire process of printing an image on four sheets.
Troubleshooting Common Issues
Several problems may occur when trying to print an image on four sheets. One common issue is the image being cut off or not fitting the intended grid. This usually happens if the scaling settings are incorrect. In Paint or Word, double-check that you set the number of pages to exactly 2 by 2, not something like 2 by 1 or 3 by 3. Another issue is color inconsistency between sheets, which can be caused by uneven ink levels or different print settings. To avoid this, print all four sheets in the same print job without changing settings. If your printer uses individual ink cartridges, ensure they are not running low.
Sometimes the printer driver may not show the poster option because it is hidden under a different name. Look for terms like Banner, Multi-Page, or Tile. If you still cannot find it, try updating your printer driver from the manufacturer website. Another frequent issue is the image being too small or too large for the four-page grid. If the image is too small, enlarging it to cover four pages will result in low resolution. In that case, consider using a smaller grid, such as 2 by 1 pages, or increasing the image resolution through software before printing.
Alternative Methods and Software Options
Beyond Paint and Word, several other software applications can help you print images on multiple sheets. Free programs like GIMP or IrfanView include poster printing features. In GIMP, you can use the print plugin to tile an image. Paid options like Adobe Photoshop offer advanced tiling options within the print dialog. There are also dedicated poster-making tools available online that allow you to upload an image and automatically generate a PDF with the segmented design. These online tools are especially convenient if you do not want to navigate complex printer settings. Just download the generated PDF and print it as you would any normal file.
For mobile users, some printer apps offer poster printing directly from your phone. For example, HP Smart and Epson iPrint include options to tile images across multiple pages. This can be a quick solution if you need to print a poster on the go. Regardless of the method, the principle remains the same: divide the image into a grid and print each segment on a separate sheet.
References
For more detailed step-by-step instructions, visit the Paint Loja Blog on how to print an image on four sheets. A comprehensive guide on printer settings is available from Brother Support. Additionally, a general article on printing enlarged images can be found at FileMemo Tech Guide. For visual demonstrations, the YouTube tutorial on printing an image on four sheets provides a practical walkthrough.