Understanding Audio Configuration Restoration
Audio configuration restoration refers to the process of resetting sound settings to their original factory defaults or to a known stable state. When audio issues arise, such as no sound, distorted output, or devices not being recognized, restoring the audio configuration is often the most effective troubleshooting step. Many users attempt complex fixes before trying a simple reset, but restoring defaults clears potential conflicts from incorrect adjustments, corrupted settings, or incompatible enhancements.
The need for audio restoration commonly occurs after installing new software, updating drivers, or making manual changes to sound properties. Windows operating systems store audio settings in multiple locations, including the main Sound settings panel, the legacy Sound Control Panel, and within individual device properties. Resetting these configurations ensures that any misconfigured parameters are eliminated, allowing the system to re-establish proper communication with audio hardware.
Windows Settings Method for Default Restoration
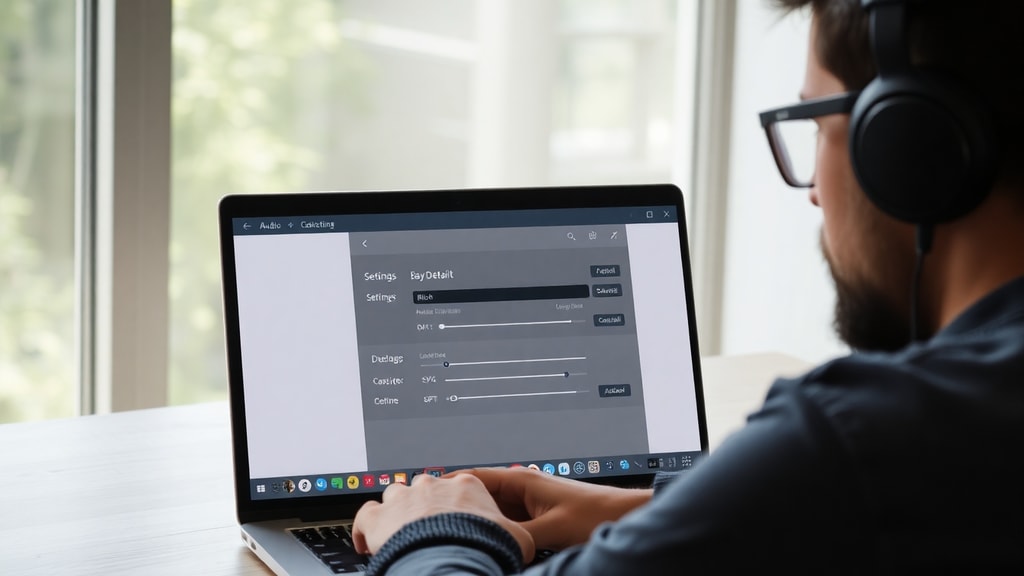
The most direct approach to restore audio settings in Windows involves using the built-in Settings application. This method works consistently across Windows 10 and Windows 11, though the exact navigation may vary slightly between versions. To begin, open the Settings app by pressing the Windows key and I simultaneously, then navigate to System followed by Sound.
In Windows 11, you will see a Sound section that displays your output and input devices. Click on the small arrow or the device name for your speakers or headphones to access its properties. Scroll down to find the Advanced section. Here, you will see options for sound format and enhancements. Look for a button labeled Restore Defaults or Reset to default. Clicking this will revert all settings for that specific device to their original state. In Windows 10, the process is similar, but you may need to click on Device properties first. Some users report needing to restart their computer after this reset for changes to take full effect.
For a more comprehensive reset, you can access the classic Sound control panel. In the Sound settings page, locate the Advanced sound options or More sound settings link. This opens the legacy Sound window which lists all available devices. Select the problematic device, click Properties, and go to the Advanced tab. Here you will find the Restore Defaults button. Apply the changes and confirm. This resets the default format, sample rate, and bit depth to the manufacturer-recommended values.
Spatial Sound and Effects Reset
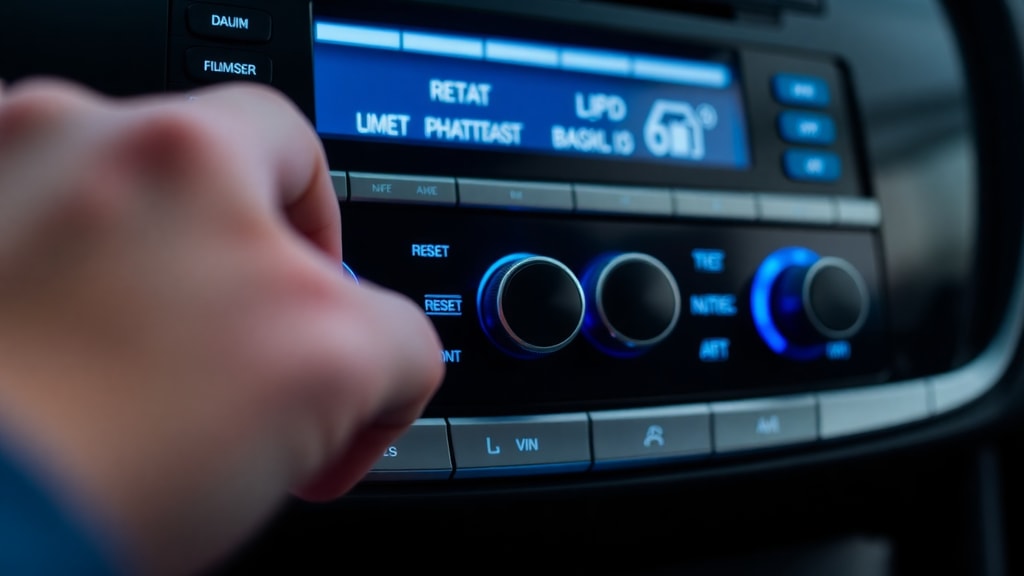
Spatial sound features, such as Windows Sonic for Headphones or Dolby Atmos, can sometimes cause audio malfunctions. If you experience echoes, muffled sound, or complete silence after enabling spatial sound, resetting these settings is necessary. Access the Sound control panel via the method described above. Select your output device and click Properties. Navigate to the Spatial Sound tab. You will see a dropdown menu that likely shows your current spatial sound format. Directly below this dropdown, there is usually a Restore Defaults button. Click it to disable all spatial sound enhancements.

Some audio drivers install their own sound effects and enhancements, which can conflict with Windows settings. In the same Properties window, locate the Enhancements tab. Here you will find options like Bass Boost, Virtual Surround, and Loudness Equalization. Check the box that says Disable all enhancements to fully disable them. If you wish to return to a completely clean state, click Restore Defaults to re-enable only the driver-stipulated defaults. After making these changes, test your audio to see if the problem is resolved. If spatial sound continues to cause issues, consider keeping it disabled permanently.
Driver Rollback for Recent Changes
Driver updates, whether automatically installed by Windows Update or manually by the user, are a frequent source of audio problems. A new driver version might not be compatible with your specific hardware or could introduce bugs. Rolling back to a previous driver version can resolve these issues immediately. This procedure is done through Device Manager.
Press the Windows key and X simultaneously, then select Device Manager from the menu. Expand the section labeled Audio inputs and outputs. Right-click on your audio device, typically named Speakers, Headphones, or a specific manufacturer model like Realtek High Definition Audio. Select Properties from the context menu. Go to the Driver tab. If the Roll Back Driver button is active (not grayed out), click it. Follow the on-screen prompts to revert to the previously installed driver. Windows will ask for a reason for the rollback; selecting any option is acceptable. After completion, restart your computer. This action restores the driver configuration to an earlier point, effectively undoing any problematic changes that were introduced by the new driver.

If the Roll Back Driver button is grayed out, it means Windows has no previous driver version saved. In that case, you can try uninstalling the driver entirely. In Device Manager, right-click the audio device, select Uninstall device, and check the box that says Attempt to remove the driver software for this device. Then restart your computer. Windows will automatically reinstall a generic or default driver on startup. This can resolve deeper driver corruption issues.
Using System Restore for Persistent Problems
When audio configuration problems persist despite resetting settings and drivers, the issue may be caused by system-level changes. System Restore is a Windows feature that reverts your system files, registry keys, and installed programs to a previous state without affecting your personal files. This is a more aggressive solution but is highly effective for undoing unknown changes that affected audio.
To use System Restore, type System Restore in the Windows search bar and select Create a restore point from the results. In the System Properties window, click the System Restore button. Windows will suggest a restore point, usually automatically created before a significant change like an update or driver installation. Choose a restore point dated before your audio problems began. Click Next and then Finish to start the restoration process. Your computer will restart, and system files will be reverted. Note that any programs installed after the chosen restore point will be removed, but your documents, pictures, and other personal data remain untouched.

It is advisable to manually create a restore point before making major system changes in the future. This provides a safety net for configurations like audio settings that can be difficult to fix with simpler methods.
Restarting Windows Audio Services
Audio services that run in the background can become stuck or encounter transient errors. Restarting these services clears their memory and reloads configuration files without requiring a full system restart. This is a quick fix for many common audio glitches like no sound, audio stuttering, or devices not showing up.
Press the Windows key and R simultaneously to open the Run dialog box. Type services.msc and press Enter. This opens the Services management console. Scroll down the list until you find the following three services:
- Windows Audio
- Windows Audio Endpoint Builder
- Multimedia Class Scheduler
Right-click on Windows Audio Endpoint Builder first and select Restart. Wait for the service to stop and restart. Then, right-click on Windows Audio and select Restart. If you cannot right-click on these services, ensure you are running the console as an administrator. After restarting these services, test your audio output. This process forces the audio subsystem to reload all configuration data, effectively performing a soft reset of audio settings without altering any user preferences or driver files.
Table: Audio Restoration Methods Overview
| Method | Scope | Complexity | Requires Restart |
|---|---|---|---|
| Settings Restore Defaults | Single device settings | Very Low | Recommended |
| Spatial Sound Reset | Enhancements per device | Low | No |
| Driver Rollback | Driver version | Medium | Yes |
| System Restore | Entire system state | Medium | Yes |
| Service Restart | System audio services | Low | No |
Common Scenarios Requiring Audio Reset
Understanding when to perform an audio configuration restoration helps avoid unnecessary troubleshooting. One common scenario occurs after connecting new hardware. If you plug in a USB headset or external speakers and experience no sound, resetting the audio defaults for that specific device can force Windows to renegotiate the audio format and driver. Another scenario is after a Windows feature update. Major updates often reset system settings or introduce new audio APIs that conflict with existing configurations. Restoring defaults post-update can stabilize the system.
Audio problems caused by third-party applications also benefit from restoration. Voice chat programs like Discord or communication apps like Zoom can change the system default audio device or adjust volume levels. A simple restore resets these changes without affecting the application settings themselves. Finally, if you have been experimenting with equalizer settings or sound enhancements and the audio quality has degraded, restoring defaults returns the sound signature to its neutral state.
References
Microsoft Support. Corrigir problemas de som ou áudio no Windows. https://support.microsoft.com/pt-br/windows/corrigir-problemas-de-som-ou-%C3%A1udio-no-windows-73025246-b61c-40fb-671a-2535c7cd56c8
TopGadget Tutorial. Como redefinir as configurações de áudio no Windows 11. https://www.topgadget.com.br/howto/windows/como-redefinir-as-configuracoes-de-audio-no-windows-11.htm