Understanding the 9x6 cm Pocket Card Challenge
Creating double-sided pocket cards in Microsoft Word at the specific size of 9x6 cm is not a straightforward task. This dimension falls outside the standard template offerings in Word, and there are no pre-built layouts for this exact format. Most pocket card templates, often called cartao de bolso or cartao de visita pocket, are designed for 9x5 cm or 9x6.3 cm. The 9x6 cm size is a niche dimension that requires a completely manual setup from scratch. Many users attempting this project for the first time face issues with alignment, page breaks, and proper front-to-back registration during printing. Understanding these limitations beforehand helps set realistic expectations. This article provides a complete step-by-step guide for creating 9x6 cm double-sided pocket cards in Word using only manual configuration. No external software or expensive design tools are required, but you need to follow the process carefully to achieve professional results.
Why Microsoft Word Lacks a Native 9x6 cm Template
Microsoft Word was not originally intended for precise card design. Its primary functions revolve around document creation for letters, reports, and simple flyers. The program does include a business card wizard, but it only supports standard sizes like 9x5 cm or 8.9x6.4 cm. The 9x6 cm pocket card is a custom size often demanded by specific industries such as event planning, gym membership cards, or small retail tags. Word cannot automatically generate a double-sided layout for this size because it does not recognize the dimension as a valid paper format. To overcome this, you must manually define the page size, adjust margins, and use page breaks to separate the front and back designs. This extra effort is the only way to achieve the exact 9x6 cm format without relying on third-party templates that may not fit your printer settings.

Step-by-Step Setup for Custom 9x6 cm Pages
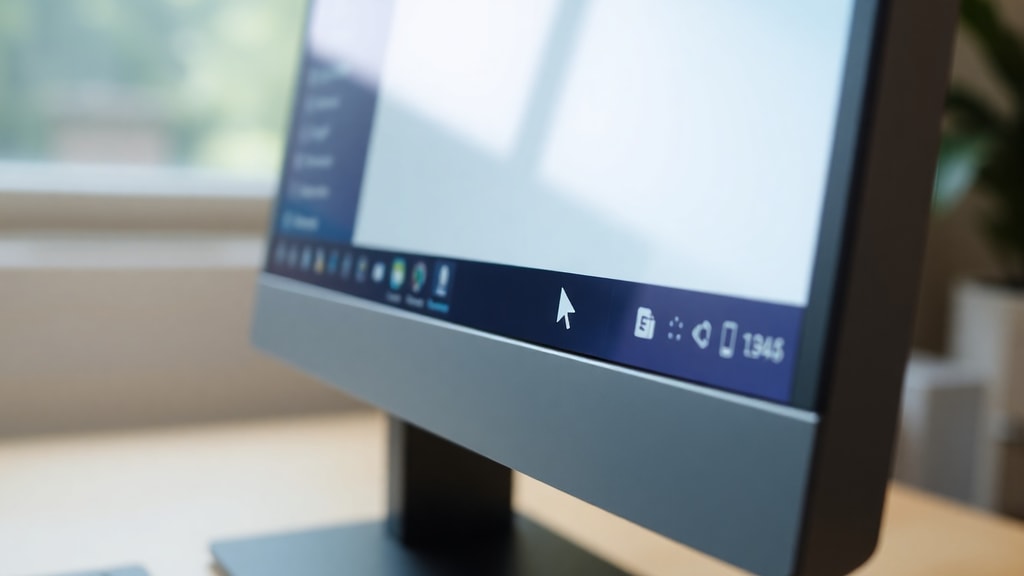
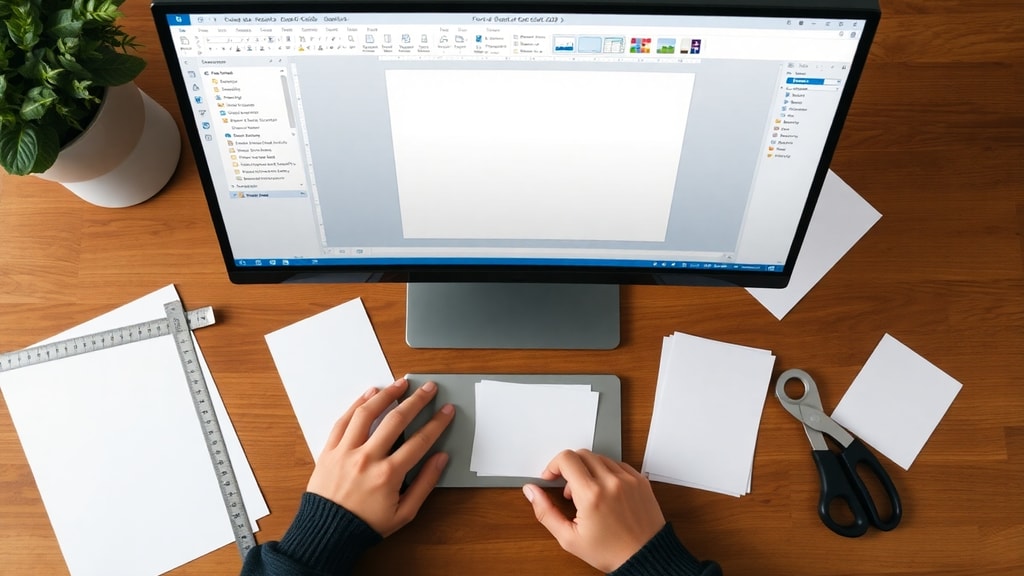
Open a new blank document in Word. Navigate to the Layout tab and click on Size. From the dropdown menu, select More Paper Sizes. In the dialog box that appears, set the Width to 9 cm and the Height to 6 cm. Word automatically treats this as the page size for the entire document. Next, adjust the margins. Click on Margins and choose Custom Margins. Set all four margins to 0.5 cm. This narrow margin maximizes the printable area on such a small page. If your printer cannot handle margins this small, increase them to 0.75 cm. The key is to maintain equal margins on all sides for symmetry. Once the page size and margins are configured, you have created a digital canvas that matches your physical card exactly. This manual setup replaces the need for any pre-existing template and gives you full control over the design.
Creating the Front and Back Designs Using Page Breaks
With the page size defined, design your front card content on page one. This can include logos, text boxes, images, or backgrounds. Keep in mind that the front and back must be printed on opposite sides of the same card, so alignment is critical. After finishing the front design, insert a Page Break. Go to the Insert tab and click on Page Break or press Ctrl+Enter on your keyboard. This creates a second page identical in size to the first. Now design your back content on this second page. The back typically contains contact information, a QR code, or a simple reverse pattern. The page break ensures that the front and back are separated in the document but will print on the same physical card after cutting. Never use blank lines or manual paragraph breaks to separate front and back because they shift alignment when the document is printed. Always use the explicit Page Break command.
Using Tables and Guides for Perfect Alignment
One common problem with double-sided pocket cards is misalignment between front and back elements. To solve this, insert a 2x5 table on both pages. Draw the table with borders turned on temporarily. Use the first row to define a top margin zone, the middle three rows for content, and the last row for a bottom margin. This table acts as a grid that ensures text boxes and images stay within the same coordinates on both pages. After positioning your elements, remove the table borders by selecting the table, going to Table Design, and choosing No Border. The invisible grid remains as a structural guide. You can also use the alignment tools in Word, such as aligning objects relative to the page center or edges. For images, set their position to Absolute relative to the page margin. This guarantees that when you flip the card, the front and back graphics overlay exactly without shifting.
Printing Double-Sided 9x6 cm Cards on A4 Paper
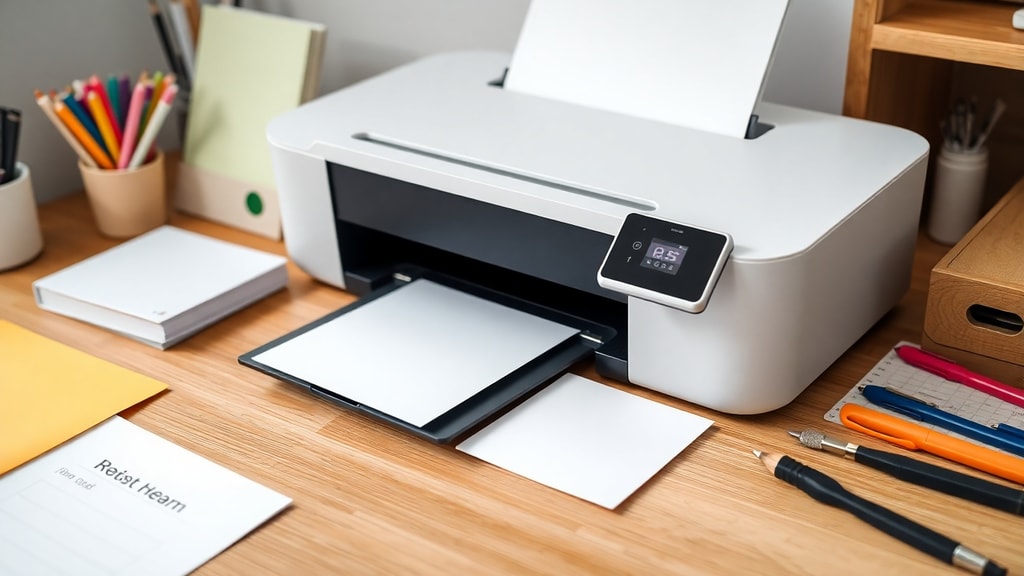
Printing is the most delicate stage. Since you designed each card page as 9x6 cm, they are smaller than standard A4 paper. You will print multiple card copies on a single A4 sheet and then cut them out. First, determine how many 9x6 cm cards fit on one A4 sheet. An A4 sheet is 21 cm wide by 29.7 cm tall. With 0.5 cm margins, you can fit two cards side by side in width and five cards in height, giving ten cards per sheet. However, this requires a specific layout using a 2x5 table on a new A4-sized page. Alternatively, you can print each card individually on A4 with centered positioning. For double-sided printing, select the option Manual Duplex in your printer settings. Print all front pages first, then reload the printed sheets into the paper tray according to your printer instructions to print the back pages. Always test with a single sheet on plain paper before printing the final batch. This test run reveals any alignment or flipping issues without wasting cardstock.
Cutting and Finishing the Cards
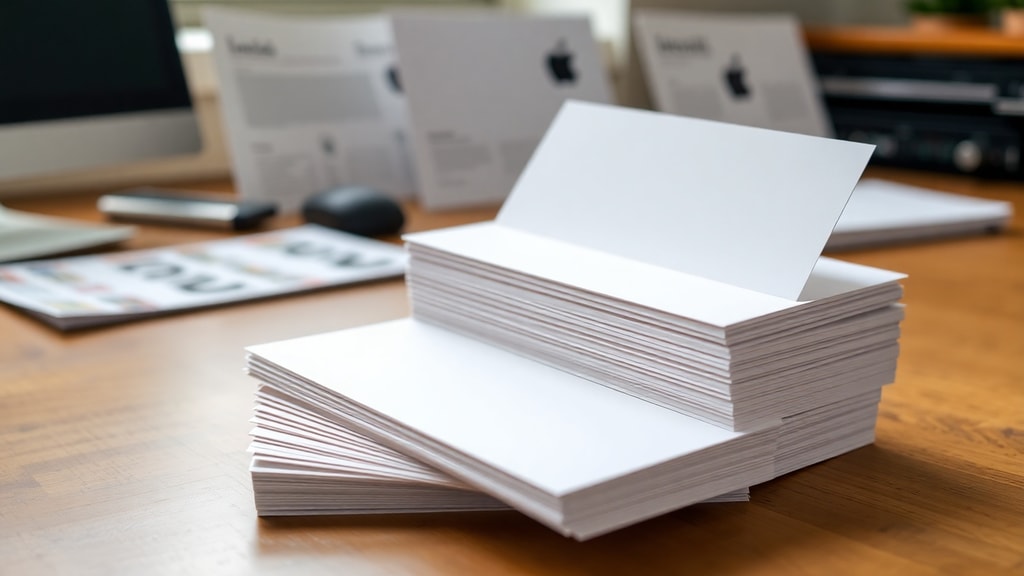
After printing both sides, you need to cut each card to the exact 9x6 cm dimension. Use a sharp paper cutter or a guillotine trimmer for straight edges. If you printed multiple cards per sheet, draw light pencil cutting guides based on the table grid you used in the layout. Cut each card slightly outside the printed area to avoid trimming into the design. For rounded corners, use a corner rounder punch. This gives the cards a professional finish. Store the finished cards in a protective case or sleeve to keep them clean. If you plan to laminate the cards, do so before cutting to ensure the laminate covers the entire surface. Remember that lamination adds thickness, so consider reducing the card design margins by 1 mm to compensate.
List of Essential Materials and Tools
Before starting the project, gather the following items to ensure a smooth workflow:

- Microsoft Word 2016 or newer version with full layout capabilities.
- A4 paper for test prints and cardstock paper for final cards.
- A printer that supports manual duplex or double-sided printing.
- A paper cutter or guillotine trimmer for precise cutting.
- A corner rounder punch if you want rounded edges.
- A ruler and pencil for marking cutting guides.
- Optional laminator and laminating pouches for durability.
- Computer with mouse for precise object alignment in Word.
Comparison of Standard Pocket Card Sizes vs 9x6 cm
The following table shows how the 9x6 cm format compares to other common pocket card dimensions:
| Card Type | Dimensions | Common Use | Template Availability |
|---|---|---|---|
| Standard Business Card | 9x5 cm | Corporate networking | Widely available |
| Pocket Card | 9x6.3 cm | Loyalty and membership | Available in some software |
| Custom Pocket Card | 9x6 cm | Event and niche use | Not available in Word |
| Mini Flyer | 10x7 cm | Promotional handouts | Rarely pre-made |
As the table illustrates, 9x6 cm is a true custom size. Users must manually set up the document, unlike the more common 9x5 cm cards which often have built-in wizards. The manual method described in this article works for any non-standard dimension, not just 9x6 cm.
Common Troubleshooting Issues and Solutions
Misalignment is the most frequent problem when creating double-sided pocket cards. If the front and back are offset, check that you used the same table grid on both pages and that all objects are anchored to the same page reference. Another common issue is the printer scaling the card to fit the paper instead of printing at actual size. In the print dialog, set the scaling option to None or Actual Size. Also verify that the paper size in printer settings matches the A4 or chosen stock. If the back design appears reversed or upside down, adjust the manual duplex flipping direction in your printer preferences. Some printers flip along the long edge, others along the short edge. For 9x6 cm cards printed in portrait orientation, the correct flipping direction is usually Flip on Short Edge. Test this with a single sheet before printing the full batch. Finally, ensure that your cardstock is not too thick for your printer. Most home printers handle paper up to 200 gsm, but heavy cardstock can cause jams or misalignment.
Design Tips for Professional Looking Pocket Cards
Keep the design simple and high contrast. Since the card is small, avoid clutter. Use a single focal image or logo on the front and minimal text on the back. Choose fonts that are readable at 9x6 cm size, such as Arial, Helvetica, or Calibri at 8 to 10 points. Color selection matters: use your brand colors but test print them to see how they appear on cardstock. Include a white border of at least 2 mm around all edges to account for slight cutting errors. If you use QR codes, place them on the back and ensure they are at least 2 cm square for reliable scanning. Also, add a subtle cut line or crop mark at the corners of your design. You can create these marks in Word by inserting small thin lines at each corner. This visual guide helps you cut accurately without guesswork.
Alternative Methods for Experienced Users
If you are comfortable with advanced Word features, you can create a single A4 document that contains multiple 9x6 cm card fronts and backs arranged in a grid. This method is more efficient for mass production. Use a table with rows and columns sized to 9x6 cm cells. Design each card front in the first row of cells and the corresponding backs in the same positions on the second page. This approach requires careful duplication of the table on both pages but saves time when printing multiple copies. Another alternative is to use the mail merge feature in Word to populate data from an Excel list into the card designs. However, this adds complexity and is only recommended for users who already know how to use mail merge with tables. For most people, the individual page method described earlier is more reliable.
Conclusion and Final Recommendations
Making double-sided pocket cards at 9x6 cm in Microsoft Word is entirely possible with a manual setup that includes custom page size, page breaks, and alignment tables. The process demands attention to detail, especially during printing and cutting, but the results can look as professional as cards made with dedicated design software. Always test with plain paper first, use quality cardstock, and invest in a good paper cutter. Remember that 9x6 cm is a non-standard size, so you will not find ready-made templates. Embrace the manual method and treat the document setup as part of the design process. With practice, you can create consistent and attractive pocket cards for any purpose.
References
For more detailed guidance on creating custom card sizes in Word and understanding pocket card standards, consult the following resources: Adazing provides a comprehensive Portuguese-language guide on making cards in Word, covering custom dimensions and layout techniques. See the full guide at Adazing How to Make a Card in Word. TechTudo also offers a step-by-step tutorial for creating business cards in Word from scratch, including double-sided setup and template usage. Access their tutorial at TechTudo Cartao de Visita no Word. These sources provide supplementary information on alignment, printing, and design best practices.