Understanding Screen Refresh Rate
Screen refresh rate, measured in hertz, defines how many times per second your display updates the image. A standard monitor at 60 Hz refreshes sixty times every second. Higher rates like 120 Hz, 144 Hz, or 240 Hz deliver smoother motion and reduce visible stutter. Adjusting the refresh rate can significantly impact your daily computing experience, from scrolling through documents to playing fast-paced games. This guide explains how to adjust the screen refresh rate easily on Windows systems and through hardware controls.
Why Adjust the Refresh Rate
You might need to adjust the refresh rate for several reasons. The most common is to match your monitor's native capability. Many modern displays support high refresh rates out of the box, but the operating system may default to a lower setting. Manually selecting the correct rate unlocks the intended fluidity. Additionally, lowering the refresh rate can save battery power on laptops or reduce strain on older graphics cards. For gamers, a higher refresh rate provides a competitive edge by making motion appear more responsive. Professionals working with video editing or animation also benefit from accurate frame pacing. Understanding these advantages helps you decide the optimal value for your setup.
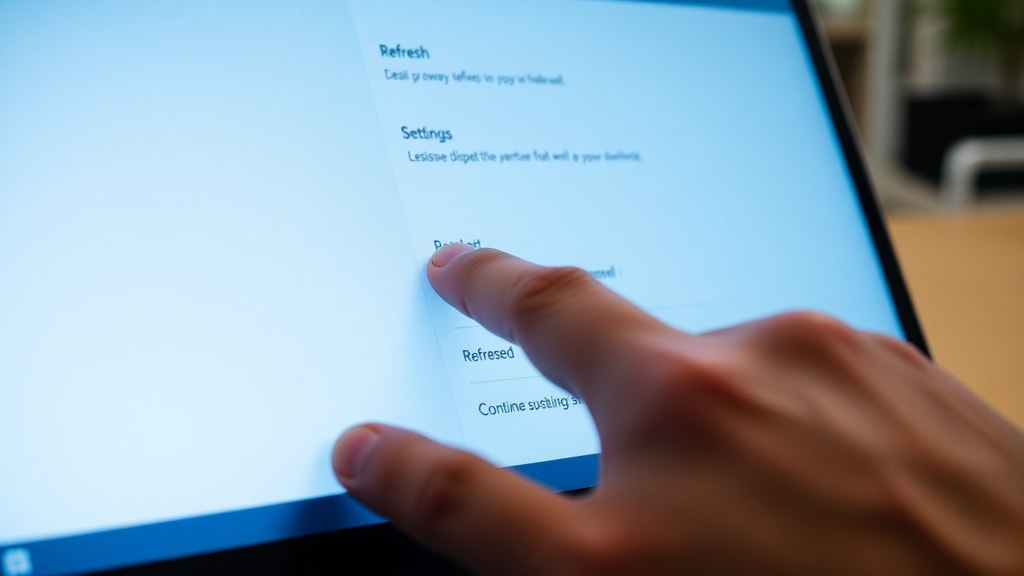
How to Adjust Screen Refresh Rate in Windows 10
Windows 10 offers a straightforward path to change the refresh rate. First, open Settings by pressing the Windows key and the letter I simultaneously. Navigate to System, then select Display. Scroll down and click Advanced display settings. A new window appears with your monitor details. At the bottom, click Display adapter properties for Display 1. A separate dialog box opens. Select the Monitor tab. Here you will see a dropdown menu labeled Screen refresh rate. Click it and choose the desired frequency. Options may include 60 Hz, 75 Hz, 100 Hz, 120 Hz, 144 Hz, or higher depending on your monitor and graphics card. After making your selection, click Apply. A confirmation prompt appears. If the image looks correct, keep the changes. If not, the system reverts automatically after a few seconds. Finally, click OK to exit. This method works for most external monitors and built-in laptop screens.
Always verify that your monitor supports the selected rate. Choosing a value above the hardware limit can result in a blank screen or signal loss. In such cases, wait for the automatic revert or restart in Safe Mode to reset the setting. The HP official guide confirms this procedure for Windows 10 and recommends selecting the maximum supported rate for best fluidity.
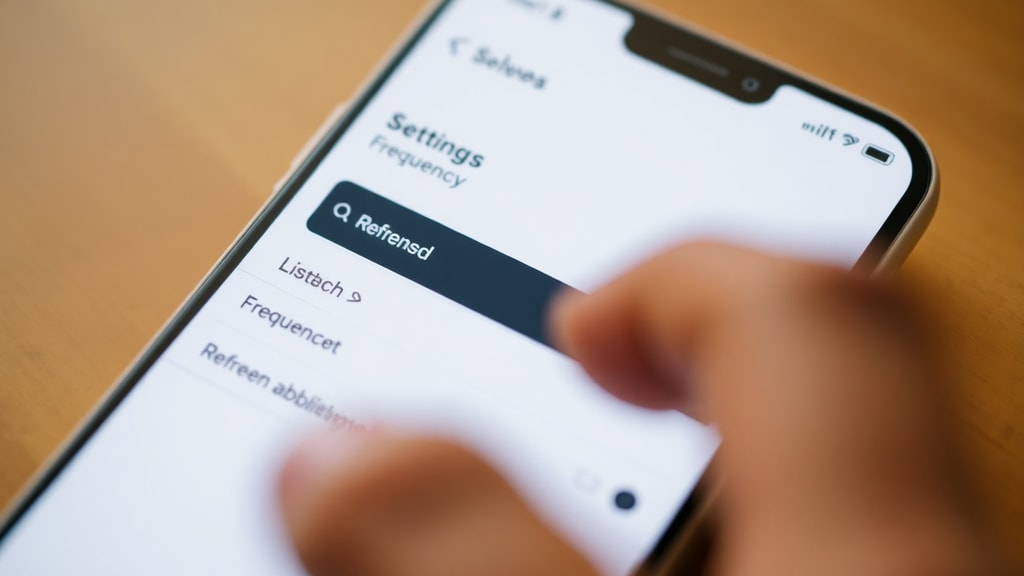
How to Adjust Screen Refresh Rate in Windows 11
Windows 11 simplifies the adjustment process. Begin by opening Settings from the start menu or with the Windows key and I shortcut. Click System from the left sidebar, then select Display. You will see a section called Related settings. Click Advanced display. Under the Display information section, locate the line that says Choose a refresh rate. A dropdown menu shows all compatible rates. Pick the one you want. Windows applies the change immediately. A confirmation dialog appears asking if you want to keep this setting. If everything looks fine, confirm the change. If the display goes black or appears distorted, wait for the automatic timeout to revert to the previous setting. This method is cleaner than the Windows 10 approach because it removes extra steps. The Tecnobits source highlights that Windows 11 groups all refresh rate options in one accessible location, making it easier for users to experiment with different rates.
Both Windows editions allow you to adjust refresh rate for each monitor individually if you have a multi-display setup. Ensure you select the correct display before making changes. This prevents accidentally modifying settings for the wrong monitor.
Adjusting Refresh Rate via Monitor Physical Controls
Some monitors allow direct adjustment through their onboard menu system. This is especially common on gaming monitors and high-end professional displays. Access the monitor's OSD by pressing the menu button on the bezel or using a joystick. Navigate to settings, display, or configuration options. Look for items labeled Refresh Rate, Response Time, or Overclock. The exact wording varies by model. Once you find the refresh rate option, choose the desired value. Confirm and exit. Changing the rate this way bypasses the operating system and forces the monitor to operate at that frequency. However, the graphics card must also support the chosen rate. If the OSD does not show this option, your monitor may not allow adjustment through hardware controls. The Olhar Digital source notes that many gaming monitors now include this feature to provide users with fine-grained control.
Physical adjustment can be useful when the operating system does not recognize the monitor's capabilities correctly. For instance, some monitors support higher refresh rates only when using DisplayPort instead of HDMI. In such cases, using the OSD to force a higher rate might help, but you must ensure the cable and GPU can handle the bandwidth. Always check your monitor's manual for supported frequencies and recommended settings.
Compatibility Considerations
Before adjusting the refresh rate, verify three things: your monitor, your graphics card, and your cable. Not all monitors support high refresh rates. If you own a standard office display, it likely maxes out at 60 Hz. Gaming monitors often support 120 Hz, 144 Hz, or 240 Hz. Graphics cards also have limits; older integrated GPUs may not output high frequencies at certain resolutions. For example, a laptop with Intel HD Graphics might only deliver 60 Hz at 1920x1080. Finally, cables matter. HDMI 1.4 supports 60 Hz at 1080p, while HDMI 2.0 or DisplayPort 1.2 can handle 144 Hz. Using an older cable can bottleneck performance. The Tek Sapo recommendation states to choose the maximum supported rate for best visual experience, but only if all components are compatible.

If you encounter issues after changing the rate, return to the settings and select a lower value. In Windows, you can always revert through the same menus. For physical monitors, reset to factory defaults if needed. Troubleshooting steps include restarting the computer, reconnecting the cable, and updating graphics drivers. Manufacturers often release driver updates that add support for new refresh rate standards.
List of Common Refresh Rates and Their Uses
Below is a list of typical refresh rates and what they are best suited for in everyday use.
- 60 Hz: Standard for office work, browsing, and video playback. Adequate for most non-gaming tasks.
- 75 Hz: Slightly smoother than 60 Hz. Common in budget monitors and some laptops. Good for casual use.
- 90 Hz: Found on many mid-range smartphone screens and some monitors. Provides a noticeable improvement in scrolling.
- 120 Hz: Standard for gaming and high-end laptops. Reduces motion blur significantly. Often used in competitive gaming.
- 144 Hz: Very common among gamers. Offers excellent fluidity with minimal input lag. Preferred for fast-paced games like shooters and racing simulators.
- 240 Hz: Advanced gaming and esports. Provides extremely smooth motion. Requires powerful hardware to maintain frame rates.
- 360 Hz: Top-tier gaming monitors. Used by professional esports players. Minimal difference from 240 Hz for most users.
Table: Refresh Rate Adjustment Summary
The following table summarizes the main methods for adjusting refresh rate on Windows and via monitor controls.
| Method | Steps | Best For |
|---|---|---|
| Windows 10 Settings | Settings > System > Display > Advanced display settings > Display adapter properties > Monitor tab > Select rate > Apply | Users with Windows 10 who want precise control |
| Windows 11 Settings | Settings > System > Display > Advanced display > Choose a refresh rate > Confirm | Windows 11 users seeking simplicity |
| Monitor OSD | Press menu button > Navigate to settings > Refresh Rate or Overclock > Select rate > Exit | Users with monitors that support OSD adjustment |
Tips for Optimal Refresh Rate Configuration
Once you adjust the refresh rate, verify that the change is active. Some monitors display the current rate in a corner of the OSD. You can also use third-party tools or browser extensions to check. For laptops, note that using a higher refresh rate may decrease battery life. Consider lowering the rate to 60 Hz when using battery power. For desktop computers, set the highest stable rate that your system supports. If you notice screen tearing, enable V-Sync in games or set a frame rate limit. The refresh rate and frame rate should ideally match to avoid stutter. For example, if you set 120 Hz, try to maintain 120 frames per second in games. If your hardware cannot sustain that, lower the game settings or reduce the refresh rate to 60 Hz.
Another tip is to update your graphics card drivers regularly. Driver updates often improve compatibility with high refresh rates and fix bugs. Also, use the appropriate cable for your resolution and rate. For 144 Hz at 1080p, use at least HDMI 1.4 or DisplayPort 1.2. For 4K at 144 Hz, you need HDMI 2.1 or DisplayPort 1.4 with DSC. Check your monitor's specifications to ensure you are using the correct port. Some monitors have different ports that support different rates.
References
HP Official Guide – Como alterar a taxa de atualização de um monitor. Available at: https://www.hp.com/br-pt/shop/tech-takes/como-alterar-a-taxa-de-atualizacao-de-um-monitor
Tecnobits – Taxa de atualização da tela no Windows. Available at: https://tecnobits.com/pt/taxa-de-atualiza%C3%A7%C3%A3o-da-tela-no-Windows/
Tek Sapo – Como configurar a taxa de atualização certa e tirar o máximo partido do seu monitor. Available at: https://tek.sapo.pt/how-to/artigos/como-configurar-a-taxa-de-atualizacao-certa-e-tirar-o-maximo-partido-do-seu-monitor/
Olhar Digital – Como alterar a taxa de atualização e o tempo de resposta no monitor gamer. Available at: https://olhardigital.com.br/2025/01/06/dicas-e-tutoriais/como-alterar-a-taxa-de-atualizacao-e-o-tempo-de-resposta-no-monitor-gamer/