Introduction to Rasterbator
Rasterbator is a web-based tool that transforms ordinary digital images into massive, wall-sized posters using a technique known as tiled printing and halftone dot-matrix rendering. Originally created as a university project by Finnish developer Matias Ärje in 2004, the tool has become a go‑to resource for artists, educators, and DIY enthusiasts who need large‑format prints without the cost of commercial poster printing. The name is a playful mash‑up of the words raster (referring to the grid of dots used in digital imaging) and the verb to brag, though the tool itself is entirely functional and serious in its output. By processing images directly in the browser with no server involvement, Rasterbator remains completely free, requires no sign‑up, and leaves no watermarks on the final product.
The core idea behind Rasterbator is accessibility. Anyone with a standard home printer and a stack of plain paper can create posters that measure several meters across. The software divides the original image into a grid of tiles, each of which fits on a standard sheet. When assembled, the tiles form a seamless, enlarged reproduction that is ideal for decorating a dorm room, illustrating a presentation, or staging a guerrilla art installation. Over the years the tool has gained a devoted following because it democratizes poster‑making: you do not need expensive equipment or specialized software to produce large‑scale images.
How Rasterbator Works
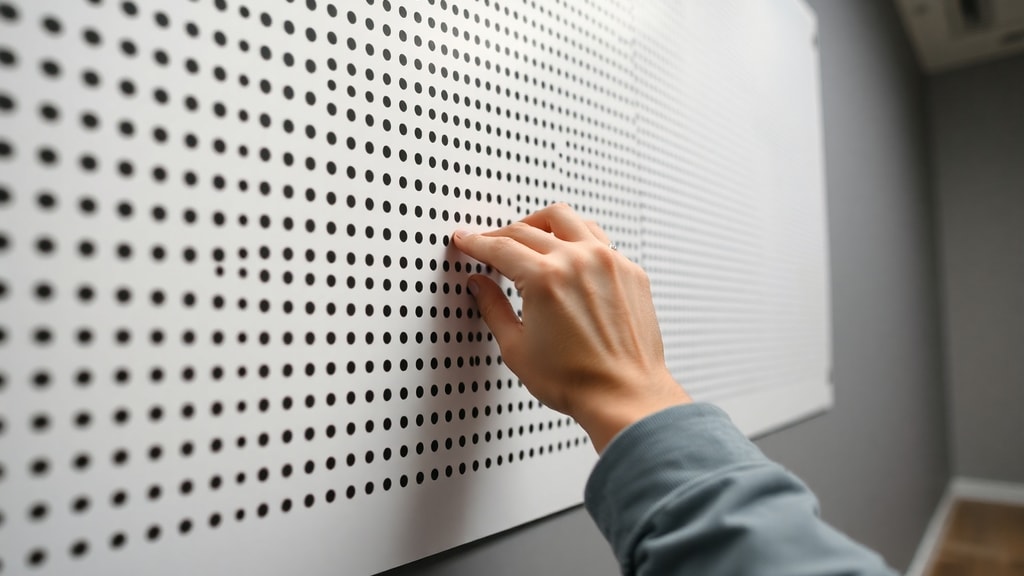
The magic of Rasterbator lies in its halftone conversion. When you upload a picture, the tool analyzes the brightness of every pixel and replaces those pixels with dots of varying sizes. Dark areas of the original image become large, closely packed dots, while light areas become smaller dots or even empty white space. This mimics the optical illusion used in newspapers and comic books: your eye blends the dots together at a distance, reconstructing the detail and color of the original photograph. Rasterbator offers 11 different rendering modes, including a classic black‑and‑white dot pattern, a color option that uses cyan, magenta, yellow, and black (CMYK) halftones, a high‑contrast mode for bold silhouettes, and a plain tile mode that simply enlarges the image without dot effects. Users can also choose from several dot shapes, such as circles, squares, diamonds, or even line patterns, which gives the final poster a distinct visual texture.
All processing takes place locally in your web browser. You upload an image file, select your desired poster size (the maximum is 20 meters or about 65 feet), choose the rendering mode and page orientation, and then generate a PDF or a ZIP archive of JPEG tiles. The PDF format is especially useful because it contains vector data for the dots, so the output stays crisp regardless of the printing scale. Because the processing is done on your own computer, no image data is ever sent to a server, making the tool safe for personal and sensitive pictures.
Step‑by‑Step Poster Creation
Using Rasterbator is straightforward. Here is a typical workflow:
- Prepare a digital image. Photos with high contrast and simple composition work best, though any image can be used.
- Go to the Rasterbator website and upload the image. The tool supports common formats such as JPEG, PNG, and BMP.
- Set the poster dimensions. You can specify the final width and height in either centimeters, inches, or number of sheets. The tool calculates the number of tiles needed.
- Choose a rendering mode and dot shape. For example, the classic halftone mode is great for black‑and‑white posters, while the color mode preserves the full palette of the original.
- Select output options. You can choose whether to include registration marks, add a border, or invert the colors.
- Generate the file. Rasterbator creates a multi‑page PDF that you can download immediately. If you prefer individual tiles, a ZIP archive of JPEGs is also available.
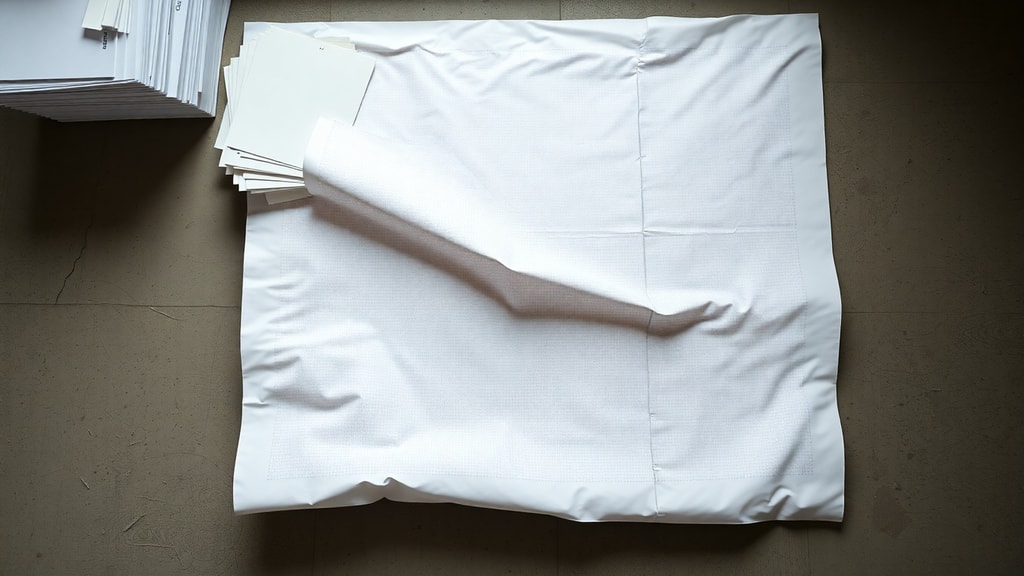
- Print the PDF on a standard printer. Use 80‑gram or heavier paper for best results. Trim the margins (if you enabled registration marks, use them as cutting guides) and assemble the tiles on a wall using tape, glue, or pins.
The entire process, from upload to PDF download, typically takes less than a minute, even for large posters. The tool is designed to be intuitive, so no prior printing expertise is required.
Rendering Modes and Dot Shapes
One of the most powerful features of Rasterbator is the variety of rendering modes. Each mode produces a different visual effect, allowing you to tailor the poster to your artistic vision or practical need. The table below summarizes the main rendering modes and their characteristics.
| Rendering Mode | Description | Best Use Case |
|---|---|---|
| Classic (black & white) | Halftone dots in shades of black on a white background; dot size varies by brightness. | High‑contrast photos, vintage‑style posters, word art. |
| Color (CMYK) | Four‑color halftone using cyan, magenta, yellow, and black dots; reproduces full‑color images. | Photographs, artworks, colorful designs. |
| High‑contrast | Extreme simplification: only pure black and pure white pixels, no gray tones. | Silhouettes, logos, bold graphic designs. |
| Plain tile | Simple enlargement without halftone processing; the image is split into tiles at full resolution. | Text‑heavy posters, maps, diagrams where detail is critical. |
| Inverted classic | Same as classic but with reversed brightness: light dots on a dark background. | Night scenes, dramatic posters, dark‑themed art. |
| Mirror | Creates a symmetrical reflection of the image. | Experimental art, abstract designs. |
| Positive | Standard continuous‑tone enlargement without halftone dots. | When you want the original look but at a larger size (requires high‑resolution printer). |
In addition to these modes, users can select from multiple dot shapes: circles, squares, diamonds, lines, and even a noise pattern. Changing the shape alters the texture of the poster and can give it an entirely different feel. For example, square dots produce a more pixel‑art aesthetic, while diamond shapes create a softer, more organic look. Experimenting with these combinations is part of the fun and allows for truly unique results.
Practical Applications and Creative Uses
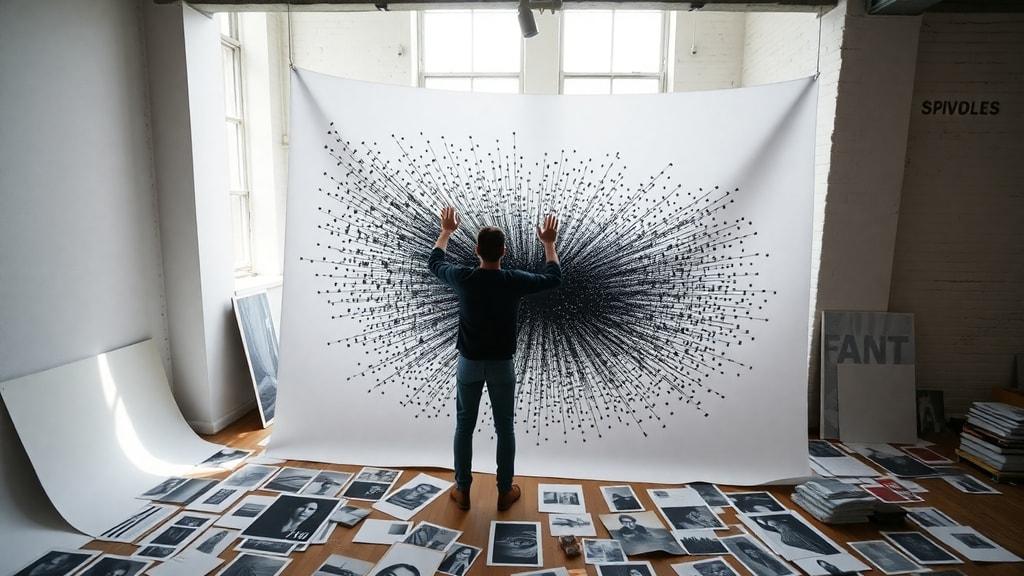
Rasterbator has been used for a wide range of purposes, from personal wall decoration to professional installations. Students often use it to make large‑scale posters for their dorms or to create eye‑catching displays for science fairs and conferences. Teachers and professors print oversized diagrams, timelines, and inspirational quotes for their classrooms. Artists appreciate the ability to produce huge prints on a budget; some have mounted entire exhibitions using Rasterbator‑generated tiles. The tool is also popular in community spaces such as libraries, maker labs, and co‑working offices, where a large poster can define the atmosphere of a room without requiring a dedicated printing budget.
Because the output is entirely tile‑based, the assembly process itself can become a collaborative activity. A group of people can each take a few sheets, trim them, and assemble them on a wall, turning poster creation into a workshop or team‑building exercise. The low cost and ease of use also make Rasterbator ideal for emergency signage, protest banners, or temporary decorations.
Where to Find Rasterbator
The primary way to use Rasterbator is through its official website. The online version has been updated over the years to support modern browsers and higher‑resolution images. A visit to the Rasterbator website will give you immediate access to the tool, along with documentation, example posters, and frequently asked questions. No installation is required; the tool runs on any device with a relatively modern browser, including desktops, laptops, and tablets.
In addition to the web version, a standalone Windows application is available for download. This older version (1.21) still functions on Windows 7 through 10 and offers offline processing. Some users prefer the desktop app because it provides more control over output settings and does not depend on an internet connection. However, the web version is more frequently updated and is recommended for most users.
For those interested in the technical background of tiled printing and halftone techniques, the Wikipedia article on tiled printing provides a thorough overview, including a mention of Rasterbator as a program that popularized the method for home users.
Advantages over Commercial Poster Printing
Rasterbator offers several distinct advantages compared to ordering a poster from a printing shop. First, it is completely free: you only pay for the paper and ink used by your own printer. Second, there are no watermarks, no forced credits, and no limits on how many posters you can create. Third, the tool processes images locally, which means your original picture never leaves your computer, making it safe for private or copyrighted material. Fourth, the tile‑based approach allows you to correct mistakes easily: if one sheet is damaged, you can reprint just that tile rather than the entire poster. Fifth, the dot‑matrix style gives the poster a unique artistic texture that commercial prints cannot replicate without expensive special effects processes. Finally, the maximum size of 20 meters is far larger than what most online printing services offer at a comparable price (often $50 or more for a single large poster).
Limitations and Considerations
While Rasterbator is a powerful tool, it does have some limitations. The most obvious is that the final poster looks best when viewed from a distance. Up close, the individual dots are clearly visible, which can be distracting for images that rely on fine detail. Therefore, the technique works best for bold, graphic images and less well for busy, highly detailed photographs. Additionally, home printers may not produce perfectly consistent colors, especially for color halftone mode, and ink costs can add up for large posters. Trimming and assembling many sheets also requires time and patience. The tool does not offer any advanced image editing features; you must prepare your image beforehand using other software. Nevertheless, for the intended purpose of creating huge, low‑cost wall art, Rasterbator remains unmatched in its convenience and accessibility.
References
Rasterbator Official Website. Rasterbator – Create huge poster art online. https://rasterbator.org
Wikipedia. Tiled printing. https://en.wikipedia.org/wiki/Tiled_printing
AlternativeTo. Rasterbator (about). https://alternativeto.net/software/rasterbator/about/
Product Hunt. The Rasterbator. https://www.producthunt.com/products/the-rasterbator
FileHippo. The Rasterbator 1.21 download. https://filehippo.com/download_the-rasterbator/
UpdateStar. Rasterbator version history. https://rasterbator.updatestar.com/en