Introduction to Printer Cleaning
Regular printer maintenance is essential for keeping your device running at peak performance. Dust, dried ink, and paper debris accumulate inside the machine over time, leading to streaks, faded prints, paper jams, and other common issues. A thorough cleaning routine can restore print quality and extend the life of your printer. This guide provides step by step instructions for cleaning both inkjet and laser printers, based on manufacturer recommendations and best practices. Whether you use your printer daily or only occasionally, following these steps will help you avoid costly repairs and replacement parts.
Preparation Before Cleaning
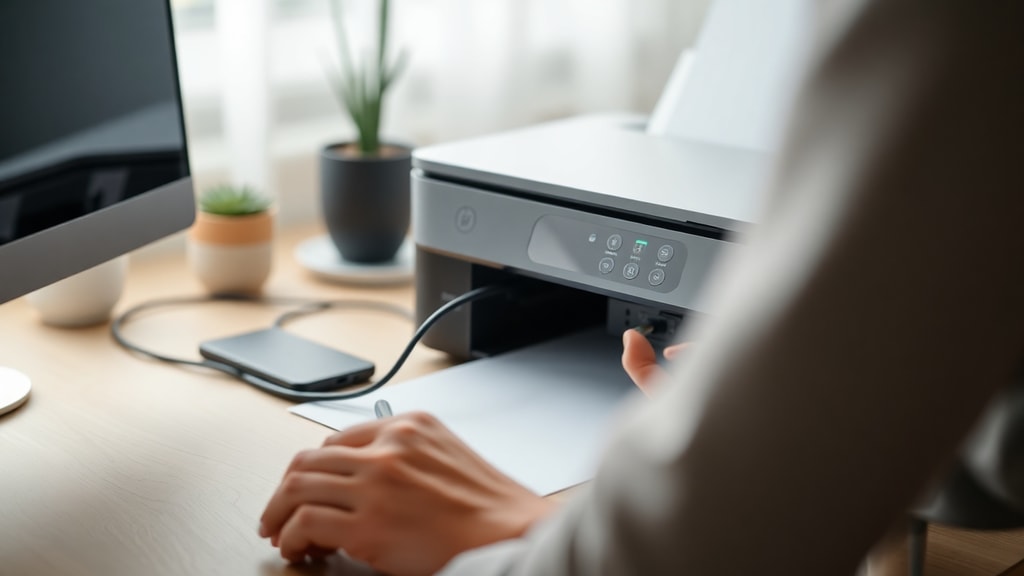
Before you start any cleaning procedure, it is critical to prepare your printer correctly. Begin by turning off the printer and unplugging it from the power source. This eliminates the risk of electrical shock and prevents accidental movement of internal components during cleaning. Open the printer cover or front panel to access the cartridge or toner area. Remove all ink cartridges or toner units carefully and place them on a clean, dry surface away from direct sunlight. For inkjet printers, it is advisable to store the cartridges in a sealed plastic bag or their original packaging to prevent the ink nozzles from drying out. For laser printers, keep the toner drum protected from light. Make sure you have a clean workspace with plenty of room to maneuver. Gather your cleaning supplies: a lint free cloth, isopropyl alcohol at least 90 percent concentration, distilled water, compressed air or a small handheld vacuum, and cotton swabs. Avoid using paper towels or tissues as they can leave fibers inside the printer. Never use acetone, ammonia based cleaners, or other harsh solvents as they can damage the print head and other sensitive parts.
Internal Cleaning of the Printer
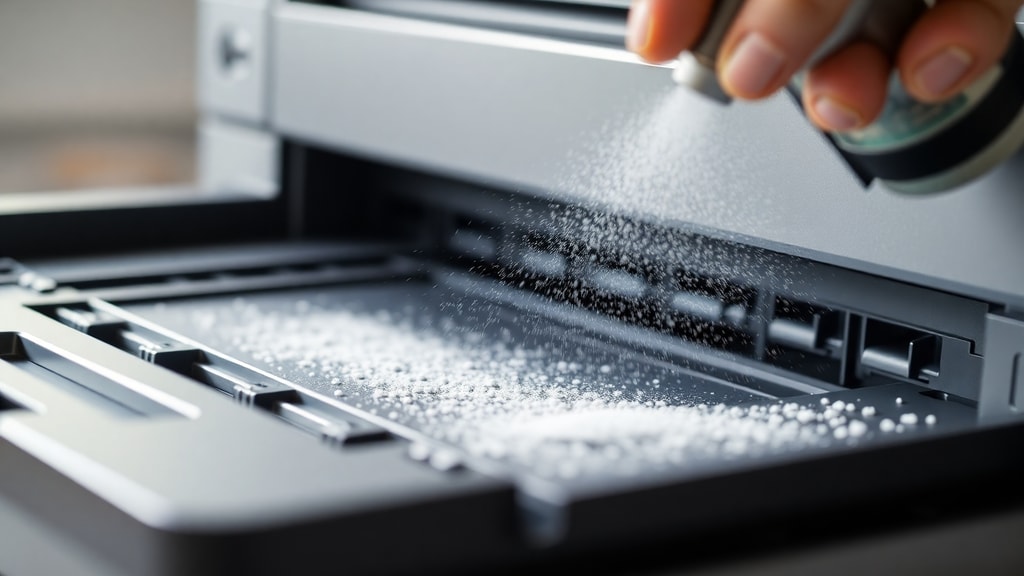
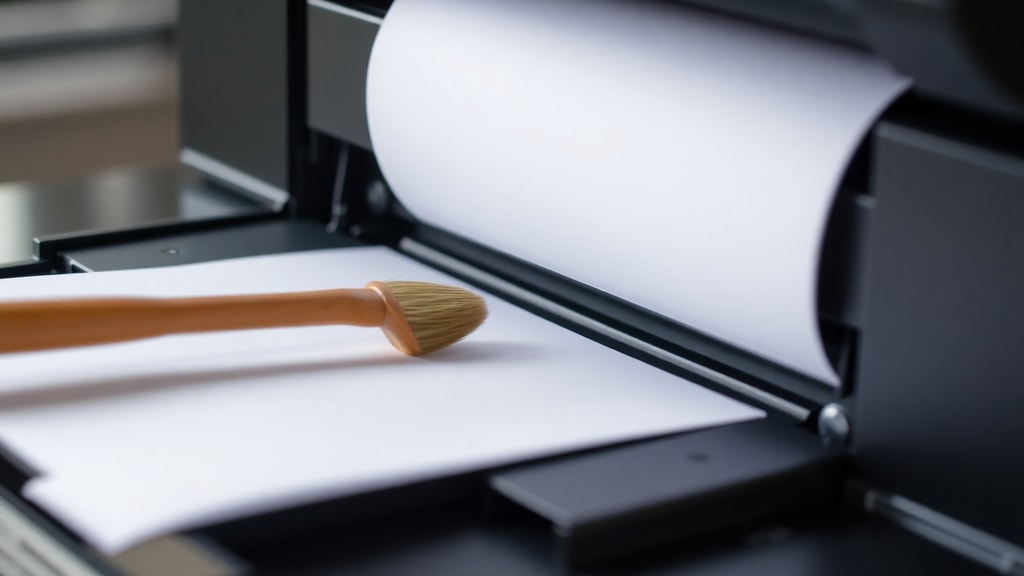
The interior of your printer collects dust, toner powder, and ink residue over time. Use a can of compressed air or a handheld vacuum with a soft brush attachment to gently remove loose debris from the paper path, rollers, and internal surfaces. Hold the compressed air nozzle at least a few inches away from components to avoid blowing debris deeper into the machine. Pay special attention to areas around the print head assembly and the paper feed mechanism. For inkjet printers, the print head is a delicate part that requires careful handling. If you notice clogged nozzles or poor print quality, you can clean the print head manually. Dampen a lint free cloth or a cotton swab with a solution of isopropyl alcohol and distilled water in equal parts. Gently wipe the print head nozzles and the surrounding area. Do not apply excessive pressure or use sharp objects to scrape dried ink. Allow the print head to air dry completely before reinstalling the cartridges. For laser printers, focus on removing loose toner particles using a toner certified vacuum or compressed air. Toner is a fine powder that can become airborne and pose a health risk if inhaled, so work in a well ventilated area and consider wearing a dust mask.
Cleaning the Rollers
Rollers are responsible for feeding paper through the printer. When they become dirty or coated with paper dust, they can cause jams, misfeeds, and skewed prints. For laser printers, roller cleaning is especially important because toner residue can build up on the transfer roller and fuser roller. To clean the rollers, first locate them inside the printer. Most rollers are accessible after removing the toner cartridge or the paper tray. Use a lint free cloth slightly dampened with distilled water to wipe the surface of each roller. Rotate the rollers manually to clean the entire circumference. After wiping with a damp cloth, go over the rollers with a dry lint free cloth to remove any moisture. Make sure the rollers are completely dry before you reassemble the printer and load paper. Do not use alcohol on rubber rollers as it can dry out the rubber and cause cracking. If the rollers are heavily soiled, you may need to repeat the process or replace them if they show signs of wear. For inkjet printers, the rollers are usually smaller and located near the paper feed slot. Follow the same damp cloth and dry cloth procedure. Regular roller cleaning prevents most paper feed issues and keeps your printer running reliably.
Cleaning the Print Head and Nozzles
The print head is the most critical component in an inkjet printer. Over time, ink residue can dry and clog the tiny nozzles that spray ink onto the paper. Most printers have a built in cleaning cycle that you can initiate from the control panel or the printer driver software. Run this cycle once to see if it resolves streaking or missing colors. If the built in cleaning does not work, you may need to perform a manual cleaning. Remove the print head if your printer model allows it. Soak the print head in a shallow dish of isopropyl alcohol for a few minutes to dissolve dried ink. Then use a soft brush or a lint free cloth to gently remove any remaining residue. Rinse with distilled water and let it dry thoroughly before reinstalling. For printers with integrated print heads that cannot be removed, use the alcohol dampened cloth method described earlier. After cleaning, perform a nozzle check pattern to verify that all nozzles are working. If some nozzles remain clogged, repeat the cleaning process or consider using a specialized print head cleaning solution available from office supply stores. Never force the print head or use abrasive materials.
Cleaning the Exterior and Paper Path
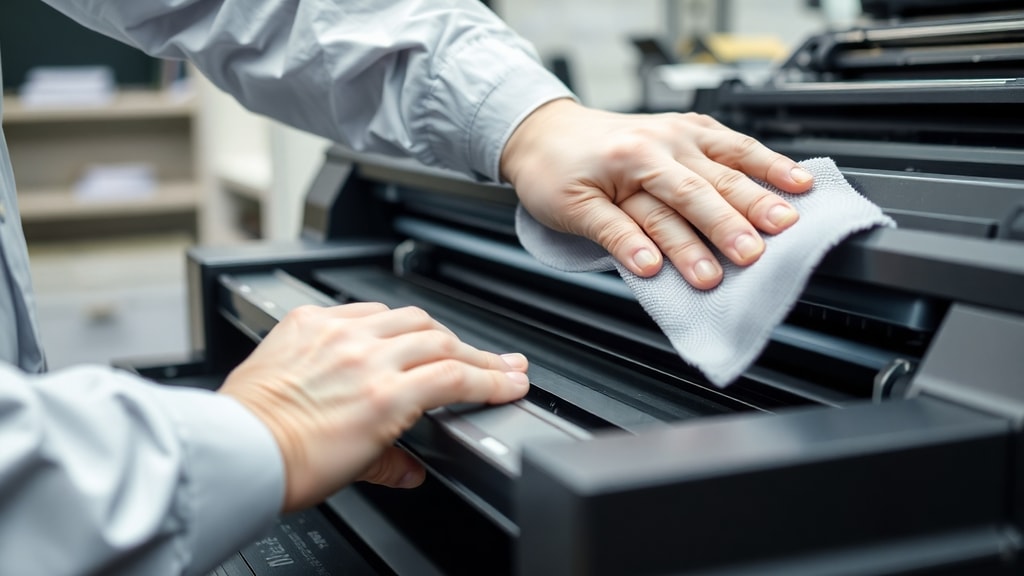
The outside of your printer also needs attention. Dust and grime can accumulate on the control panel, paper trays, and output tray. Wipe the exterior surfaces with a soft cloth dampened with water or a mild cleaner. Avoid getting liquid inside any openings. Clean the paper trays by removing them and vacuuming out any paper dust or debris. Inspect the pickup rollers inside the tray and clean them if necessary. The paper path refers to the entire route that paper travels from the tray to the output tray. Open all access panels and use compressed air to blow out any paper scraps, dust bunnies, or stray toner particles. A clean paper path reduces the likelihood of jams and ensures smooth feeding. For laser printers, pay extra attention to the fuser unit area, which can accumulate melted toner. Allow the fuser to cool down before cleaning if the printer was recently used. Use a dry cloth to wipe the fuser rollers gently.
Inkjet vs Laser Printer Cleaning Differences
While the basic principles of cleaning apply to both types, there are important differences to keep in mind. Inkjet printers use liquid ink that can dry and clog nozzles, so regular head cleaning is essential. Laser printers use toner powder that can scatter inside the machine and cause static buildup. Toner is conductive and can damage electronic components if not removed carefully. For laser printers, never use liquid cleaners on the toner drum or the charging roller. Use only dry methods or toner specific wipes. Inkjet printers benefit from periodic use of cleaning cartridges or maintenance kits that flush the ink system. Laser printers may require replacement of the ozone filter or the waste toner bottle after many cleaning cycles. Always consult your printer manual for model specific instructions. The table below summarizes the key cleaning tasks and their recommended frequency for each printer type.
| Cleaning Task | Inkjet Frequency | Laser Frequency |
|---|---|---|
| External wipe down | Monthly | Monthly |
| Roller cleaning | Every 3 months | Every 6 months |
| Print head / drum cleaning | Every 2 months or as needed | As needed (use dry method) |
| Interior vacuum / compressed air | Every 6 months | Every 6 months |
| Built in cleaning cycle | When quality drops | Not applicable |
Recommended Cleaning Frequency
How often you should clean your printer depends on usage patterns and the environment. For home or small office printers used daily, a light cleaning every month and a deep cleaning every six months is adequate. If you use your printer only occasionally, say once a week or less, you can space out deep cleaning to every two years or whenever you replace the toner or ink cartridges. Printers placed in dusty or humid environments may need more frequent attention. A good practice is to run a nozzle check or print a test page before each major print job. If you notice any degradation in quality, clean the print head immediately to prevent permanent clogs. For laser printers, pay attention to the waste toner level and the condition of the drum. Many laser printers have a built in cleaning mode that you can activate from the menu. Always follow the manufacturer guidelines for your specific model. Overcleaning can be counterproductive, so do not perform unnecessary cleaning cycles that waste ink or toner.
Verifying Nozzle and Print Quality
After cleaning, it is important to verify that the print quality has improved. Use the nozzle check or print head alignment function found in the printer settings. This prints a pattern of lines and blocks that shows if all nozzles are firing correctly. Look for gaps, streaks, or missing colors. If the pattern shows improvement but not perfection, you may need to run the cleaning cycle again or perform a manual head cleaning. For laser printers, print a test page that includes fine lines and solid areas to check for toner adhesion and drum defects. If the test page shows consistent issues such as ghosting, repeating marks, or faded areas, the problem may be deeper than surface dirt. In such cases, consult your printer manual or contact technical support. Regular verification helps you catch problems early and avoid wasting expensive ink or toner on failed prints.
Safety Precautions During Cleaning
Safety should always come first when cleaning any electronic device. Ensure the printer is unplugged and turned off before you touch any internal part. Avoid using metal tools or abrasive pads that could scratch components. Never spray cleaner directly onto the printer; always apply the cleaner to a cloth first. Keep liquids away from electrical contacts and circuit boards. If you spill liquid inside the printer, allow it to dry completely for 24 hours before powering on. Wear gloves if you are handling toner or old ink cartridges. Toner powder can irritate skin and eyes. In case of toner spill, use a toner certified vacuum or a damp cloth to pick up the powder. Do not use a regular vacuum cleaner as toner can damage the motor and cause a fire hazard. Dispose of used cleaning materials and old cartridges according to local regulations. By following these safety steps, you protect both yourself and your printer.
Reinstalling Cartridges and Toner
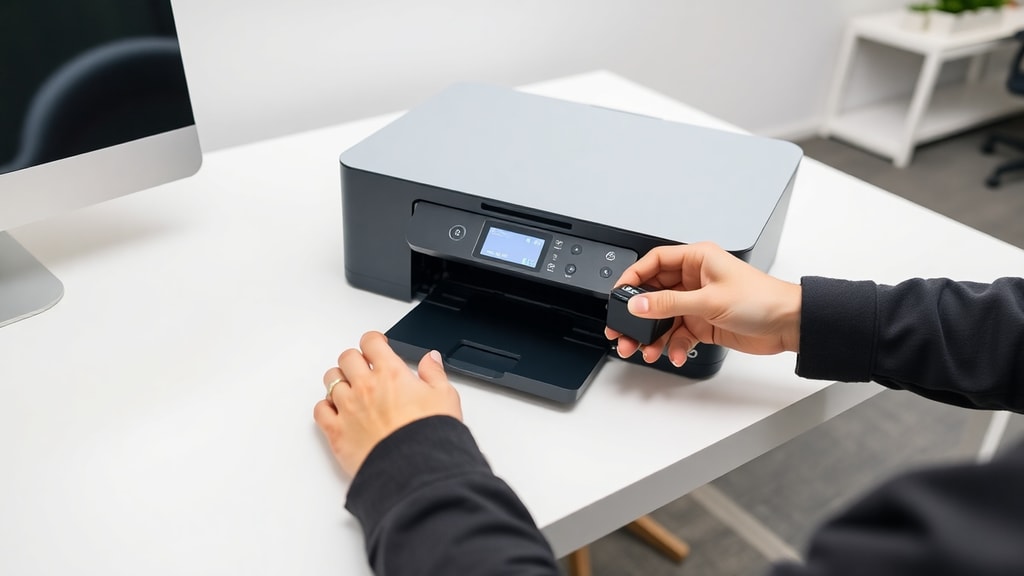
Once all cleaning steps are complete and all components are dry, it is time to reassemble the printer. Reinstall the ink cartridges or toner units carefully, making sure they click into place. For inkjet printers, remove any protective tape or covers from the new or cleaned cartridges before insertion. Close all access panels and plug the printer back in. Turn on the printer and wait for it to initialize. The printer may run an automatic alignment or cleaning cycle. Print a test page to confirm that everything is working correctly. If you encounter error messages, open the panels and check that all components are seated properly. Some printers require you to reset the waste ink counter after a deep cleaning. Refer to your manual for the reset procedure. After successful test printing, your printer is ready for regular use.
References
Epson Support. Preparação para limpeza de impressora. Available at: Epson Manual.
Epson Manual. Limpeza interna de impressora. Available at: Epson Guide.
HP Guide. Como limpar cabeça de impressão. Available at: HP Support.
Femacke Informática. Frequência de limpeza de impressoras. Available at: Femacke.
TecMundo. Segurança na limpeza de impressoras. Available at: TecMundo.