Understanding the Basics of Opening a USB Drive
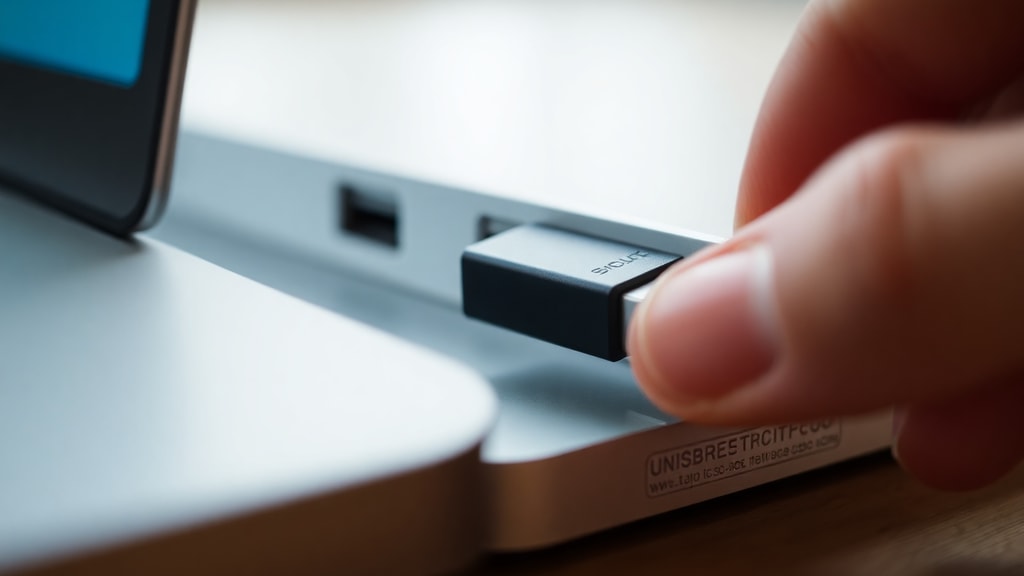
Connecting a USB drive to a computer is one of the most common tasks for transferring files, backing up data, or using portable applications. The process is designed to be straightforward, but many users encounter small hurdles that can make it confusing. The first step is to physically connect the device to an available USB port on your computer. Once inserted, the operating system should recognize the drive automatically. In Windows, this often triggers a notification sound and a pop-up dialog asking what you want to do with the drive. For Mac users, the drive typically appears on the desktop within a few seconds. However, if nothing happens, do not worry. There are several reliable methods to manually open the drive and access its contents. This article covers everything from basic steps to advanced troubleshooting, ensuring you can open a USB drive on any device with confidence.
How to Open a USB Drive on Windows
Windows provides multiple ways to open a USB drive, and the most direct method is through File Explorer. Press the Windows key and the E key simultaneously to open File Explorer. Look in the left-hand navigation pane under This PC or Computer. You should see your USB drive listed as a removable disk, often labelled with a drive letter such as D or E. Click on the drive name to open it and view all files and folders stored on the USB. If the drive does not appear, try refreshing the view by pressing F5 or restarting File Explorer. Sometimes the drive letter may be hidden, so also check the Devices and drives section in the main window. Another quick way is to type This PC in the search bar and select the result. From there, you can double-click the USB drive icon. Remember that the system needs a few seconds to recognize the hardware, especially for older USB 2.0 ports.
Using Disk Management When the Drive Is Not Visible
If your USB drive remains invisible in File Explorer, the issue might be related to drive letter assignment or partition status. Windows includes a tool called Disk Management that gives you full control over connected storage devices. To access it, press Windows key and R simultaneously, type diskmgmt.msc, and press Enter. The Disk Management window displays all physical drives and partitions. Look for a disk labelled Removable or that shows a size matching your USB drive. If the partition is healthy but has no drive letter, right-click on the partition and select Change Drive Letter and Paths. Then click Add and assign any unused letter. If the partition shows as Unallocated, you will need to create a new volume, which erases all data. For drives that are not initialized, right-click the disk name and select Initialize Disk. This process can resolve many recognition problems. Always ensure you are working on the correct disk to avoid data loss.
Command Prompt Troubleshooting for Corrupted USB Drives
Corrupted file systems or minor errors can prevent a USB drive from opening. Windows offers a built-in command-line tool to fix these issues. Open Command Prompt as an administrator by typing cmd in the search bar, right-clicking Command Prompt, and selecting Run as administrator. In the command window, type chkdsk E: /f and press Enter, but replace E with the actual drive letter of your USB. The /f parameter tells the tool to fix errors automatically. The process may take several minutes depending on the drive size and error severity. After completion, try opening the drive again through File Explorer. This command is safe for data, but it is always wise to back up important files before running disk repairs. If the command reports that the drive is RAW or inaccessible, you may need third-party recovery software to extract files before formatting.

Opening a USB Drive on macOS Devices
Apple computers handle USB drives differently but just as easily. After connecting the drive, look for its icon on the desktop. The icon typically shows a small orange drive with the drive name. Double-click the icon to open its contents in a Finder window. If the drive does not appear on the desktop, open Finder and look under Locations in the sidebar. You should see the USB drive listed there. If not, click Finder in the menu bar, select Preferences, and ensure External disks is checked under the General tab. Some Macs also require that the USB format is compatible for example, FAT32 or exFAT. Mac-formatted drives using APFS or HFS+ may not be recognized by Windows, but macOS can usually read those formats. If the drive still does not appear, try connecting it to a different port or restarting the Mac. For persistent issues, launch Disk Utility from the Applications Utilities folder to repair the drive.
Common Problems and Solutions When a USB Drive Won't Open
There are several common reasons why a USB drive might not open. The drive could be physically damaged, have a corrupted file system, or be formatted with an incompatible file system. Some older USB ports may not supply enough power for larger drives. Try connecting the USB to a rear port on a desktop computer, as those are directly connected to the motherboard. If the drive makes a clicking noise, it may have mechanical failure, and professional data recovery is advised. Another issue is driver conflict. Go to Device Manager, expand Universal Serial Bus controllers, right-click each device, and select Update driver. Restarting the computer often resolves temporary glitches. For drives that appear in Disk Management but remain inaccessible, a quick format might help, but this erases all data. Always prioritize data backup before drastic measures.
List: Steps to Safely Open and Access a USB Drive
The following list summarizes the key steps to successfully open a USB drive on any device:
- Connect the USB drive to a working port on your computer.
- Wait for the operating system to recognize the drive automatically.
- Open File Explorer on Windows or Finder on Mac.
- Locate the drive under This PC, Devices and drives, or Locations.
- Double-click the drive icon to view its contents.
- If the drive is not visible, use Disk Management or Disk Utility.
- Run chkdsk if the drive has errors or corruption.
- Always eject the drive before physical removal to prevent data loss.
Table: Comparing USB Drive Access Methods Across Operating Systems
Below is a helpful table that shows the main methods for accessing a USB drive on Windows and macOS:

| Operating System | Primary Method | Alternative Method | Tool for Issues |
|---|---|---|---|
| Windows | File Explorer (Windows + E) | This PC shortcut | Disk Management (diskmgmt.msc) |
| Windows (error) | Command Prompt chkdsk | Device Manager driver update | Third-party recovery software |
| macOS | Desktop icon double-click | Finder sidebar Locations | Disk Utility First Aid |
| macOS (error) | Restart computer | Try different USB port | Terminal diskutil commands |
Ejecting the USB Drive Properly
After you finish using the USB drive, proper ejection is essential to prevent corruption. On Windows, right-click the drive in File Explorer and select Eject. Alternatively, click the Safely Remove Hardware icon in the system tray near the clock, then select the USB device. On Mac, drag the drive icon to the Trash, which changes to an eject symbol, or right-click the icon and choose Eject. The operating system will flush any pending write operations to the drive and disconnect it safely. Never pull the USB drive out without ejecting, as this can damage files or even the drive itself. If the system says the device is still in use, close all open files and folders associated with the drive. In rare cases, you may need to log off or restart before the drive can be ejected safely. Following this step ensures your data remains intact and the drive stays usable for future connections.
Using USB Drives on Other Devices
USB drives are not limited to computers. Many modern devices such as smart TVs, gaming consoles, car audio systems, and Android smartphones support USB drives for media playback. For Android devices, you may need a USB On-The-Go adapter. Once connected, the file manager app often displays the drive. Smart TVs usually have a USB port for playing videos, music, and photos directly from the drive. In many cases, the device will prompt you to open the drive automatically. If not, check the input source or media menu. Some devices require the USB to be formatted in FAT32 or exFAT for compatibility. NTFS is less commonly supported on non-Windows devices. Always check the device manual or specifications before expecting full functionality. With the right adapter, you can also connect a USB drive to some tablets and smartphones, expanding storage for documents and media.

Advanced Troubleshooting for Stubborn Drives
When all standard methods fail, advanced users can try deeper fixes. One approach is to use the Diskpart command-line utility in Windows. Open Command Prompt as administrator and type diskpart. Then list disk to display all connected disks. Identify your USB disk by its size, then select disk X replacing X with the correct number. Use the clean command to remove all partitions, then create a new partition with create partition primary. After that, format fs=ntfs quick to assign a file system. This method erases all data, so use it only as a last resort. For Mac, the Terminal command diskutil list shows all disks, and you can use diskutil eraseDisk to reformat. If the drive has physical damage, these software fixes will not help, and data recovery services are the only option. Always verify you are working on the correct disk to avoid wiping the wrong drive.
Preventing Common USB Drive Issues
Prevention is better than cure. To avoid problems opening your USB drive, always eject it properly before removal. Avoid exposing the drive to extreme temperatures, moisture, or magnetic fields. Regularly scan the drive with antivirus software because malware can hide in USB devices and cause access errors. Keep the drive formatted in a widely compatible file system like exFAT if you switch between Windows and Mac frequently. Do not fill the drive to maximum capacity, as this slows performance and can cause errors. Periodically backup important data from the USB to another location. If you notice the drive becoming slow or producing read errors, consider replacing it before a total failure occurs. Simple habits like these extend the life of your USB drive and ensure it opens reliably every time.
References
Microsoft Support. How to open a USB drive in Windows. Available at: https://learn.microsoft.com/en-us/answers/questions/5884765/how-do-i-open-the-usb-port. EaseUS. Open USB drive on Windows 10. Available at: https://es.easeus.com/storage-media-recovery/open-usb-drive-on-windows-10.html. Doncomo. Como abrir una USB. Available at: https://doncomo.com/como-abrir-una-usb/. Wondershare Recoverit. Fix USB flash drive cannot open. Available at: https://recoverit.wondershare.es/usb-tips/fix-usb-flash-drive-cannot-open.html. Microsoft Support. Safely remove USB drive. Available at: https://learn.microsoft.com/en-us/windows/storage/remove-usb-drive.