Preparing Your Home for Beautiful Interior Photos
The first step to taking great photos inside your home is not about the camera at all. It is about the space itself. A clean, organized room photographs infinitely better than a cluttered one, no matter how expensive your equipment is. Start by removing anything that distracts the eye. This includes personal items like toothbrushes, mail, remote controls, and small decorative objects that create visual noise. You want the viewer to focus on the architecture and the design of the room, not on the pile of laundry in the corner. Take a few minutes to fluff pillows, straighten rugs, and wipe down surfaces. Even a quick sweep of the floor makes a remarkable difference. Pay special attention to kitchen counters and bathroom vanities, as these areas tend to collect the most clutter. Remember, the goal is to present your home in its best light, not to document how you actually live in it. A little preparation goes a long way.
Mastering Natural Light for Indoor Photography
Natural light is your best friend when taking photos inside your home. It provides a soft, flattering illumination that no artificial light source can replicate. The best time to shoot is during the golden hour, which occurs in the early morning and late afternoon. During these times, the sun is low in the sky, casting a warm, golden glow that makes rooms look inviting and cozy. Open all curtains and blinds fully to let in as much light as possible. If the light is too harsh, use sheer curtains to diffuse it. Avoid shooting with direct sunlight streaming through a window, as this creates high contrast and blown-out highlights. Instead, aim for diffused light that wraps around the room evenly. You can also use mirrors to bounce light deeper into the space. Position a mirror opposite a window to reflect light into darker corners. This simple trick can dramatically brighten a room without any additional equipment.
Avoiding the Harshness of Flash Photography
One of the most common mistakes people make is using the built-in flash on their camera or phone. Direct flash creates harsh shadows, washes out colors, and makes rooms look flat and unappealing. It also creates an unnatural spotlight effect that ruins the ambiance of a space. Instead of relying on flash, use the ambient light available in the room. If a room is particularly dark, turn on all the lamps and overhead lights. The warm glow from table lamps creates a cozy, layered lighting effect that is far more flattering than flash. If you must add light, use indirect sources. Place a lamp behind a piece of furniture to create a soft backlight, or use a candle for a warm accent. The key is to avoid pointing a direct light source at the scene. If you are shooting in a room with no windows, consider using a reflector to bounce artificial light from a lamp onto the subject. This technique mimics natural light and produces much more pleasing results.
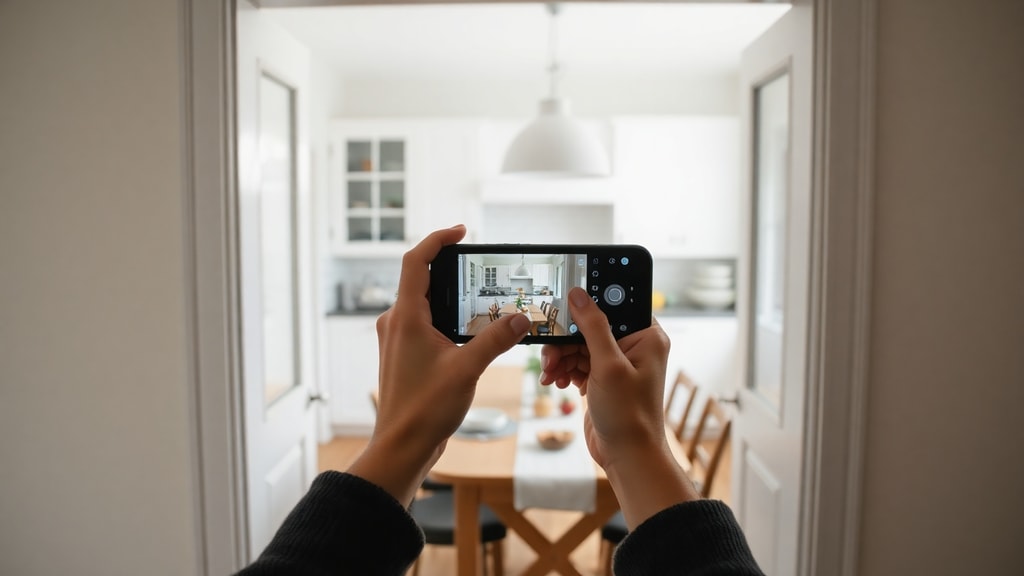
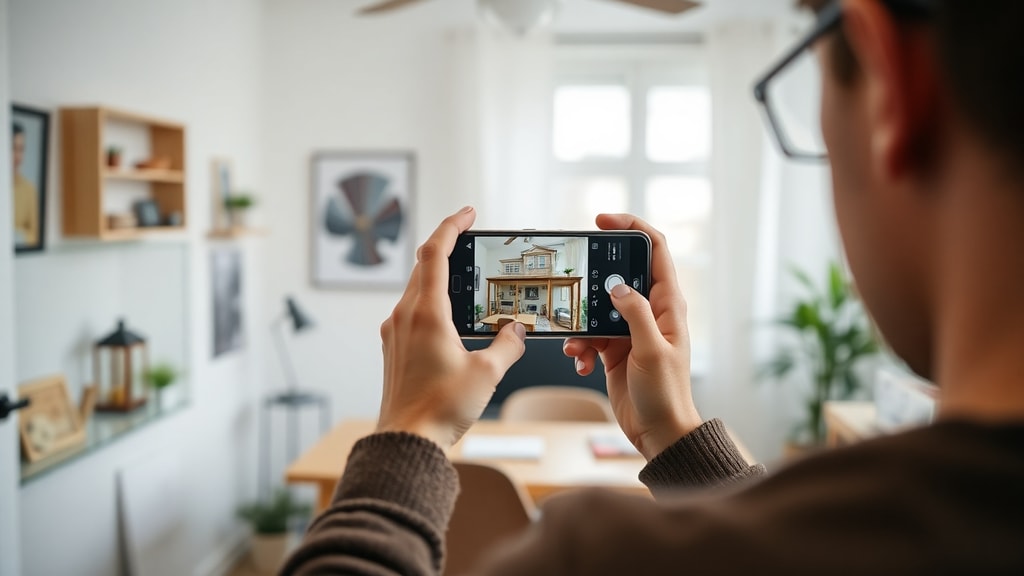
Choosing the Right Camera Angle and Height
The angle at which you hold your camera has a huge impact on how a room looks. The most natural and pleasing perspective is eye level, which means holding the camera at about five feet off the ground, roughly the height of a standing person. This perspective mimics how we actually see a room, making the photo feel familiar and inviting. Avoid shooting from too high or too low, as these angles can distort proportions and make a room look awkward. Shooting from a low angle can make ceilings look taller, but it also makes furniture look bulky. Shooting from a high angle can make a room look smaller and more cramped. The standard eye-level shot is almost always the safest and most effective choice. If you want to capture a specific detail, such as a piece of art on a wall, adjust the height to match that element. But for full room shots, keep the camera at a comfortable height.
The Importance of a Wide-Angle Lens
A wide-angle lens is essential for capturing interior spaces, especially if you are working with small rooms. It allows you to capture more of the room in a single frame, making the space appear larger and more open. Most smartphone cameras have a wide-angle mode, and many dedicated cameras offer wide-angle lenses. When using a wide-angle lens, be careful not to overdo it. Extreme wide-angle shots can create distortion, making straight lines appear curved. A moderate wide-angle lens, typically in the range of 16mm to 24mm on a full-frame camera, works best for interior photography. If you are using a smartphone, step back as far as possible to minimize distortion. You can also use the built-in editing tools to correct perspective after shooting. The goal is to make the room look spacious without looking unnatural. A well-used wide-angle lens can transform a cramped room into an inviting space.
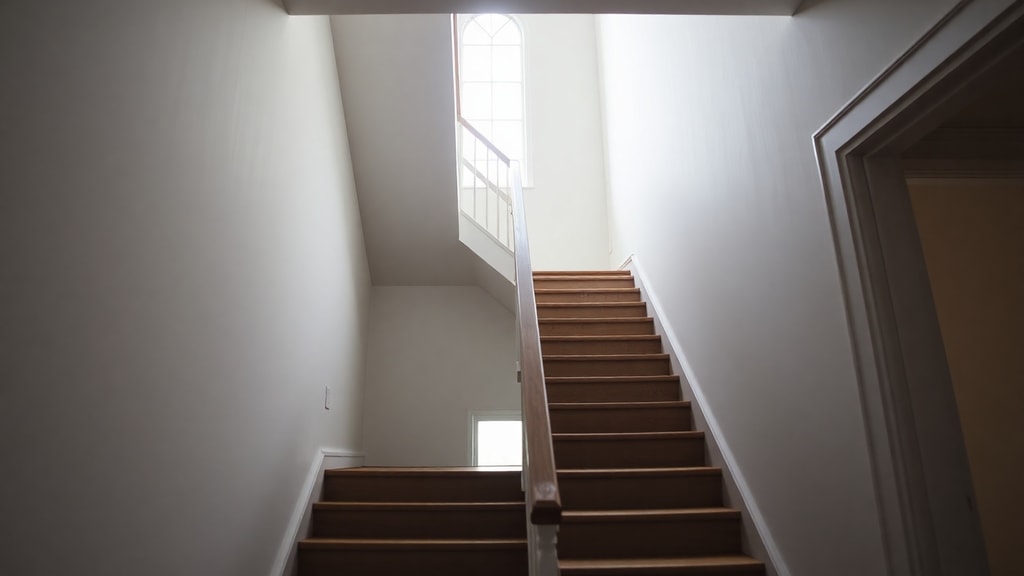
Keeping Vertical Lines Straight
One of the most noticeable signs of amateur interior photography is crooked vertical lines. Doorframes, walls, and windows should always appear perfectly straight in your photos. If they lean or tilt, the image looks unprofessional and disorienting. To achieve straight lines, pay attention to your camera position. Make sure the camera is level and not tilted up or down. Many cameras and phones have a built-in grid or level feature that helps you align your shot. Use this tool to ensure that vertical lines are parallel to the edges of the frame. If you are shooting from a tripod, use the bubble level to check alignment. Even a slight tilt can ruin an otherwise great photo. If you do end up with crooked lines in post-processing, most editing software has a perspective correction tool that can straighten them. But it is always better to get it right in-camera to avoid losing image quality.
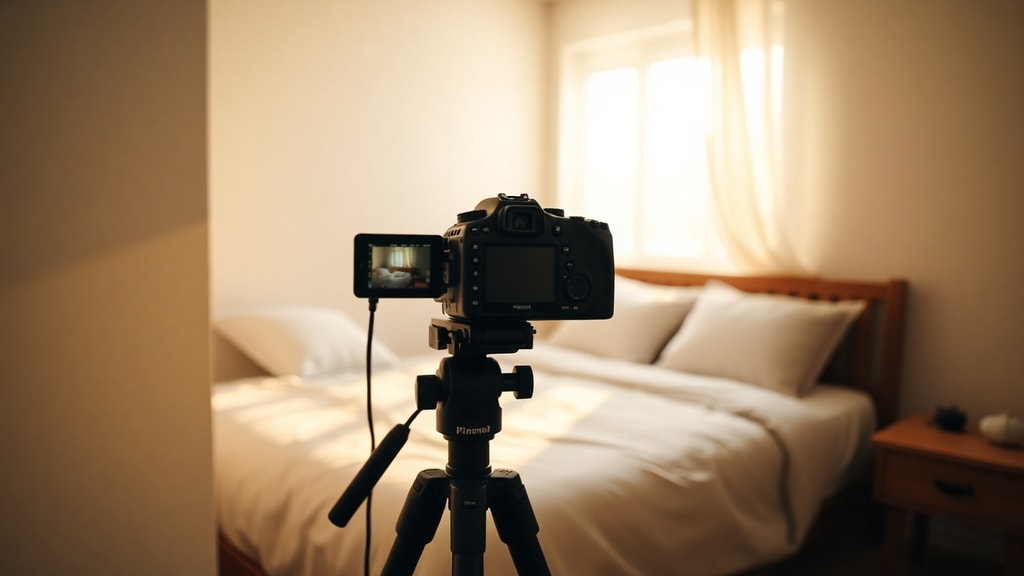
Using a Tripod for Stability and Consistency
A tripod is one of the most valuable tools for interior photography. It keeps your camera perfectly still, which is especially important in low-light conditions. When you use a tripod, you can use slower shutter speeds without worrying about camera shake, allowing more light into the sensor. This results in sharper, more detailed images. A tripod also ensures consistency across multiple shots. If you are photographing a whole house, you can use the same height and angle for every room, creating a cohesive look. This is particularly useful if you plan to edit the photos later, as consistent framing makes batch editing much easier. Even a lightweight travel tripod is better than nothing. Set it up, frame your shot, and use a remote shutter or a timer to avoid shaking the camera when you press the button. The investment in a tripod pays off in much cleaner, more professional images.
Adjusting ISO and Aperture for Indoor Light
Understanding a few basic camera settings can dramatically improve your indoor photos. ISO controls your camera's sensitivity to light. In bright rooms, keep ISO low, around 100 to 200, for the cleanest image. In darker rooms, you may need to increase ISO to 800 or even 1600 to capture enough light. Be aware that higher ISO introduces digital noise, which makes your image look grainy. Try to find a balance between a high enough ISO to capture light and a low enough ISO to keep noise minimal. Aperture controls how much light enters the lens. A wide aperture, represented by a low f-number like f/2.8, allows more light in and creates a shallow depth of field, where the background is blurry. For room shots, a narrower aperture, like f/8 or f/11, keeps more of the scene in focus. However, in low light, you may need to open the aperture wider to let in enough light. Experiment with these settings to find what works best for your specific lighting conditions.
Common Mistakes to Avoid When Photographing Interiors
There are several pitfalls that beginners often encounter. Here is a list of mistakes to watch out for when shooting indoors.
- Not decluttering the space before shooting.
- Over-relying on the camera's built-in flash.
- Shooting from a height that distorts the room's proportions.
- Ignoring vertical lines and ending up with tilted walls.
- Using a lens that is too wide, causing barrel distortion.
- Forgetting to adjust white balance, resulting in unnatural colors.
- Taking photos during the middle of the day when light is harsh.
- Not using a tripod, leading to blurry images in low light.
Avoiding these common errors will help you produce cleaner, more professional-looking photos that accurately represent your home.
Editing Your Photos for a Natural Look
Post-processing is a normal part of photography, but it is important to use it responsibly. The goal of editing indoor photos is to enhance what is already there, not to create a false representation. Start by adjusting the overall exposure. If the photo is too dark, brighten it slightly. If it is too bright, darken it. Then adjust the contrast to give the image more depth. Increase the contrast just enough to make the whites whiter and the blacks blacker, but avoid making it look artificial. You can also adjust the white balance to ensure that colors look natural. Indoor lighting often casts a yellow or blue tint, which you can correct in editing. Use tools like brightness, contrast, and color temperature sliders to fine-tune the image. Avoid heavy filters or extreme saturation that makes the room look cartoonish. The best editing is subtle and aims to replicate how the room looks in person on a beautiful day.
Comparing Smartphone and Dedicated Camera Results
Many people wonder if they need a professional camera to take good interior photos. The truth is that modern smartphones are incredibly capable, but dedicated cameras still have advantages. The table below outlines some key differences.
| Feature | Smartphone | Dedicated Camera |
|---|---|---|
| Ease of Use | Very easy, automatic settings | Requires manual adjustment |
| Lens Choice | Fixed wide-angle, often with distortion | Interchangeable lenses, less distortion |
| Low Light Performance | Good, but noisy at high ISO | Excellent, cleaner at high ISO |
| Control Over Depth of Field | Limited, mostly automatic | Full control with aperture settings |
| Image Quality | Great for online use | Superior for large prints |
For most people, a smartphone is perfectly adequate for sharing photos online or on social media. However, if you are planning to use the images for real estate listings, portfolios, or large prints, a dedicated camera with a proper wide-angle lens will provide better quality and more control.
Practical Tips for Specific Rooms
Different rooms require slightly different approaches. In the kitchen, focus on clean counters and a clear sink. Shoot from a corner to capture the full length of the counter. In the living room, arrange furniture to create a comfortable seating area and highlight natural light from windows. In the bedroom, make the bed and remove personal items like laundry baskets. Shoot from the foot of the bed to capture the room's depth. In the bathroom, ensure mirrors are spotless and toiletries are put away. A low angle can make a small bathroom look larger. In hallways, shoot from the end to emphasize the length. Always consider the purpose of the room and what features you want to highlight. For example, a large window is a selling point, so position yourself to showcase it. A fireplace should be a focal point, so include it prominently in the frame. Tailor your approach to each space.
Enhancing Your Photos with Strategic Staging
Staging is about making a room look its best without being overly artificial. Add small touches like a bowl of fresh fruit on the kitchen counter, a vase of flowers on the dining table, or a cozy throw blanket on the sofa. These elements add life and color to the photo. However, do not overdo it. Too many props can look cluttered and distract from the room itself. The goal is to make the space feel lived-in but tidy. Use neutral colors for most props, and add a single pop of color for visual interest. For example, a bright yellow cushion on a neutral sofa can draw the eye. Arrange books on a shelf neatly, and remove anything that feels personal, like family photos. You want the viewer to imagine themselves living in the space, not feel like they are intruding on someone else's home. Strategic staging helps create an emotional connection with the viewer.
Reasons to Invest Time in Indoor Photography
Taking good photos of your home is not just about vanity. It is a practical skill with many benefits. If you are selling your home, professional-looking photos can attract more buyers and even increase the sale price. If you are renting out a room or an entire property, high-quality images help you stand out online. For homeowners, documenting your space can be a great way to track renovations or simply appreciate the beauty of your own home. Many people also use interior photos for home design blogs, social media, or personal portfolios. Even if you are just sharing with friends and family, a well-taken photo is more enjoyable to look at. The effort you put into learning this skill pays off in better memories and more engaging content. It also helps you see your home in a new light, noticing details you might otherwise overlook.
References
Homify. "9 Dicas para Tirar Excelentes Fotos da Sua Casa." Homify Portugal, 2023. Available at: https://www.homify.pt/livros_de_ideias/9401432/9-dicas-para-tirar-excelentes-fotos-da-sua-casa
Nicephotos Blog. "6 Dicas Para Tirar Fotos em Casa." Nicephotos Fotografia, 2023. Available at: https://blog.nicephotos.com.br/dicas-de-fotografia/6-dicas-para-tirar-fotos-em-casa
Sem Quases Blog. "Dicas e Inspirações: Fotos Dentro de Casa." Sem Quases, 2015. Available at: https://www.semquases.com/2015/11/dicas-e-inspiracoes-fotos-dentro-de-casa.html