Understanding Audio Configuration Issues
Audio problems on Windows computers can disrupt productivity, entertainment, and communication. Whether you are dealing with no sound, distorted audio, or applications that refuse to play any audio, the underlying cause often lies in corrupted or incorrectly configured audio settings. Restoring audio settings is a systematic process that can resolve these issues without requiring advanced technical knowledge. The key is to approach the problem methodically, starting with the simplest built-in tools before moving to driver or service level fixes. Many users are unaware that Windows 10 and Windows 11 include dedicated reset functions that can instantly clear problematic configurations. Understanding when and how to apply these resets can save hours of troubleshooting and prevent unnecessary hardware purchases. Before diving into specific methods, it is important to recognize that audio settings can become corrupted after system updates, driver installations, or changes made by third-party software. Sometimes restoring defaults is all that is needed, while other times more comprehensive steps such as restarting services or rolling back drivers are required. This guide will walk you through every major approach to restoring audio settings, from the simplest reset to more advanced techniques.
Using the Control Panel Method for Windows 10 and 11
The most straightforward way to restore audio settings is through the traditional Control Panel, which remains available on both Windows 10 and Windows 11. To begin, right-click the speaker icon in the system notification area, often located near the clock on the taskbar. From the context menu, select either Settings or Sounds, depending on your Windows version. Alternatively, you can access the Control Panel directly by typing Control Panel in the search box and then clicking Sound. Once the Sound window opens, select the device you are using for playback, such as Speakers or Headphones, and then click the Properties button. In the Properties window, navigate to the Advanced tab. There, you will see the default format options for audio, such as 16-bit, 44100 Hz or 24-bit, 48000 Hz. Under this section, there is a button labeled Restore Defaults. Clicking this will reset the audio format to the default setting recommended by Windows for that specific device. Below that, there is also a section for Spatial Sound, such as Windows Sonic for Headphones. You can also click Restore Defaults here to disable any spatial sound effect that might be causing audio distortion or lack of sound. After applying these changes, close all windows and restart your computer to ensure the settings take full effect. Microsoft Support emphasizes that this method can resolve many common sound issues because it clears any incorrect format selection that may have been set by an application or manual user error. If you are experiencing crackling or popping sounds, this reset is often the fastest solution.

Quick Reset via Windows 11 Settings App
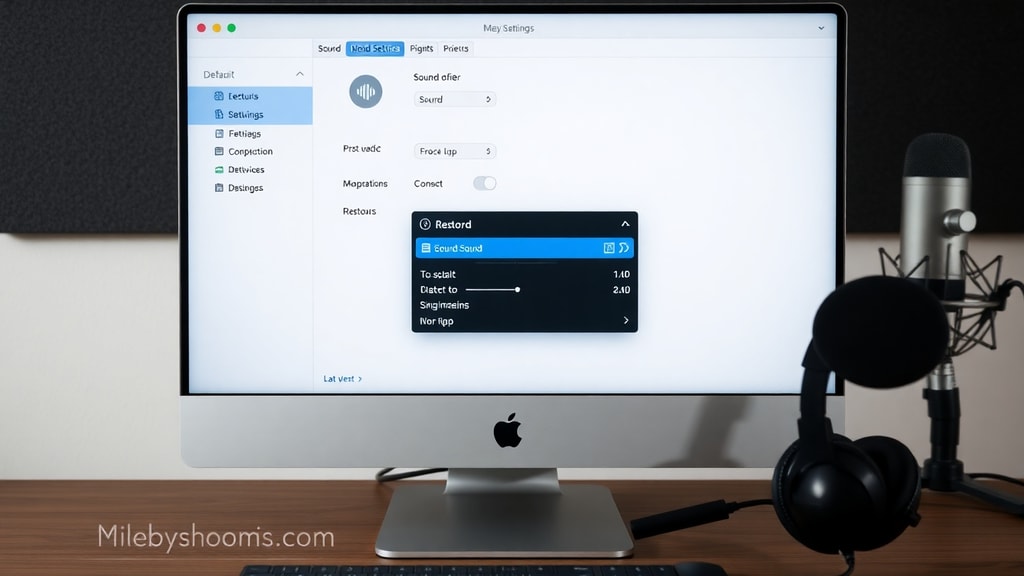
For users of Windows 11, there is an even faster method built directly into the new Settings application. Press the Windows key on your keyboard and the I key simultaneously to open Settings. Then, click on System and select Sound from the list. In the Sound settings page, scroll down until you find the section labeled Volume mixer. Click on it to see a list of all running applications and their audio settings. Near the bottom of this page, there is a clear instruction that says Reset sound devices and volumes for all apps to the recommended defaults. Directly below this text, there is a Reset button. Simply click this button, and Windows will immediately restore all audio devices and volume levels to their factory default settings. This action is particularly useful when an application has taken exclusive control of your audio device and altered its settings, or when you have previously muted certain apps accidentally. According to research from TopGadget, this reset does not require a system restart and takes effect instantly, making it one of the most convenient solutions for Windows 11 users. However, note that this reset only affects sound devices and volume levels, not audio drivers or system services. If the problem persists after using this reset, you may need to move on to more advanced methods such as restarting Windows Audio services or rolling back audio drivers.
Restarting Windows Audio Services
Sometimes the issue is not with your settings but with the core Windows Audio service that manages all sound output and input on your computer. If this service becomes stuck, crashes, or fails to start properly, no sound will work regardless of your device settings. To fix this, you need to restart the service manually. Press the Windows key plus R on your keyboard to open the Run dialog box. Type services.msc and press Enter to open the Services console. Locate the service named Windows Audio in the list. Right-click on it and select Restart from the context menu. While the service is restarting, also look for Windows Audio Endpoint Builder in the same list. Right-click this service as well and select Restart. These two services work together to manage audio devices and audio processing. Restarting them forces Windows to reload the audio subsystem entirely. According to ZDNET, this method is especially effective after a system update or when you have recently installed new hardware but the system still uses old cached settings. After restarting both services, close the Services window and test your audio. If you still do not hear sound, try restarting your computer to ensure that the services start fresh with the correct dependencies. This step can resolve many stubborn audio problems without altering any personal settings or affecting installed applications.
Rolling Back or Updating Audio Drivers
Another common cause of audio failure is a faulty or outdated audio driver. When Windows Update automatically installs a new driver that is not fully compatible with your hardware, or when a manual driver update fails, the audio can stop working entirely. To check and fix this, open Device Manager. You can access it by right-clicking the Start button and selecting Device Manager from the menu. In the Device Manager window, expand the category labeled Sound, video and game controllers. You will see your audio device listed there, often with names like Realtek High Definition Audio or something similar, depending on your hardware manufacturer. Right-click on your audio device and select Properties. Go to the Driver tab. Here, you have two options. First, you can try the Roll Back Driver button. This option is available only if you have previously updated the driver and Windows stores the old version. If the Roll Back Driver button is grayed out, that means there is no previous driver to revert to. In that case, you need to update the driver. Click Update Driver and choose Search automatically for updated driver software. Windows will search its own database and the internet for a more compatible or newer version. If Windows finds an update, it will install it. If it says that the best drivers are already installed, you can also try visiting your computer or motherboard manufacturer website to download the official audio driver directly. Microsoft Support confirms that rolling back or updating the driver resolves many cases where the audio suddenly stops working after a Windows update. After making changes, always restart your computer for the new driver to load properly.
Quick Reference: Steps to Restore Audio Settings
Below is a summary table listing the main methods described above, along with their primary functions and the platforms they apply to.

Method | Primary Function | Applicable Platforms
Control Panel Restore Defaults | Resets audio format and spatial sound per device | Windows 10, Windows 11
Settings App Reset (Volume Mixer) | Resets sound devices and app volume levels | Windows 11 only
Restart Windows Audio Service | Reloads the core audio management system | Windows 10, Windows 11
Roll Back or Update Audio Driver | Reverts or updates the driver controlling audio hardware | Windows 10, Windows 11
Additional Troubleshooting Steps
If the above methods do not restore your audio, there are a few more advanced steps you can try. First, check if the sound is muted or set to very low volume. This sounds basic, but many users overlook the sound controls in the taskbar or on their keyboard. Also, verify that the correct playback device is selected as default. In the Sound window that you accessed via Control Panel, right-click on your preferred speaker or headphone and choose Set as Default Device. Sometimes Windows switches to a different output, such as HDMI audio or a virtual audio cable, causing silence. Another step is to run the built-in audio troubleshooter. In Windows 11, go to Settings < System < Troubleshoot < Other troubleshooters and look for Playing Audio. Run it and follow the on-screen instructions. For Windows 10, go to Settings < Update & Security < Troubleshoot < Additional troubleshooters and select Playing Audio. This automated tool can detect and fix common issues such as disabled devices or incorrect settings. If you have recently installed new software, particularly voice changers, audio enhancement suites, or communication apps, consider uninstalling them temporarily to see if they conflict with the system audio. Finally, if you are using a headset or external speakers, test them on another device to confirm they are working properly. Hardware defects can mimic software problems, so isolating the hardware is wise.
Common Scenarios and Solutions List
To help you identify the best approach for your specific situation, here is a list of common audio problems and the corresponding solution to try first.
- No sound at all after update: Restart Windows Audio and Windows Audio Endpoint Builder services.
- Sound crackling or popping: Use Control Panel Sound Properties and click Restore Defaults on Advanced tab.
- Only one application has no sound: Use Settings App Volume Mixer Reset in Windows 11.
- Sound works but is distorted: Roll back audio driver to previous version in Device Manager.
- Headphones plugged in but sound from speakers: Set headphones as default device in Sound settings.
- Sound stops after installing new hardware: Update audio driver via Device Manager.
References
Microsoft Support. Corrigir problemas de som ou audio no Windows. Available at: https://support.microsoft.com/pt-br/windows/corrigir-problemas-de-som-ou-%C3%A1udio-no-windows-73025246

TopGadget. Como redefinir as configuracoes de audio no Windows 11. Available at: https://www.topgadget.com.br/howto/windows/como-redefinir-as-configuracoes-de-audio-no-windows-11.htm
ZDNET. How to reset your audio settings in Windows. Available at: https://www.zdnet.com/article/how-to-reset-your-audio-settings-in-windows/