Introduction
Installing a printer might seem like a daunting task, especially if you are not very familiar with computer hardware or networking. However, the process has become much more streamlined over the years, and with a few clear steps you can have your printer up and running in no time. Whether you are setting up a basic USB printer or a modern wireless model, this guide will walk you through the entire installation process. We will cover everything from unboxing the device to printing a test page, and we will also address common troubleshooting issues that may arise along the way. By the end of this article, you will feel confident in your ability to install a printer on your Windows computer without needing to call for help.
Step 1: Unbox and Prepare the Printer
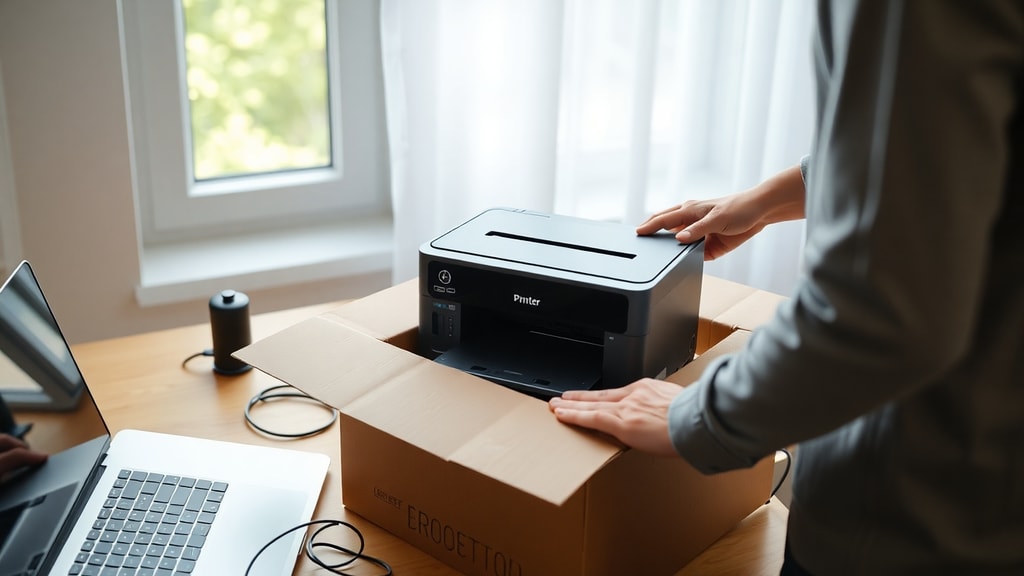
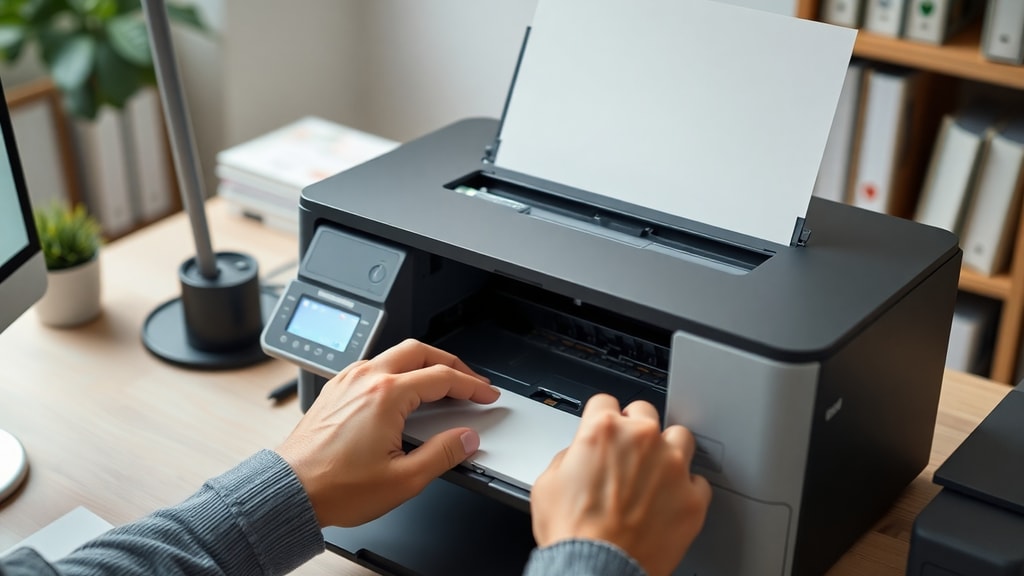
Before you even plug in the power cord, you need to properly unbox your printer and remove all packing materials. Printers are shipped with a variety of protective tapes, plastic sheets, and foam inserts that must be taken out. If you leave these in place, the printer may jam, fail to print, or even damage its internal components. Check the printer manual or the quick-start guide that came in the box for specific instructions on removing packing materials. Many printers also have a transport lock on the print head or the scanner unit, so make sure you release that lock as well.
Next, install the ink or toner cartridges and load paper into the paper tray. Follow the manufacturer's instructions carefully, as improper installation can cause poor print quality or error messages. Some printers require you to align the cartridges after installation, which is usually done through the printer's built-in menu or via software once it is connected to the computer. After you have completed these preparatory steps, close all access doors and panels securely. Now you are ready to power on the printer and connect it to your computer.
Step 2: Power and Connect the Printer
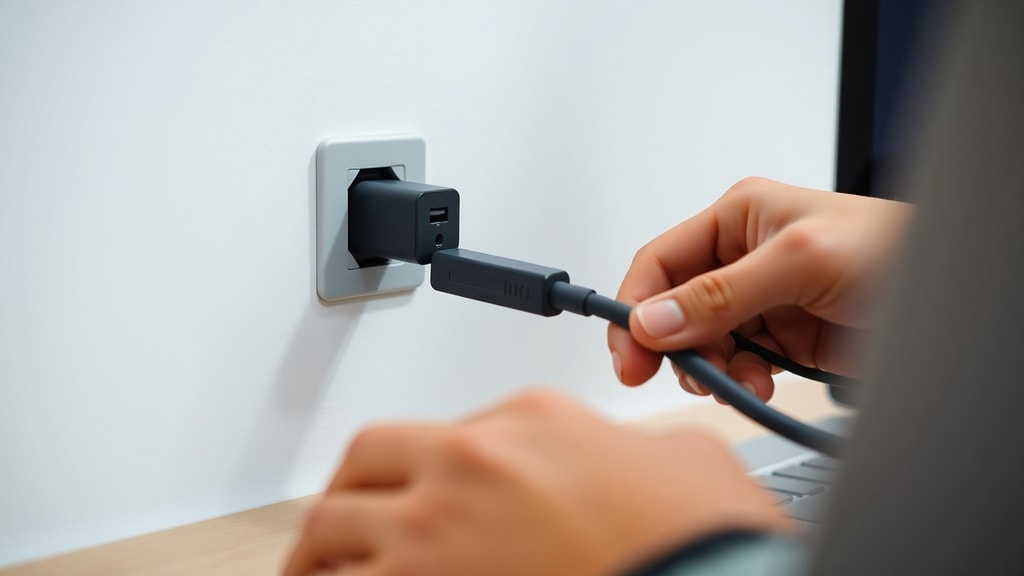
Connect the printer to a power outlet using the supplied power cable and turn it on. Most printers have a power button on the front panel. Wait for the printer to complete its startup cycle, which may include moving the print head and initializing the ink system. This can take a minute or two.
Now you need to connect the printer to your computer. The simplest method is to use a USB cable. Plug one end of the USB cable into the printer and the other end into an available USB port on your computer. The printer should be detected automatically by Windows, and basic drivers may install immediately. However, for full functionality, you will likely need to complete the software setup as described later. If your printer supports wireless networking, you can connect it to your home or office Wi-Fi network instead of using a USB cable. Refer to the printer's display screen or its manual for instructions on joining a network. Make sure the printer is on the same network as your computer. You can find more detailed guidance on the official HP Printer Setup page.
Step 3: Open Printer Settings on Windows
With the printer powered and connected, it is time to add it to your Windows operating system. The exact steps may vary slightly depending on whether you are using Windows 10 or Windows 11, but the general process is the same. Click on the Start button, then select the gear icon to open Settings. In the Settings window, navigate to Devices (Windows 10) or Bluetooth & devices (Windows 11). Then click on Printers & scanners. This section lists all printers that are currently installed or available on your network. If you are unsure about these steps, the Microsoft Q&A forum provides a helpful explanation of how to access the Printers & scanners page.
Once you are in the Printers & scanners area, you will see an option that says Add a printer or scanner. Click this button, and Windows will begin searching for any printers connected to your computer or available on the local network. Be patient, as this search may take up to a minute. If your printer is found, it will appear in the list, and you can select it to complete the installation. However, many users find that their printer is not automatically detected, especially if it is an older model or connected via a network. In that case, you will need to use the manual setup option.
Step 4: Add the Printer via Automatic Detection
When you click Add a printer or scanner, Windows scans for printers. If your printer appears in the list, simply click on its name and follow the on-screen instructions to install it. Windows will often download the necessary drivers automatically from Windows Update, or it may use built-in generic drivers. This is the easiest scenario. However, if the printer is not found, you will see a message that says The printer that I want isn't listed. Click that link to proceed to manual setup.
For wireless printers, automatic detection can fail if the printer is not on the same subnet or if the network name (SSID) has special characters. It is also common for older printers to require a direct USB connection for the initial setup before they can be used wirelessly. Below is a list of reasons why your printer might not be found automatically, along with simple solutions:

- The printer is turned off or in sleep mode. Check the power light and wake it up.
- The USB cable is loose or damaged. Try a different port or cable.
- The printer was not connected to Wi-Fi correctly. Use the printer's control panel to reconfigure the network settings.
- Your computer's firewall or antivirus is blocking the discovery. Temporarily disable it to test.
- The printer driver is not installed yet. Download the latest driver from the manufacturer's website.
If none of these quick fixes work, you will need to proceed with a manual installation using the printer's IP address or other settings.
Step 5: Manual Setup if Printer Not Detected
When you click The printer that I want isn't listed, a new window appears with several options. Choose Add a local printer or network printer with manual settings, then click Next. On the next screen, you will be asked to select a printer port. Most network printers use a Standard TCP/IP Port. Select Create a New Port, then choose Standard TCP/IP Port from the dropdown menu. Click Next.
Now you need to enter the printer's IP address. To find the IP address, check the printer's control panel: usually under Settings or Network Status. It will be a series of four numbers separated by periods, such as 192.168.1.45. Type this IP address into the Hostname or IP address field. The Port Name field will automatically populate. Make sure the checkbox Query the printer and automatically select the driver to use is checked, then click Next. Windows will try to contact the printer using that IP address. If it is successful, it will proceed to driver selection. If it fails, you may need to manually specify the printer model or provide a driver file. This method is especially useful for office printers that are shared over a network. You can find a detailed walkthrough of this process from the University of Colorado Boulder in their computer support guide.
Another manual option is to select Add a Bluetooth, wireless or network discoverable printer. This will search again but may find printers that the first automatic scan missed. If your printer uses a proprietary connection (like Apple AirPrint or a manufacturer-specific app), you may need to install additional software first. In general, the manual IP method is the most reliable for network printers.
Step 6: Install the Printer Driver
After Windows has detected the printer—either automatically or via manual IP entry—you will be prompted to install the printer driver. Choose the correct manufacturer and model from the list. If your printer is not listed, you may need to click Have Disk and browse to a driver file that you have downloaded from the manufacturer's website. It is always best to obtain the latest driver from the printer company's support page, as the driver that comes with Windows may be outdated and missing features.
Below is a table that outlines the different ways you can obtain and install the printer driver, along with the pros and cons of each method.
| Driver Source | Advantages | Disadvantages |
|---|---|---|
| Windows Update | Automatic, no extra downloads, works for many common printers. | May be an older version, lacks advanced features, not available for all models. |
| Manufacturer's Website | Latest driver, full features, includes utility software. | Requires manual download and installation, may need to identify exact model. |
| Installation CD or DVD | Includes all software, no internet needed. | Drivers may be outdated, CD may not work on newer computers without optical drive. |
| Have Disk from Downloaded File | Useful when Windows cannot find the driver automatically. | You must know the exact file path, file may be corrupted. |
Once you select the correct driver, follow the prompts to complete the installation. You may be asked to name the printer; you can keep the default name or create a custom one that helps you identify it easily, such as Office HP LaserJet. If your computer is part of a network, you will also see options for printer sharing. You can choose to share the printer so that other computers on the same network can use it. This is common in small offices or homes with multiple computers.
Step 7: Finalize and Test Print
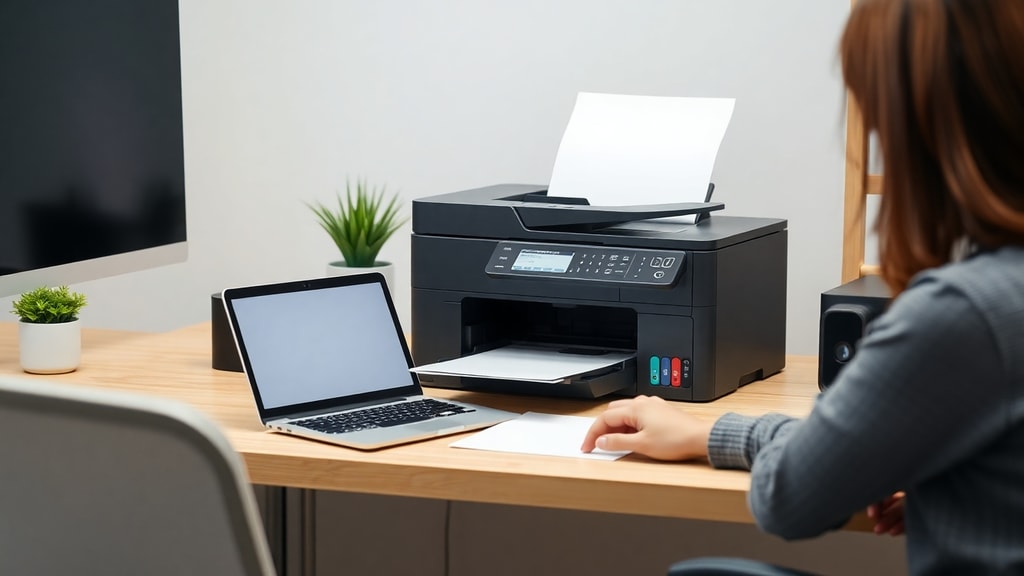
After the driver installation is complete, Windows will ask whether you want to set the printer as the default. This is a good idea if this is the printer you will use most often. Then you will be given an opportunity to print a test page. Always use this option. A successful test page confirms that your printer is installed correctly and communicating with the computer. The test page usually contains some text, a small graphic, and diagnostic information about the driver. Examine the printout for any smudges, missing colors, or alignment issues. If the test page prints perfectly, you are done. Click Finish to exit the setup wizard.
If the test page fails to print, double-check all physical connections, ensure the printer has paper and ink, and try printing again. You can also run the printer's built-in troubleshooting tools or check the Windows printer queue for error messages. Sometimes a simple restart of both the printer and the computer resolves lingering issues.
Additional Tips for Network and Wireless Printers
Wireless printers offer great convenience because you can place them anywhere within range of your Wi-Fi router. However, they can also be more finicky to set up. If you are installing a wireless printer for the first time, consider using the printer's own setup wizard via its touchscreen. Many modern printers also support Wi-Fi Protected Setup (WPS), which allows you to connect to your router by pressing buttons on both the printer and the router. This method is much easier than entering a long Wi-Fi password.
Once the printer is on the network, you can add it to your computer using the automatic detection method described earlier. Keep in mind that if your network has both 2.4 GHz and 5 GHz bands, the printer should be connected to the same band as your computer for best results. Some older printers only work on 2.4 GHz. Also, if you change your Wi-Fi password or network name in the future, you will need to update the printer's network settings accordingly. It can be helpful to assign a static IP address to your printer through your router's settings, so that the IP address does not change over time, which would break the manual IP connection.
Troubleshooting Common Installation Issues
Even after following all the steps, you may encounter problems. Below are some of the most frequent issues and their solutions. First, if Windows cannot find the printer even after manual IP entry, verify that the IP address is correct. You can check the printer's IP from its menu or by printing a network configuration page. Second, if the printer driver installation fails, make sure you are installing the correct driver for your version of Windows (64-bit or 32-bit). Some manufacturers provide separate drivers for different operating systems. Third, if the printer appears offline in the Windows printer list, go to the printer queue, click Printer, and uncheck Use Printer Offline. Also ensure that the printer is not in power-saving mode that disconnects it from the network.
Another common problem is that the printer shows up in the list but does not respond. This often indicates a firewall blocking the printer's network traffic. Temporarily disable Windows Defender Firewall or add an exception for the printer. If you are using a USB connection, try a different USB port, preferably directly on the computer rather than through a hub. Old or faulty cables can also cause intermittent issues. Finally, if you have installed multiple printers, make sure the correct one is set as default, otherwise documents may be sent to the wrong device.
References
HP Support – HP Printer Setup. https://support.hp.com/us-en/printer-setup
Microsoft Q&A – How do I add a printer? https://learn.microsoft.com/en-us/answers/questions/5809593/how-do-add-a-printer
wikiHow – How to Install a Printer. https://www.wikihow.com/Install-a-Printer
University of Colorado Boulder – How to Add a Printer in Windows 10. https://www.colorado.edu/mcdb/resources/computer-support/how-add-printer-windows-10
dummies – For Seniors: How to Install a Printer for Your Computer. https://www.dummies.com/article/for-seniors-how-to-install-a-printer-for-your-computer-206052
SAS Computing – Printing on Windows. https://computing.sas.upenn.edu/natsci/tutorials/printing/windows