Introduction to Report Audio Settings
Understanding report audio settings is essential for anyone working with sound in recording, broadcasting, or multimedia production. These settings control how audio is captured, processed, and reproduced. Without proper configuration, even the best equipment can produce unsatisfactory results. Audio is the technique of recording, transmitting and reproducing sounds, including the process of capturing sound waves into electrical signals. This definition from Infopedia highlights the technical foundation of audio work. When you open a software application or a hardware interface to adjust audio parameters, you are navigating report audio settings. These settings allow you to specify input sources, output destinations, sample rates, bit depths, and many other parameters that directly affect sound quality. Whether you are a podcaster, a musician, or a video editor, mastering these settings can dramatically improve your final product.
What is Audio: Core Definitions
Audio refers to the audible sound itself, including music, speech, and effects, represented as analog or digital signals. This definition from the Cambridge Dictionary emphasizes that audio is not abstract but is the actual sound we hear. In practical terms, audio is a compositional element that alludes to sound and the act of hearing, used in terms like audiovisual, audiobook, and audiofrequency. This broader understanding from Conceito.de shows how audio permeates many aspects of modern life. For report audio settings, knowing these definitions helps you understand why certain parameters exist. For instance, when you adjust the frequency range, you are working within the audio spectrum that human ears can perceive. Audio is, in metonymy, the equipment used for capturing, reproduction and transmission of sound, including microphones, speakers, and sound cards. This equipment-based definition from Michaelis reminds us that settings are tied to hardware capabilities.
Analog Audio and Digital Audio
Analog audio represents sound as continuous electrical signals. When you speak into a microphone, the sound waves create variations in voltage that mirror the original sound. This direct conversion is the essence of analog audio. In contrast, digital audio uses binary code to store and transmit sound. It converts analog signals into numbers through a process called sampling. Each sample captures the amplitude of the signal at a specific moment. Analog audio converts directly sound waves into voltage variations, while digital audio performs sampling and conversion into binary numbers. This distinction is crucial when configuring report audio settings because digital systems require sample rate and bit depth adjustments. Analog systems rely on gain staging and impedance matching. Understanding these two formats helps you choose the right settings for your workflow.
Audio Frequency Range
The frequency of audio lies between 20 Hz and 20,000 Hz, corresponding to the range of human hearing. This range is the standard for all audio equipment and settings. Frequencies below 20 Hz are felt as vibrations rather than heard, while frequencies above 20 kHz are inaudible to most people. When you configure report audio settings, you often encounter options for equalization, filtering, and bandwidth. Knowing the frequency range helps you make informed decisions. For example, a low-cut filter removes frequencies below 80 Hz to reduce rumble, while a high-cut filter removes frequencies above 16 kHz to reduce hiss. The frequency response of your equipment determines how accurately it reproduces this range. Audio is also the sound part of films, TV programs, videos, and DVDs, and in these media, frequency settings ensure dialogue, music, and effects are balanced.
Audio Equipment in Report Settings
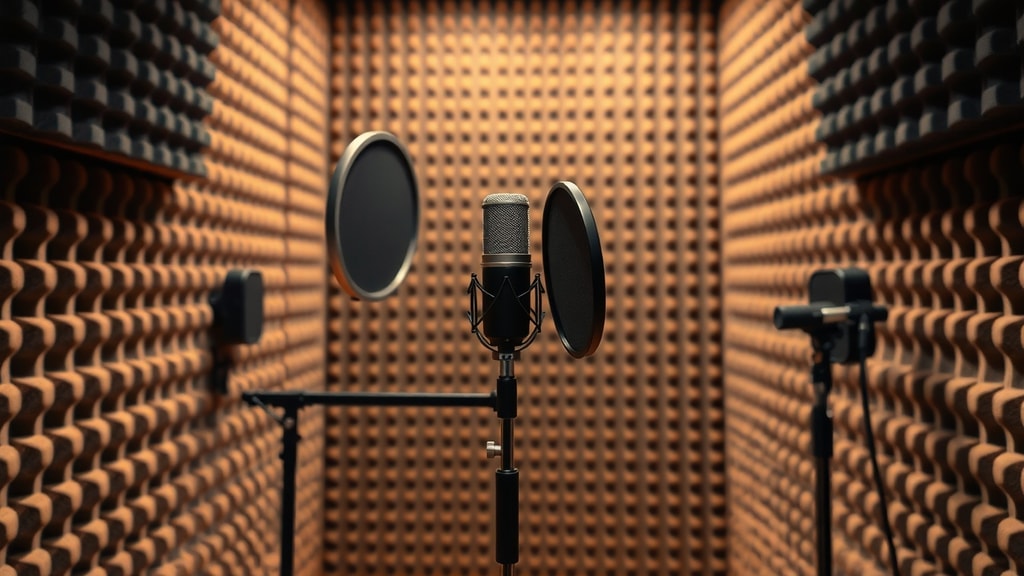
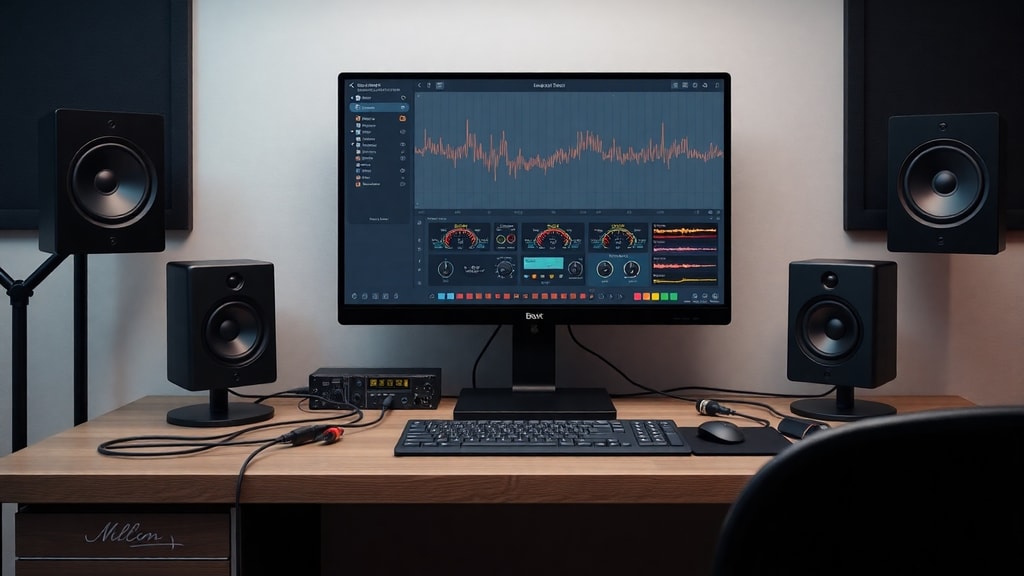
Audio equipment includes microphones for capturing sound, amplifiers for boosting signals, and speakers or headphones for reproduction. Sound cards and audio interfaces convert between analog and digital domains. When you access report audio settings, you are often configuring these devices. Microphone settings include gain, polar pattern, and phantom power. Speaker settings include volume crossover and room correction. Sound card settings include sample rate, buffer size, and input output routing. Each piece of equipment has its own configuration requirements. Audio is, in metonymy, the equipment used for capturing, reproduction and transmission of sound, and understanding each component helps you optimize the entire signal chain. For instance, setting the buffer size too low can cause clicks and pops, while setting it too high introduces latency.
Key Audio Terms for Report Settings
Familiarity with key terms makes navigating report audio settings easier. Here is a list of essential definitions based on the research sources:
- Audio: The technique of recording, transmitting, and reproducing sounds, including capturing sound waves as electrical signals.
- Analog Audio: Sound represented as continuous electrical signals that directly mimic the original sound waves.
- Digital Audio: Sound represented as binary code through sampling and quantization, allowing storage and transmission in digital devices.
- Frequency: The number of sound wave cycles per second, measured in Hertz, with human hearing ranging from 20 Hz to 20,000 Hz.
- Sample Rate: The number of samples taken per second when converting analog to digital, typically 44.1 kHz for CD quality.
- Bit Depth: The number of bits used to represent each sample, determining dynamic range and noise floor.
- Gain: The amplification level applied to an audio signal, often adjusted in preamplifier settings.
- Latency: The delay between audio input and output, influenced by buffer size and processing power.
These terms appear frequently in software and hardware configuration panels. Understanding them allows you to adjust report audio settings with confidence.
Common Report Audio Settings Table
Different applications require different settings. The table below summarizes common parameters found in audio configuration interfaces:
| Setting | Description | Typical Value |
|---|---|---|
| Sample Rate | Number of samples per second for digital audio | 44.1 kHz, 48 kHz, 96 kHz |
| Bit Depth | Resolution of each audio sample | 16-bit, 24-bit, 32-bit float |
| Buffer Size | Amount of audio data processed at once | 64, 128, 256, 512 samples |
| Input Gain | Amplification of microphone or line input | -12 dB to +12 dB |
| Output Volume | Level of audio sent to speakers or headphones | 0 dB to -80 dB |
| Equalization | Frequency band adjustments for tone shaping | Low, Mid, High shelving or parametric |
These settings interact with each other. For example, a higher sample rate captures more frequency detail but increases file size and processing demand. A lower buffer size reduces latency but can cause audio dropouts if the system is not powerful enough. Adjusting these values based on your specific task, whether recording, mixing, or live streaming, is part of effective report audio configuration.
How to Configure Report Audio Settings
Configuring report audio settings begins with identifying your hardware and software. Start by selecting the correct input device, such as a microphone or line input, and the correct output device, such as speakers or headphones. Set the sample rate to match your project requirements. For music production, 44.1 kHz is standard. For video production, 48 kHz is common. Adjust the bit depth to 24-bit for recording to capture more dynamic range, then convert to 16-bit for distribution. Set the buffer size low, around 64 or 128 samples, for real-time monitoring to minimize lag. For mixing with many plugins, increase the buffer size to 256 or 512 to avoid clicks. Adjust input gain so that the loudest parts of your audio peak around -6 dB to -3 dB, leaving headroom for processing. Audio is also the sound part of films, TV programs, videos, and DVDs, so when configuring settings for these media, ensure the output format matches the delivery standard. Check your audio interface control panel for additional options like clock source and sync mode.
Troubleshooting Audio Settings
When audio problems arise, report