How to Set Up Three Monitors Easily
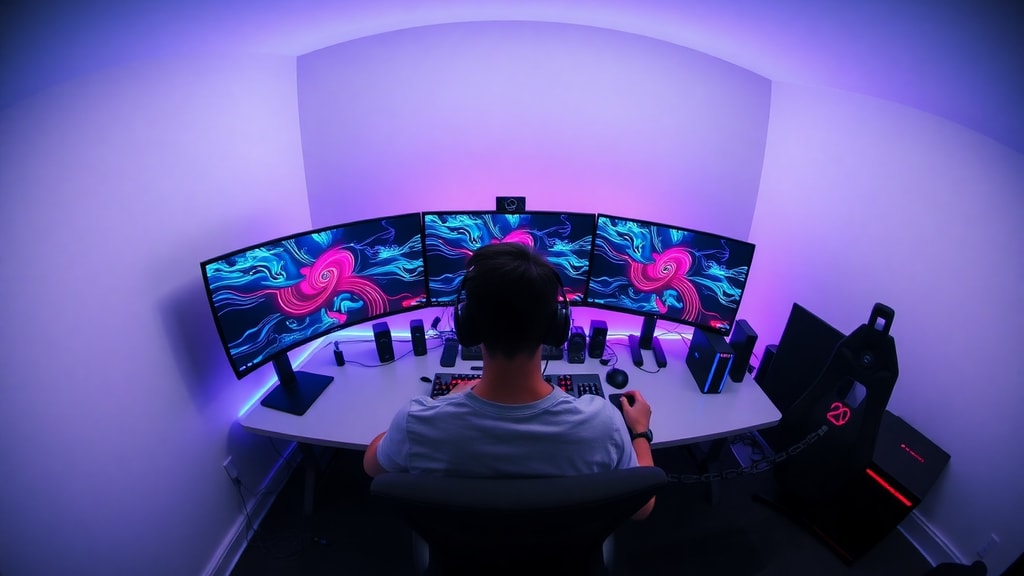
Expanding your workspace with three monitors can dramatically improve productivity, making it easier to multitask, compare documents side by side, or manage complex projects. Whether you are a data analyst, a video editor, or a gamer, a triple-monitor setup offers more screen real estate and a smoother workflow. However, many people hesitate because they think the process is complicated. In fact, setting up three monitors is straightforward if you follow the right steps. This article provides a complete, step-by-step guide to help you get your triple-monitor configuration working in no time. You will learn how to check your graphics card, connect the monitors physically, adjust Windows display settings, and fine-tune everything for the best experience.
Verifying Graphics Card Compatibility
Before you plug in any cables, you must ensure that your computer can actually support three monitors. The most important component is the graphics card (GPU). Your GPU must have at least three video outputs, such as HDMI, DisplayPort, or DVI. Many modern desktops and laptops come with GPUs that can handle multiple displays, but some older or integrated graphics chips may only support one or two. You can check the specifications of your GPU by looking up the model number online or by opening the device manager in Windows. If your card has only two physical ports, you might still be able to add a third monitor using a daisy-chainable DisplayPort or a compatible docking station. Another option is to install a second GPU, but that adds complexity. Use the list below to verify compatibility quickly.
- Check how many video ports your GPU has: HDMI, DisplayPort, DVI, or VGA. Count them and ensure at least three are available.
- Look up your GPU model on the manufacturer’s website (NVIDIA, AMD, or Intel) to confirm it supports three simultaneous displays.
- If you use a laptop, check whether it has a docking station that provides additional video outputs. Most modern USB-C or Thunderbolt docks can drive multiple monitors.
- For desktop users, verify that your power supply can handle the extra load if you plan to add a second graphics card.
- Read the Microsoft Q&A page on the topic for real-world advice about using three monitors together. It covers common pitfalls and how to overcome them. You can access it here.
Once you have confirmed that your graphics card is capable, you can move on to the physical connection phase. If you are unsure about your GPU’s capabilities, it is better to double-check now than to struggle with a non-functioning monitor later.
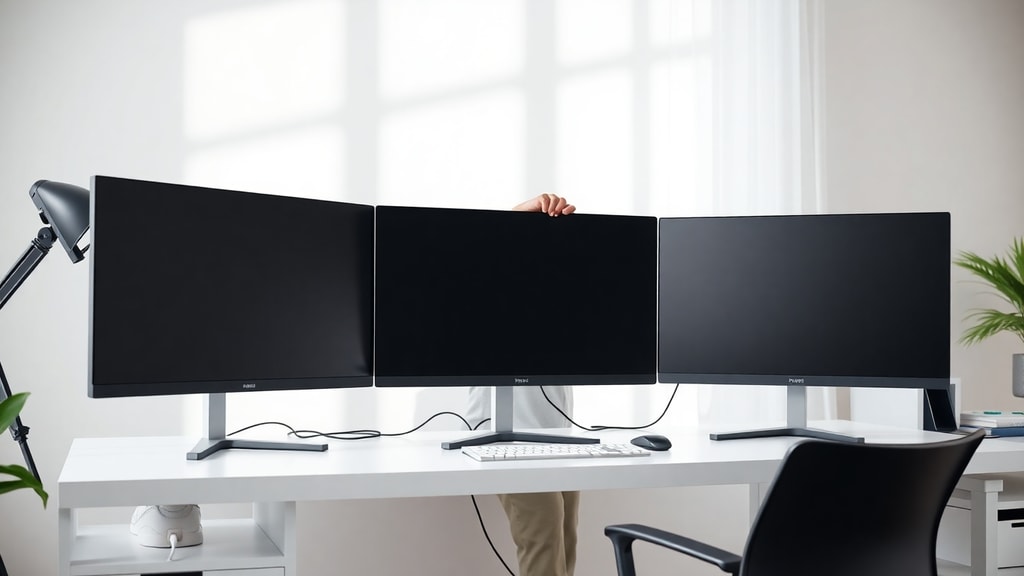
Physically Connecting the Monitors
With compatibility confirmed, the next step is to connect each monitor to your computer. Use the appropriate cables for the ports you have available. For example, if your GPU has two HDMI ports and one DisplayPort, connect two monitors via HDMI and the third via DisplayPort. If your monitors do not have matching ports, you may need adapters. Many monitors come with multiple input options, so you can choose the one that works best with your GPU. For laptops that lack enough video outputs, a docking station is often the solution. A good docking station can provide multiple HDMI, DisplayPort, or USB-C video outputs, enabling you to attach three external monitors even if the laptop itself only has one or two ports. The Techesi guide offers detailed instructions for connecting monitors to a laptop. You can find it here. After plugging in all cables, turn on the monitors and your computer. Windows should automatically detect the new displays, but if it does not, you can manually trigger detection in the settings.

Different cable types have different capabilities. The following table compares common video cables and their maximum resolutions, which will help you choose the right connection for your setup.
| Cable Type | Maximum Resolution (Standard) | Notes |
|---|---|---|
| HDMI 2.0 | 4K at 60 Hz | Widely available on monitors and GPUs. Supports audio. |
| DisplayPort 1.4 | 8K at 60 Hz | Often used for high refresh rates and daisy-chaining multiple monitors. |
| DVI-D Dual Link | 2560x1600 at 60 Hz | Older standard, still common on many monitors. Does not carry audio. |
| USB-C (Alt Mode) | Up to 4K at 60 Hz | Found on modern laptops and some monitors. Can also charge devices. |
| VGA | 1920x1200 at 60 Hz | Analog signal, older technology. Avoid if possible for best clarity. |
After physically connecting everything, you are ready to configure the software side. Do not be alarmed if all three screens do not light up immediately. Sometimes a restart or a manual detection step is required.
Configuring Windows Display Settings
Once the monitors are connected, the next step is to configure them in Windows. Open the Settings app by pressing Windows key + I, then navigate to System and click on Display. You should see a visual representation of your monitors. If any monitor is missing, click the Detect button. Windows will scan for connected displays and add them to the layout. When all three appear, scroll down to the Multiple displays section. Click the drop-down menu and select Extend these displays. This option creates one large virtual desktop across all three screens, allowing you to move windows freely from one monitor to another. Avoid the Duplicate option unless you want the same image on all screens, which is less useful for productivity. If your monitors have different resolutions or orientations, you can adjust each one individually by selecting the numbered rectangle representing a monitor and then changing its settings. You can also change the primary display, which is the one that shows the taskbar and the Start menu. To do that, click on the monitor you want to set as primary, scroll down, and check the box that says Make this my main display.
Windows usually assigns numbers to each monitor in the order they were connected. If you find the layout confusing, you can drag the rectangles to match the physical arrangement of your monitors. For example, if your center monitor is number 2 in the layout, drag rectangle 2 to the middle position. This ensures that when you move your mouse from one screen to another, the movement feels natural. You can also click the Identify button to see a large number displayed on each screen, confirming which rectangle corresponds to which physical monitor.

Arranging and Fine-Tuning Your Setup
After extending the displays and arranging the layout, you should fine-tune the resolution and orientation for each monitor. Ideally, all three monitors should have the same resolution to avoid scaling inconsistencies. If they are different, Windows will try to adjust, but you may see black bars or stretched images. To change the resolution, click on the monitor in the settings, then use the Display resolution drop-down to select the recommended value. If you want to rotate a monitor to portrait mode, use the Display orientation drop-down. Many professionals use one monitor in portrait for reading long documents or code, while keeping the other two in landscape. Experiment to see what works best for you. Another important setting is scaling. If you have a high-resolution monitor (like a 4K screen) next to a 1080p monitor, you may need to adjust the scaling percentage (for example, 150% on the 4K monitor) so that text and icons appear similar in size. You can find the scaling setting under Scale and layout for each monitor. Once everything looks consistent, apply the changes and check how windows behave when you drag them across screens. If a window jumps unexpectedly, you may need to fine-tune the arrangement or adjust the resolution again. This step is crucial for a smooth multi-monitor experience.
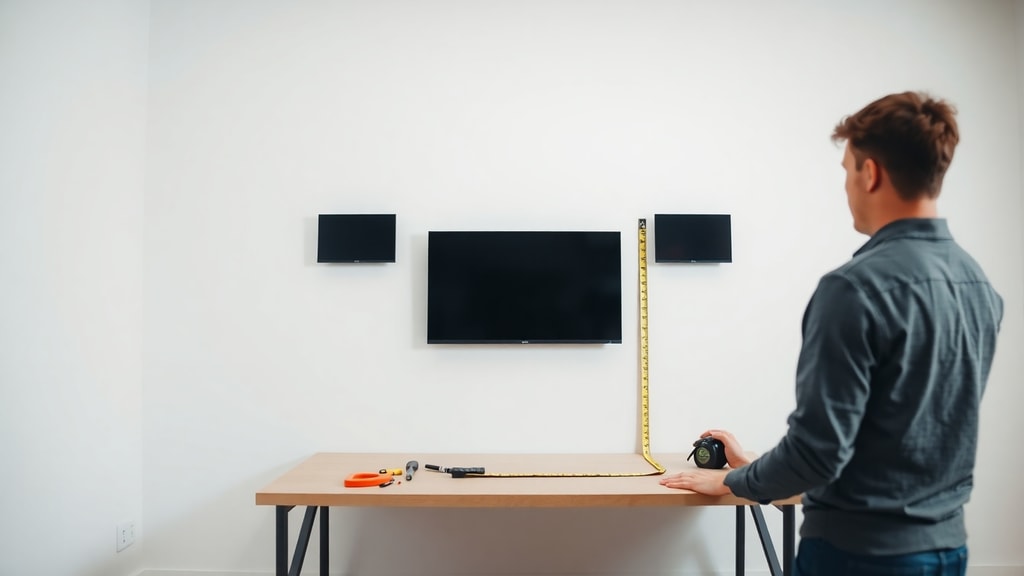
Also consider the physical positioning of the monitors. Place the one you use most frequently directly in front of you, and angle the side monitors slightly inward for easier viewing. Good ergonomics reduce eye strain and neck pain. In the display settings, you can also adjust the relative vertical alignment of the monitors. For instance, if one monitor is physically higher than another, you can drag its rectangle slightly upward in the layout so that the mouse cursor moves correctly between them.
Installing Drivers and Optimizing Performance
While most modern graphics cards and monitors work with the basic Windows drivers, installing the manufacturer’s drivers can improve performance and enable advanced features. If you have an NVIDIA GPU, download and install the latest drivers from NVIDIA’s website. Then you can enable NVIDIA Surround, which treats your three monitors as one large display for gaming or immersive applications. For AMD GPUs, the equivalent is AMD Eyefinity. These software utilities help you manage bezel correction and alignment. For laptops with integrated Intel graphics, you can download Intel Graphics Command Center from the Microsoft Store to adjust multi-display settings. After installing drivers, restart your computer and check that all monitors are still detected. Sometimes driver updates reset display settings, so you may need to reconfigure the arrangement and extension mode. Keep your drivers updated periodically to ensure compatibility with new Windows updates and to fix bugs.
If you are using a docking station, also check the manufacturer’s website for driver updates. Some docking stations have their own display link drivers that need to be installed for proper multi-monitor support. The combination of the correct GPU drivers and dock drivers will give you the most stable triple-monitor experience.
Troubleshooting Common Problems
Even with careful setup, you might encounter issues. The most common problem is that Windows does not detect the third monitor. First, make sure the cable is firmly connected at both ends. Try a different cable or a different port on the GPU. If the monitor still does not appear, press the Detect button in the Display settings. If that fails, restart your computer. Sometimes the graphics card needs a fresh initialization. Another frequent issue is that the monitors work but the resolution is wrong or the image is distorted. Check that you are using the correct cable type for the resolution you want. For example, older HDMI cables may not support 4K at 60 Hz. Try swapping cables or using a DisplayPort connection. If the screens flicker or go blank intermittently, update your GPU drivers or reduce the refresh rate. Also check that your power supply can handle the additional monitors; a weak power supply can cause instability. Finally, if you are using a docking station, verify that it supports the number of monitors you have connected. Some docks only support two external displays, regardless of the number of ports. Consult the dock’s specifications or user manual.
For more persistent issues, consult online forums or the support pages of your hardware manufacturer. Often the solution is a simple setting change or cable replacement. Do not give up easily because a triple-monitor setup drastically improves your productivity once it works correctly.
References
Microsoft Q&A. "Como utilizar três monitores juntos." https://learn.microsoft.com/pt-br/answers/questions/2673062/como-utilizar-tr-s-monitores-juntos
Techesi. "Como configurar 3 monitores com laptop." https://www.techesi.com/pt/setup-3-monitors.html
Microsoft Support. "Como usar vários monitores no Windows." https://support.microsoft.com/pt-br/windows/como-usar-v%C3%A1rios-monitores-no-windows-329c6962-5a4d-b481-7baa-bec9671f728a
HP Tech Takes. "Domine a configuração de monitor triplo." https://www.hp.com/br-pt/shop/tech-takes/domine-a-configuracao-de-monitor-triplo-para-usuarios-experientes-em-computadores-de-negocios