Understanding the Need for a Fresh Start
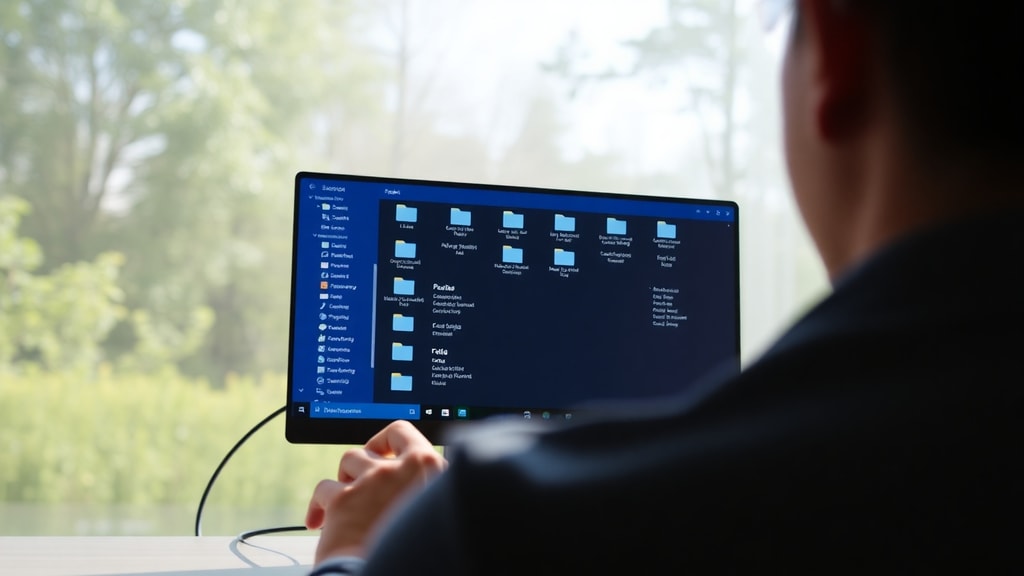
Over time, every Windows computer accumulates clutter. Unused programs, temporary files, corrupted settings, and lingering software conflicts can slow down performance or cause instability. When troubleshooting becomes ineffective or you simply want to sell or donate your device, performing a full reset is often the best solution. The built-in tool for this task is called "Redefinir este PC" in Portuguese, or "Reset this PC" in English. This feature allows you to restore your system to a clean state without needing a separate installation disc or USB drive. It provides two main options: one that keeps your personal files and another that removes everything. For a completely fresh start, the "Remove everything" option is the recommended choice.
Resetting your PC effectively reinstalls Windows while giving you control over whether to wipe all data. This process can resolve deep-rooted issues, remove malware that standard scans cannot clean, and eliminate driver conflicts. It also clears system caches and resets all settings to their defaults. Before you begin, it is crucial to back up any important files to an external drive or cloud storage. Once the reset starts, all data on the system drive will be permanently erased if you choose the full wipe. Understanding what each setting does will help you make the right decision for your situation.
Where to Find the Reset Tool in Windows 11 and Windows 10
The location of the reset feature differs slightly between Windows 11 and Windows 10, but the process is very similar. On Windows 11, navigate to Settings by clicking the Start button and then the gear icon. From there, go to System and select Recovery. Under the Recovery options section, you will see the button labeled "Reset PC" or "Redefinir este PC." Clicking it launches the reset wizard. On Windows 10, the path is also straightforward. Open Settings, click on Update and Security, and then select Recovery from the left-hand menu. Under "Reset this PC," click the "Get started" button. Both operating systems guide you through the same series of choices.
If your computer fails to boot normally, you can still access the reset tool through the Advanced Startup environment. To enter this mode, interrupt the boot process three times. Turn on the PC, and as soon as the Windows logo appears, press and hold the power button until the system shuts down. Repeat this twice. On the third attempt, Windows will enter the Automatic Repair screen. Click Advanced options, then Troubleshoot, and finally Reset this PC. This method works for both Windows 11 and Windows 10 and provides the same options as starting from within the operating system.
Step-by-Step Guide: Resetting with the "Remove Everything" Option
Once you have opened the reset tool, you will be presented with two main choices: "Keep my files" or "Remove everything." For a complete fresh start, you must choose "Remove everything." This action deletes all personal data, applications, and settings. After making this selection, you will see additional options. On Windows 11, you may be asked whether you want to reinstall Windows from the cloud or from a local image. Cloud download is often faster and ensures you get the latest updates. On Windows 10, you will proceed directly to the next screen where you can choose to "Just remove my files" or "Remove files and clean the drive."
The critical step for a deep clean is enabling the "Clean data" or "Clean the drive" option. This setting overwrites the entire drive, making file recovery extremely difficult. It is recommended if you plan to sell, donate, or recycle the computer. If you intend to keep using the device, you can skip this option to save time. However, for maximum peace of mind and to ensure no residual data remains, select "Clean the drive." After confirming your choices, click Reset. The process may take an hour or more, depending on your hardware and whether you chose to clean the drive. Your computer will restart several times, and eventually, you will be greeted by the Windows setup screen as if it were a brand-new machine.

The "Clean Data" Option Explained
When you choose to remove everything, Windows gives you an extra option to clean the drive. This is not the same as simply deleting files. Standard deletion only marks the space as available for new data, but the original data remains on the disk until overwritten. Cleaning the drive, on the other hand, performs a secure erase that overwrites every sector with zeros or random data. This makes it nearly impossible to recover any files. Microsoft recommends this option when you are giving the computer to someone else or disposing of it. It is also useful if you suspect malware has deeply embedded itself in system areas.
It is important to understand that cleaning the drive takes significantly longer than a simple reset. On a traditional hard drive, the process can take several hours. On a solid-state drive, it is faster but still adds time. If you are keeping the computer and simply want to fix performance issues, you can safely skip this step. However, if you have any confidential information, such as financial documents, passwords, or personal photos, cleaning the drive is the safest course of action. The feature is available in both Windows 11 and Windows 10, but the exact wording might vary slightly. In Windows 10, the option is labeled "Remove files and clean the drive." In Windows 11, you need to click "Change settings" during the reset wizard to find the "Clean data" toggle.
Comparison of Reset Options
| Option | What It Does | Best Use Case | Time Required | Data Recovery Risk |
|---|---|---|---|---|
| Keep my files | Removes apps and settings, keeps personal files | Fixing software issues without losing documents | 30-60 minutes | Low (files remain) |
| Remove everything (no clean) | Deletes all files, apps, and settings | Starting fresh on a computer you will keep | 1-2 hours | Moderate (files can be recovered) |
| Remove everything (clean drive) | Deletes all data and overwrites the disk | Selling, donating, or disposing of the PC | 2-6 hours | Very low (overwritten) |
This table illustrates the key differences between the three main reset paths. The "Keep my files" option is convenient for quick fixes but does not provide a truly clean system. Malware or corrupted system files might persist if they are stored in areas that are not reset. The "Remove everything" option without cleaning is adequate for most users who want to reinstall Windows and are comfortable knowing that data could theoretically be recovered with specialized software. For high-security scenarios, cleaning the drive is mandatory.
Preparing for the Reset
Before you initiate the reset, proper preparation ensures you do not lose important information. First, back up all files you want to keep. Copy documents, photos, videos, and any other personal data to an external hard drive, USB flash drive, or cloud storage service. Also, make a list of installed software that you will need to reinstall. Many applications cannot be recovered after a full reset. Gather your product keys or license information for paid software. If you use a Microsoft account, your Windows license is usually linked digitally and will reactivate automatically. However, for other programs, you may need to locate serial numbers.
Next, ensure your computer is plugged into a power source. A reset can take a long time, and an interruption due to low battery can cause system corruption. Disconnect any unnecessary peripherals such as printers, external drives, or USB hubs. If you are using a laptop, make sure the battery is fully charged before starting. Also, note your current network credentials if you use Wi-Fi, because after the reset you will need to reconnect. Write down your router password if you do not remember it. Finally, review any software that requires deactivation, such as Adobe Creative Suite or antivirus programs, to avoid licensing issues on the clean system.
What Happens After the Reset
Once the reset process completes, your computer will restart and display the Windows out-of-box experience. This is the same setup you would see on a new PC. You will need to select your region, keyboard layout, and language. Then you will connect to a network and sign in with your Microsoft account or create a local account. After logging in, Windows will check for updates and may download drivers automatically. You will then need to reinstall all your applications, restore your backed-up files, and reconfigure your settings. This is the perfect opportunity to install only what you truly need and avoid the bloatware that often comes preinstalled.

If you chose the cloud download option for reinstalling Windows, your system will have the most recent version of Windows 11 or Windows 10 automatically. This can save time compared to manually running Windows Update after the reset. However, note that cloud downloads require a stable internet connection. If your connection is slow or unreliable, using the local reinstall option is better. In either case, after setup, run Windows Update several times to ensure all patches are applied. You may also need to install specific drivers from your computer manufacturer's website for hardware like graphics cards, network adapters, or touchpads.
Common Issues and Troubleshooting
Occasionally, the reset process may encounter errors. One common problem is the "There was a problem resetting your PC" message. This can occur if system files are too damaged to proceed. In such cases, you can try using the Advanced Startup environment as described earlier. Alternatively, you can create a Windows installation media using the Media Creation Tool from Microsoft. Boot from that USB drive and choose "Repair your computer" instead of installing. From the repair options, select Troubleshoot and then Reset this PC. This method bypasses the damaged local files.
Another issue is that the reset might hang at a certain percentage. If this happens, wait at least a few hours before intervening. Resets can appear stuck on the spinning circle because cleaning the drive takes time. If the progress does not change for more than four hours, you can forcibly shut down by holding the power button. Then restart the computer. It may resume the process or prompt you to complete setup. If the system boots normally despite being incomplete, you may need to repeat the reset from the beginning. Always use the drive cleaning option if you suspect deep corruption.
Final Checklist Before Resetting
- Back up all important files to an external drive or cloud.
- Write down software licenses and product keys.
- Deactivate software that limits activations, if needed.
- Ensure the computer is plugged into a power source.
- Disconnect external devices except mouse and keyboard.
- Note your Wi-Fi SSID and password.
- Choose "Remove everything" for a complete fresh start.
- Enable "Clean data" if you will sell or discard the PC.
- Select cloud download for the latest Windows version.
Following this checklist minimizes the risk of data loss and ensures a smooth reset process. Each step addresses a potential pitfall. For example, failing to deactivate software can result in lost activations, and skipping the drive cleaning when selling the computer could expose your personal data. Taking these precautions transforms the reset from a stressful event into a straightforward procedure.
References
Microsoft Support. "Reiniciar (reinicializar) o computador." Accessed February 2025. https://support.microsoft.com/pt-br/windows/reiniciar-reinicializar-o-computador-110262aa-fc79-1c33-7b00-c140ae3a6dac
Microsoft Support. "Como atualizar, redefinir ou restaurar seu computador Windows 8.1." Accessed February 2025. https://support.microsoft.com/pt-br/windows/como-atualizar-redefinir-ou-restaurar-seu-computador-windows-8-1-51391d9a-eb0a-84a7-69e4-c2c1fbceb8dd
Dell Support. "Como reinstalar ou redefinir de fábrica o Windows 11." Accessed February 2025. https://www.dell.com/support/kbdoc/pt-br/000192698/como-reinstalar-ou-redefinir-de-f%C3%A1brica-o-windows-11-no-seu-computador
HP Tech Takes. "Como restaurar as configurações de fábrica de um notebook." Accessed February 2025. https://www.hp.com/br-pt/shop/tech-takes/como-restaurar-as-configuracoes-de-fabrica-de-um-notebook-com-windows