Understanding AVCHD Files and the Need to Remove Selections
AVCHD, which stands for Advanced Video Codec High Definition, is a file format commonly used by camcorders and digital cameras to record high-definition video. Designed by Sony and Panasonic, this format stores video in a compressed but high quality state, making it efficient for capturing long recordings. However, many users encounter a situation where they want to remove a selection from an AVCHD file. The phrase como tirar a selecao de AVCHD is Portuguese for how to remove the AVCHD selection, and it usually refers to one of two tasks. The first is cutting out unwanted segments from a video file, such as removing a bad take, an unnecessary scene, or a long pause. The second is changing or deselecting the AVCHD format when importing video from a camera. This article will focus primarily on the first scenario, which is editing AVCHD files to delete specific parts, because that is the most common need. Understanding the structure of AVCHD is important because these files are often stored in a complex folder hierarchy on a memory card, but they can be edited as single video files once imported to a computer.
Why You Might Need to Remove a Selection from AVCHD Video
There are several reasons why someone might want to remove a selection from an AVCHD video. For instance, when recording a family event or a travel vlog, there are often moments that you do not want to keep, such as accidental recordings, static shots, or segments with poor audio or lighting. Removing these selections allows you to create a cleaner final video without re encoding the entire file. Another common scenario is when you have recorded a long video and only need a short clip for social media or a presentation. Instead of keeping the whole file, you can cut out just the portion you need. Additionally, some users find that their editing software selects an entire AVCHD file by default when importing, and they want to deselect that format in favor of another. This issue can be solved by changing the import settings in the software or by converting the file. Regardless of the specific reason, knowing how to remove a selection from AVCHD files is a useful skill for anyone working with video from modern camcorders.
Using Solveig Multimedia Video Splitter to Cut AVCHD Segments
One of the most straightforward tools for removing selections from AVCHD files is Solveig Multimedia Video Splitter. This software is designed specifically for splitting and cutting video files without re encoding, which preserves the original quality. The process is simple and can be completed in a few steps. First, open the AVCHD file by going to File and then Open Media File. Once the video loads, you will see a preview window and a timeline. Use the video slider to navigate to the start of the segment you want to remove. Then, click the Add Marker button to mark that point. Next, move the slider to the end of the segment and add another marker. After both markers are set, click the scissors button, which is often labeled as Cut or Split. The software will remove the marked segment and keep the rest of the video intact. You can then save the new file by selecting File and Save. This method is ideal for removing unwanted parts quickly without losing quality. The tool supports AVCHD natively, so you do not need to convert the file first.
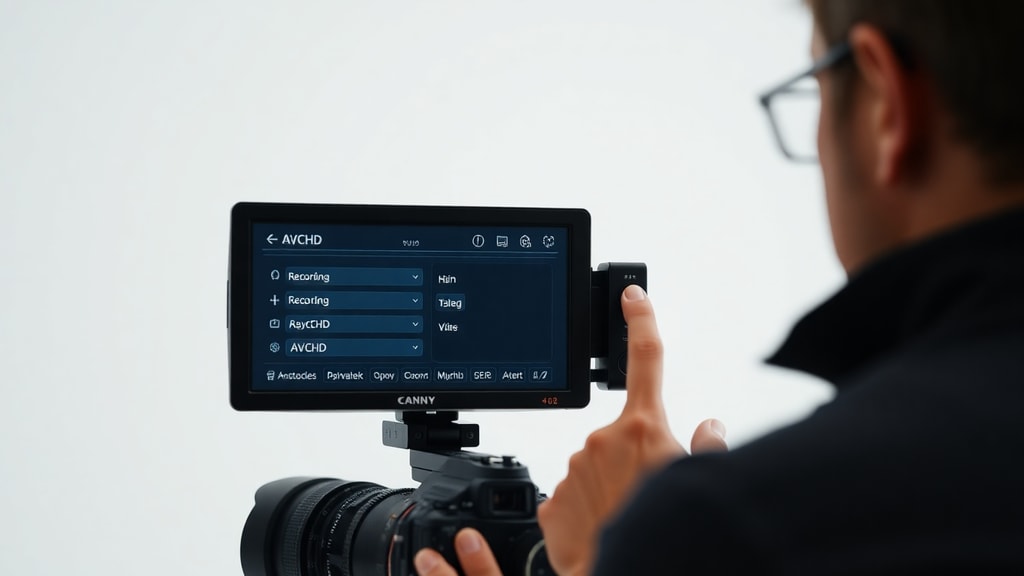
Alternative Software for Editing AVCHD Files
While Solveig Multimedia Video Splitter is a dedicated tool, there are other software options that can handle AVCHD editing and selection removal. Professional video editors like Adobe Premiere Pro and Final Cut Pro can import AVCHD files directly and allow you to trim or cut segments using standard editing tools. In Premiere Pro, for example, you can import the AVCHD file, place it on the timeline, and use the razor tool to cut out unwanted parts. After cutting, you can delete the unwanted segment and export the remaining video. Another free option is Sony PlayMemories Home, which was designed for Sony cameras but can also edit AVCHD files. This software allows you to import video, preview clips, and remove selections by trimming the beginning or end. It is important to note that some free editors may require you to convert the AVCHD file to a common format like MP4 before editing, which can degrade quality. For best results, use software that supports AVCHD natively or use a lossless splitter like SolveigMM.
Step by Step Guide to Removing a Selection
To make the process clearer, here is a list of steps that you can follow to remove a selection from an AVCHD file using a standard video splitter or editor:
- Step 1: Transfer the AVCHD file from your camera to your computer. Copy the entire folder structure if necessary, but you can usually find the actual video files in the AVCHD folder under BDMV and STREAM.
- Step 2: Open your chosen editing software. For this guide, we assume you are using SolveigMM Video Splitter because of its ease of use.
- Step 3: Load the video file by clicking File and Open Media File. Navigate to the AVCHD video file, which often has an extension like .mts or .m2ts.
- Step 4: Use the playback controls to watch the video and identify the exact start and end of the segment you want to remove.
- Step 5: At the start point, click Add Marker. At the end point, click Add Marker again.
- Step 6: Click the scissors button to remove the segment between the markers. The software will delete that portion and join the remaining parts.
- Step 7: Save the new file by selecting File and then Save As. Choose a location and name for your edited video.
- Step 8: Play the saved file to confirm that the selection was removed correctly.

Comparing Different Tools for AVCHD Selection Removal
The table below compares three common tools used for removing selections from AVCHD files. This can help you choose the best option based on your needs and technical comfort.
| Tool | Cost | Ease of Use | Quality Preservation | Platform |
|---|---|---|---|---|
| SolveigMM Video Splitter | Free trial / Paid | Very easy | Lossless | Windows and Mac |
| Adobe Premiere Pro | Subscription | Moderate to advanced | Lossless with proper settings | Windows and Mac |
| Sony PlayMemories Home | Free | Easy | Good but limited | Windows only |

As shown in the table, SolveigMM is the most user friendly for quick cuts without re encoding. Premiere Pro offers more flexibility but requires a subscription and some learning. Sony PlayMemories Home is a good free option for basic trimming, especially if you own a Sony camera.
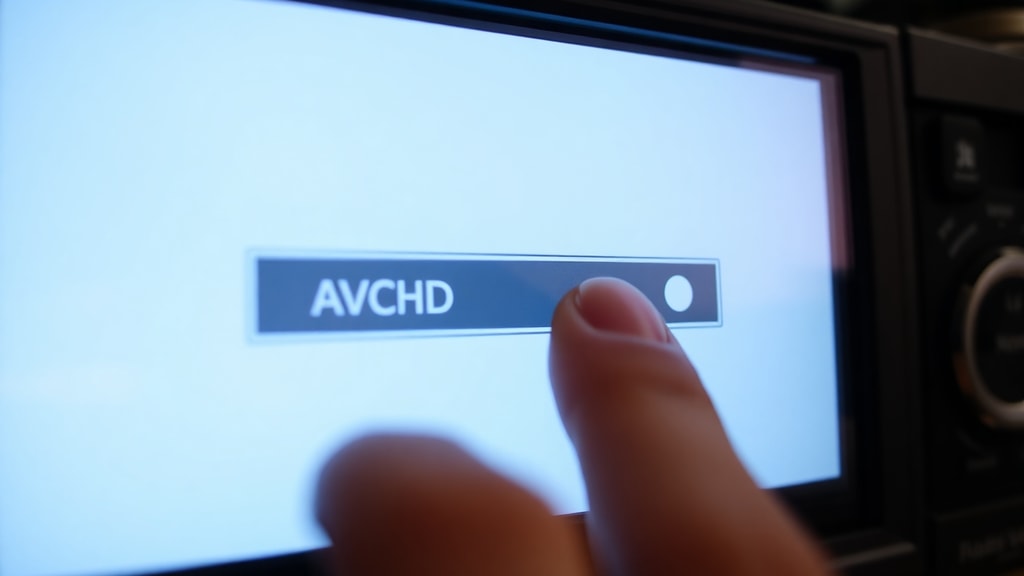
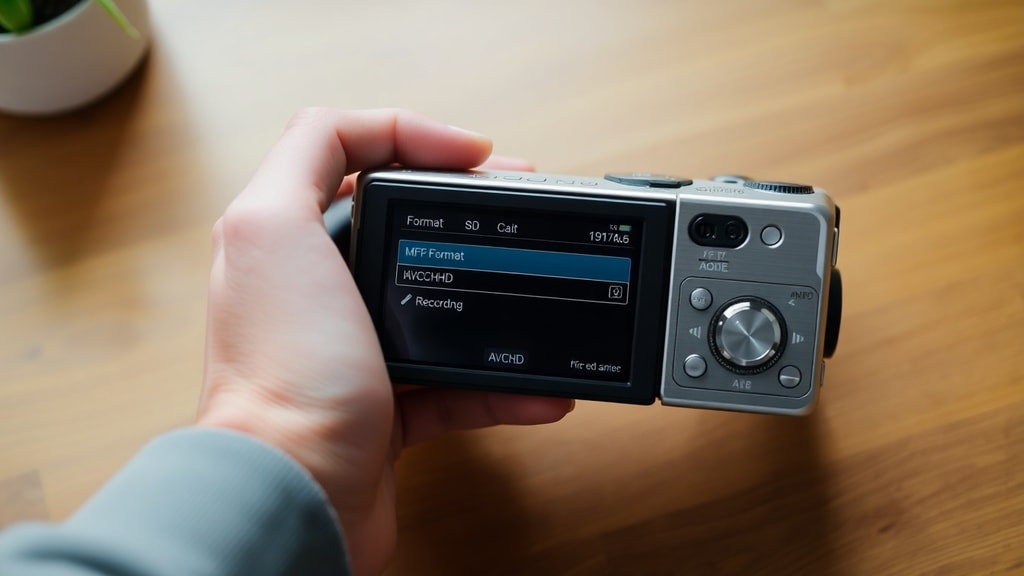
How to Deselect AVCHD Format When Importing Video
Some users search for como tirar a selecao de AVCHD because they want to deselect the AVCHD format when importing video from a camera. When you connect a camera or a memory card that contains AVCHD files, some software may automatically select the AVCHD format and try to import all files. To deselect this, you can change the import settings in your video editing or media management software. For example, in Adobe Lightroom or Apple Photos, you can choose to import only certain file types or deselect specific folders. In many programs, you can uncheck the AVCHD folder or choose Import Selected instead of Import All. If the software does not allow you to deselect the format, you can manually copy only the files you need from the memory card. The key is to understand that AVCHD is just a container; the actual video files are in the STREAM folder and have .mts extensions. By selecting only those files, you can avoid importing the entire AVCHD structure.
Common Mistakes and Troubleshooting
When trying to remove a selection from AVCHD files, users often make a few common mistakes. One mistake is not understanding that AVCHD files are sometimes split into multiple parts automatically by the camera. If you try to edit only one part, you might miss content that is in another file. To avoid this, import all the AVCHD files from the same recording session. Another mistake is cutting at the wrong point, which can cause the video to jump or lose synchronization with audio. Always preview the marked points carefully before cutting. Some users also try to use simple video editors that do not support AVCHD, resulting in errors or crashes. In such cases, either convert the file to MP4 first or use a tool like SolveigMM that handles AVCHD directly. Finally, remember that removing a selection does not mean deleting the file from your computer; it simply means creating a new version without that segment. Always keep a backup of the original file until you are satisfied with the cut.
Conclusion and Best Practices
Removing a selection from AVCHD video files is a practical task that can be done with several tools, each offering different levels of complexity and quality. The best approach depends on your specific needs. For quick, lossless cuts, SolveigMM Video Splitter is highly recommended because it preserves the original footage and is easy to learn. For more advanced editing with multiple tracks and effects, Adobe Premiere Pro is a robust choice. If you are using a Sony camera, PlayMemories Home can handle basic trimming without cost. Always remember to work with a copy of your file to avoid accidental loss of data. As a best practice, before cutting, plan exactly which segment you want to remove and mark the start and end points precisely. After editing, verify the final video to ensure no important content was inadvertently removed. Mastering this skill will save you time and storage space while allowing you to create polished videos without unwanted sections.
References
1. Solveig Multimedia. How to Edit AVCHD File with SolveigMM Video Splitter. Accessed October 2023. https://www.solveigmm.com/en/howto/how-to-edit-avchd-file-with-solveigmm-video-splitter/
2. Sony Corporation. Sony AVCHD Guide. Accessed October 2023. https://helpguide.sony.net/gbmig/45306888/v1/pt-br/contents/TP0000518525.html