Understanding Print Head Clogs
A clogged print head is one of the most common issues that can degrade printer performance. When ink dries inside the tiny nozzles of the print head, it blocks the flow of ink onto the paper. This results in faded prints, missing lines, or completely blank pages. Over time, infrequent use, low-quality ink, or environmental dust can make these clogs worse. Cleaning the print head is often the first step to restoring print quality. However, the process varies depending on your printer model and whether the print head is built into the ink cartridge or is a separate component. Knowing the right method is essential to avoid damaging your printer.
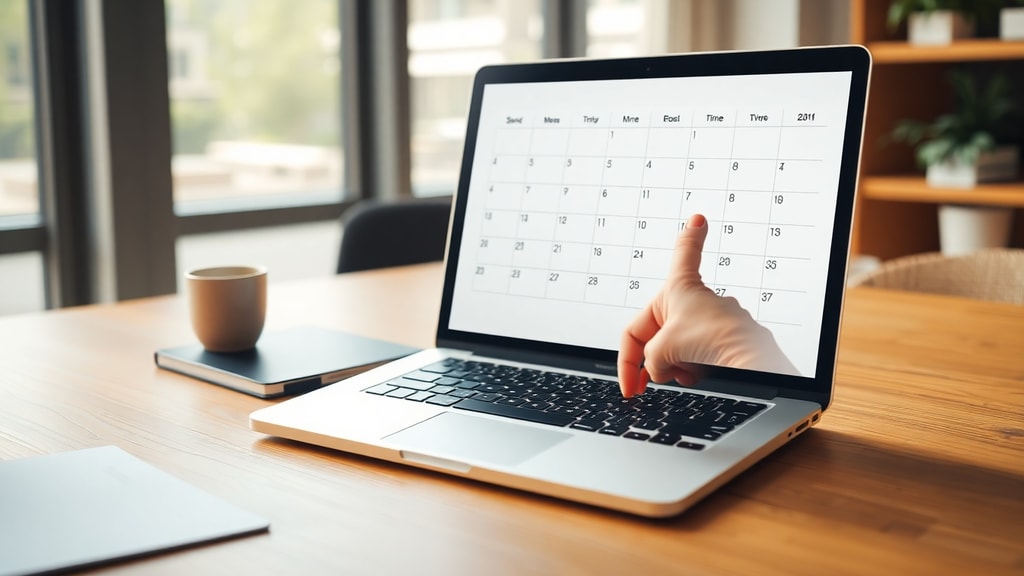
Start with the Software Cleaning Method
Before you attempt any manual cleaning, always run the automatic print head cleaning function built into your printer. This is the safest and easiest first step. On most printers, you can access this feature through the control panel on the printer itself or via the printer software on your computer. In Windows, go to Control Panel, select Devices and Printers, right-click your printer, choose Printer Properties, and then look for the Maintenance or Services tab. From there, you can run the Clean Printhead cycle. This process pushes a small amount of ink through the nozzles to dislodge dried particles. For many minor clogs, one or two cleaning cycles are enough. For more stubborn clogs, you may need to repeat the cycle a few times. Some printers also offer a Deep Cleaning option, which uses more ink but is more effective. If the software cleaning does not resolve the issue after three attempts, it is time to move to manual methods. Detailed guidance on software cleaning is available from printer manufacturers like HP in their tech support resources.
Manual Cleaning Methods
When automatic cleaning fails, manual intervention is necessary. You should first check your printer manual to see if the print head is removable. Some printers have the print head integrated into the ink cartridge assembly, while others use a separate print head that can be taken out. The method you use will depend on that design. Below are the steps for the manual soaking method, which is suitable for removable print heads. Follow each step carefully.
- Turn off the printer and unplug it from the power source.
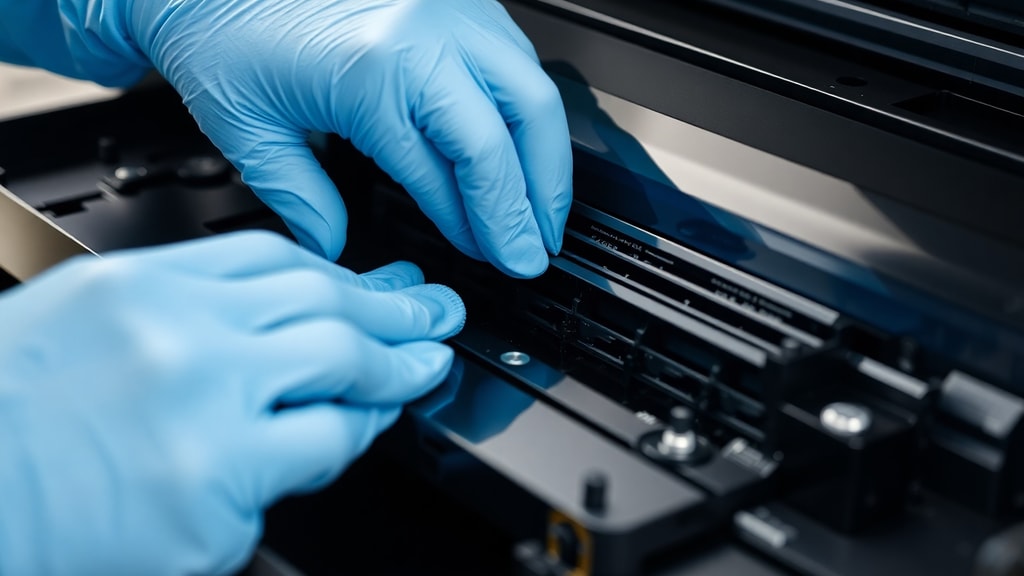
- Open the printer cover and remove the ink cartridges. If your printer has a separate print head, carefully release it from its carriage.
- Prepare a shallow pan or dish with a cleaning solution. For most clogs, mix equal parts of distilled warm water and isopropyl alcohol (50/50). For severe clogs, use a 1:1 mixture of ammonia and distilled water.
- Place the print head in the pan with the nozzle side facing down. The solution should cover the nozzles but not submerge the electrical contacts on the side.
- Let it soak for 10 to 20 minutes. Do not leave it longer as the solution may damage internal components.
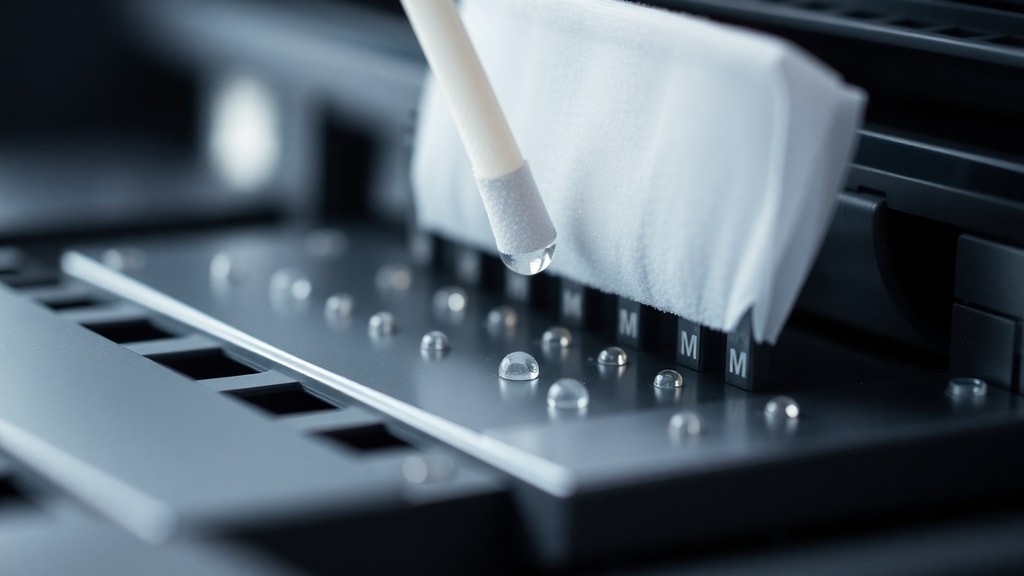
- After soaking, gently lift the print head out and dry the bottom by dabbing it lightly on a clean, lint-free cloth or a soft paper towel. Do not rub or scrub.
- Use a dry lint-free cloth to wipe any excess moisture from the electrical contacts. Allow the print head to air dry completely for about 10 to 15 minutes.
- Reinsert the print head and ink cartridges, then run the automatic cleaning cycle again from the printer software.
For printers with integrated print heads (where the head is part of the cartridge), you can use the blotting method. Place a lint-free cloth or paper towel dampened with warm water or the same cleaning solution on a flat surface. Lower the print head carriage onto the cloth so that the nozzles make contact. Gently slide the carriage back and forth to allow the liquid to wick out dried ink. Do this for about 30 seconds, then let the head dry before reinstalling. This method is often recommended for HP printers with integrated heads, as noted in various online tutorials.
Comparing Cleaning Methods
Different cleaning approaches work best for different situations. The table below summarizes the main methods, their difficulty level, effectiveness, and associated risks. Use it to choose the most appropriate method for your printer.
| Method | Difficulty | Effectiveness | Risk |
|---|---|---|---|
| Software Cleaning (Automatic) | Very Easy | Good for minor clogs | Low, but uses ink |
| Manual Soaking (Removable Heads) | Moderate | High for stubborn clogs | Moderate if electrical contacts get wet |
| Blotting Method (Integrated Heads) | Easy | Moderate for moderate clogs | Low if done gently |
| Hot Water Flush (Early Canon Models) | Moderate | High for dried ink | High water temperature can damage |
Safety Tips for Cleaning Print Heads
Safety is critical when handling print heads. Never use abrasive materials such as paper towels with rough surfaces or scrubbing pads, as these can scratch the delicate nozzle plate. Harsh chemicals like acetone, bleach, or strong solvents can corrode the plastic and rubber seals in the print head. Stick to recommended solutions such as distilled water, isopropyl alcohol, or ammonia and water mixtures. Avoid boiling water at all costs. Extreme heat from boiling water can melt the thin plastic channels inside the print head, rendering it useless. Warm tap water is acceptable, but distilled water is preferred because it contains no minerals that could leave residue. Always handle the print head by its edges to avoid touching the nozzle surface. Let all parts dry completely before reassembling. If you are unsure about your printer model, consult the manufacturer's official support page for model-specific instructions.
Other Effective Cleaning Techniques
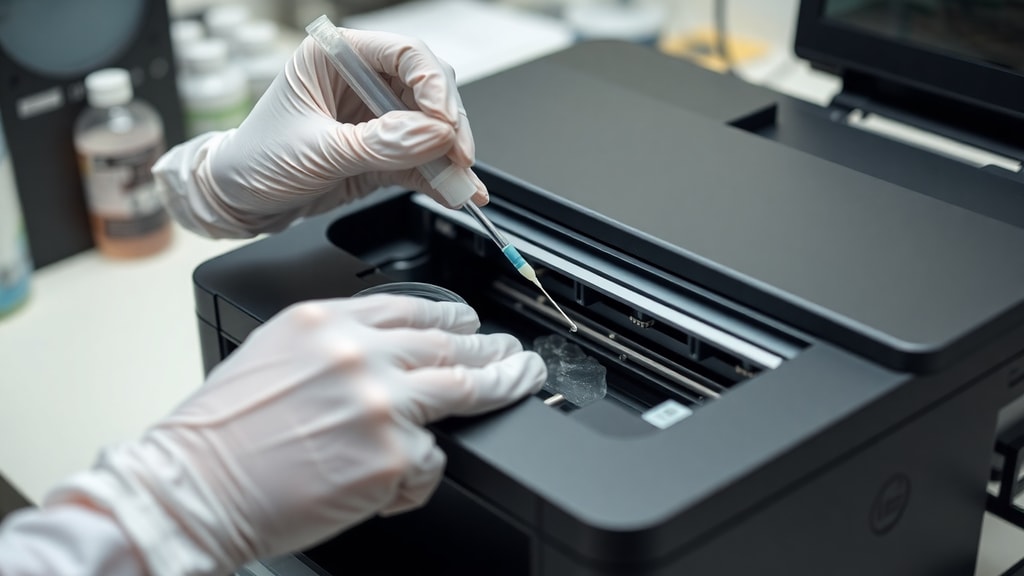
For older Canon printers with removable print heads, a flush with gently flowing hot water can be very effective. After removing the print head, hold it under a faucet with the nozzle facing down. Turn on the hot water at a low flow rate and let it run through the nozzles. Continue until the water coming out is clear, indicating that dried ink has been flushed away. Do not use high pressure, as that can damage the internal channels. This method is documented by Canon support as a viable option for certain models. Another technique involves using a dedicated print head cleaning kit, which often comes with a syringe and special cleaning fluid. You can use the syringe to gently push cleaning fluid through the ink intake ports of the print head. This approach is more direct and can remove stubborn blockages without soaking. However, it requires a steady hand and careful handling to avoid damaging the print head seals.
How to Prevent Print Head Clogs
The best solution is prevention. Print head clogs happen most often when a printer sits unused for long periods. To keep your print head clear, print something at least once a week. Most printers also have a built-in maintenance cycle that runs when you turn the printer on, so avoid turning it off at the wall socket too frequently. Always use high-quality ink and paper recommended by the printer manufacturer. Third-party inks may save money in the short term but often cause more clogs due to different formulations. Store your printer in a cool, dry place away from direct sunlight and dust. If you know you will not use the printer for weeks, consider removing the ink cartridges and storing them in an airtight bag with a damp cloth to prevent the nozzles from drying out. Some printers have a docking station that seals the print head when not in use, which helps maintain moisture. Consistent maintenance will reduce the need for manual cleaning.
References
For further reading and detailed instructions, consult the following reputable sources. HP Tech Takes provides a comprehensive guide on cleaning print heads, including software and manual methods. Canon Support offers specific advice for older models with removable print heads, including the hot water flush technique. Additionally, Lenovo's glossary page explains the dos and don'ts of print head cleaning, emphasizing the avoidance of abrasives. Ricoh USA also has a useful glossary entry on print head cleaning best practices. These sources provide reliable information to help you maintain your printer performance.