Understanding the Partition Table Creation Error
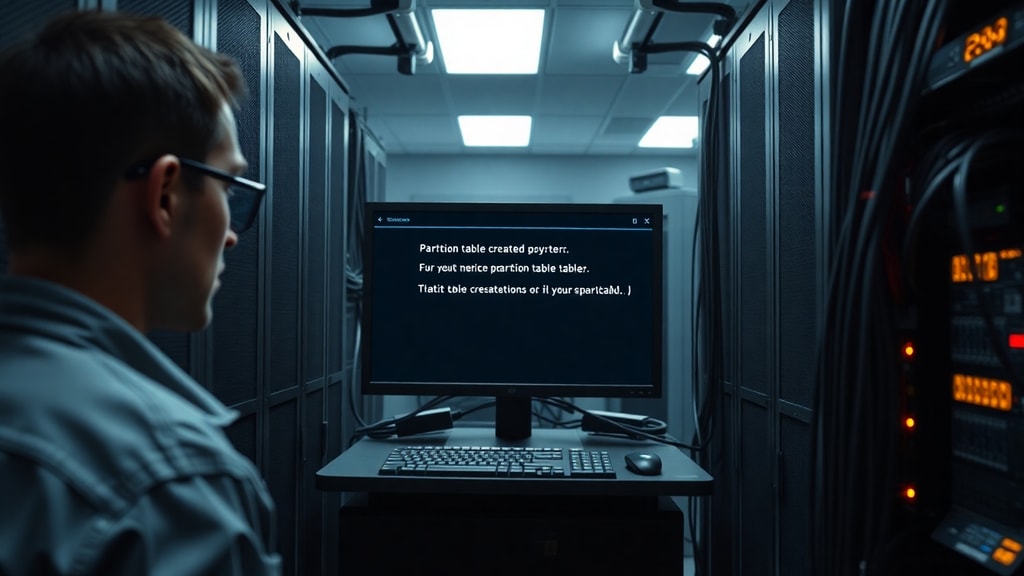
When installing an operating system or repartitioning a storage drive, users may encounter a critical error message that reads: "Ocorreu um erro ao criar a tabela de partições," which translates directly to "An error occurred while creating the partition table." This issue is not exclusive to a single operating system; it can appear during Windows installations, Linux distributions, or when using third-party disk management tools such as GParted. The error indicates that the installer or partition editor could not write a valid table of partitions onto the disk, halting the process entirely.
Understanding the root cause is essential for a reliable fix. The most common reason is a mismatch between the existing partition table format on the target drive and what the installer expects. Many modern operating systems and UEFI-based systems require a GUID Partition Table (GPT) to boot properly. If the drive still uses a legacy Master Boot Record (MBR) table, or if the drive is completely uninitialized with no table at all, the installer will fail when trying to create new partitions. Drive incompatibility, leftover remnants from previous partitioning schemes, or even a damaged disk can also trigger this error. In some cases, the drive might be detected by the BIOS but remain invisible to the partition editor due to corruption or conflicting signatures.
Regardless of the specific trigger, the solution typically involves resetting the drive's structure and converting it to the correct format. The steps outlined below are designed to resolve this error across Windows and Linux environments, using either graphical tools or command-line utilities. It is important to remain methodical and cautious, as the primary fix involves completely erasing the drive.
Using GParted to Fix the Partition Table
GParted is a powerful, open-source partition editor that can handle both MBR and GPT tables. It is commonly included on Linux live USB sticks and some system rescue discs. To fix the partition table creation error using GParted, boot your computer from a live Linux environment (such as Ubuntu installation media) and launch GParted from the system menu. The interface will display all connected drives and their current partition layouts.

Select the problematic drive from the dropdown menu in the top-right corner. If the drive appears as unallocated space or shows an unrecognizable file system, the partition table is likely missing or corrupted. To resolve this, go to the Device menu and select "Create Partition Table." A dialog box will appear asking for the table type. Choose "GPT" if your system supports UEFI booting, which is standard for all modern computers. For legacy BIOS systems, you may choose "msdos" (MBR), but GPT is strongly recommended for drives over 2 TB and for Windows 11 compatibility. Confirm the action, and GParted will write a new, empty GPT structure to the drive. The error should be cleared, allowing you to then create partitions as needed using the New Partition tool.
If the drive still refuses to accept a new table, you may need to wipe existing metadata first. Use the "View" menu to enable "Device Information" and check for any remnant partition signatures. In extreme cases, use the command line within GParted to run a low-level wipe. It is also advisable to check the disk's S.M.A.R.T. status for physical errors, as a failing drive can cause persistent table creation failures.
Resolving the Error Using Diskpart on Windows
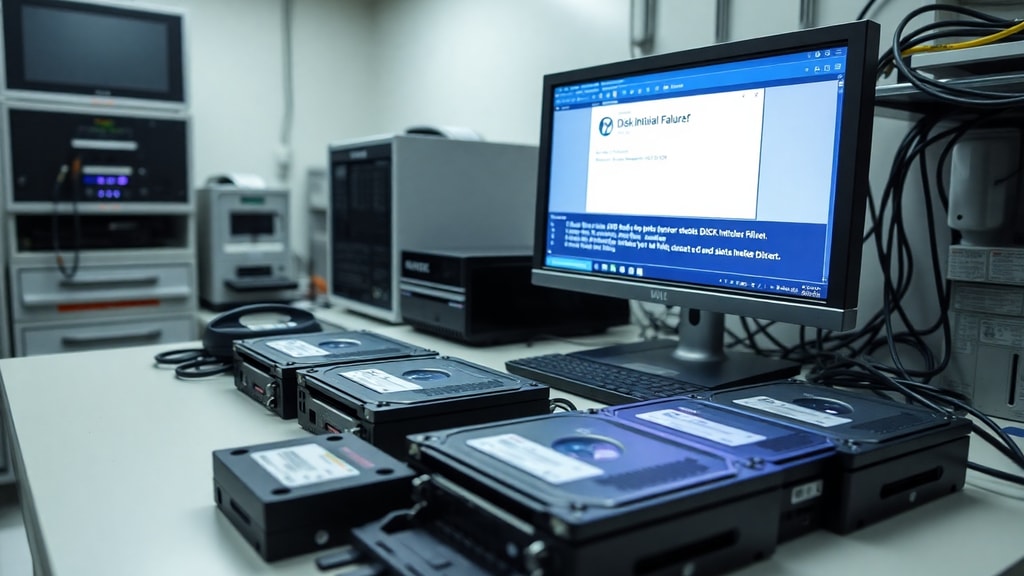
For users who are installing Windows or need to fix the drive from within Windows Setup, the diskpart command-line utility is the most direct method. When the partition table error appears during installation, press Shift + F10 (or Shift + F5 on some systems) to open a command prompt. Type diskpart and press Enter to launch the tool. This utility operates with raw commands and can completely transform the drive structure.
Start by typing list disk to display all connected drives. Identify the target disk by its size; be absolutely sure you select the correct one, as all data will be wiped. Next, type select disk X (replacing X with the disk number). Then execute clean. This command removes all partition and volume information from the disk, leaving it in an uninitialized state. After the clean completes, type convert gpt to apply a fresh GUID Partition Table. Finally, type exit to close diskpart and return to the setup environment. The installer should now recognize the drive as unallocated space, and the partition table creation error will no longer occur.
Below is a summary of the essential diskpart commands in a list format for quick reference:
- list disk: Shows all physical drives with their sizes and status.
- select disk N: Chooses the target disk (replace N with the correct number).
- clean: Erases all partition data and sectors, zeroing the drive.
- convert gpt: Creates a new GPT partition table on the cleaned disk.
- exit: Closes diskpart and returns to the command prompt.
This sequence is reliable and has been tested across many hardware configurations. It works equally well for Windows 10, Windows 11, and Windows Server installations.
Important Considerations Before Wiping the Drive
Before proceeding with either method, it is critical to understand that the clean command in diskpart and the "Create Partition Table