Understanding Headphone Detection Issues
Headphone detection problems can be frustrating, especially when you plug in your headphones or connect them wirelessly and the device does not recognize them. This issue can happen across different platforms, including Windows PCs, Android phones, iPhones, and other audio sources. The reasons range from simple physical obstructions to software conflicts. This guide provides systematic troubleshooting steps to resolve headphone detection issues, drawing on common solutions from support forums, manufacturer documentation, and expert recommendations.
Physical Connection and Connector Inspection
The first step in solving headphone detection problems is to examine the physical connection. For wired headphones, check the plug and the port. Over time, the metal contacts on the headphone jack can become oxidized or accumulate dirt and lint, leading to poor connectivity. Even a small piece of debris can prevent the device from detecting that headphones are inserted. Use a cotton swab lightly dipped in isopropyl alcohol to clean the headphone plug and the inside of the port on your device. Be gentle and let everything dry completely before testing again. Also inspect the cable for any visible damage, such as kinks, cuts, or frayed wires. If the connector is bent or broken, the headphones may need replacement. For USB or Lightning-connected headsets, ensure the connector is fully inserted and not loose. A loose connection is a common cause of intermittent detection.
Driver and Software Troubleshooting
If the physical connection seems fine, the next common culprit is the audio driver. On Windows, outdated or corrupted audio drivers often prevent headphone detection. To resolve this, open Device Manager by right-clicking the Start button and selecting Device Manager. Expand the "Sound, video and game controllers" section, find your audio device (e.g., Realtek High Definition Audio), right-click it, and choose "Uninstall device." Check the box that says "Delete the driver software for this device" if available, then restart your PC. Windows will automatically reinstall the default driver. If that does not work, visit the manufacturer’s website for your computer or motherboard to download the latest audio driver. For example, Dell, HP, and Lenovo provide specific drivers for their models. Below is a list of driver troubleshooting steps:
- Uninstall the existing audio driver via Device Manager.
- Restart the computer to allow Windows to reinstall the default driver.
- Manually download and install the latest driver from the manufacturer’s support site.
- If using a USB headset, try different USB ports and check the USB driver in Device Manager.
- For Bluetooth headphones, remove the device from Bluetooth settings, then re-pair it.
After performing these steps, test the headphone detection again. If the issue persists, proceed to more advanced software configuration.
Realtek HD Audio Manager and Power Management
Many Windows computers use the Realtek HD Audio Manager for audio output configuration. One known fix for headphone detection is to disable the automatic detection feature within this manager. Open Realtek HD Audio Manager (often found in the system tray or Control Panel), go to the "Advanced Settings" or the jack configuration panel, and uncheck the option that says "Enable auto-popup dialog when device has been plugged in" or similar. Disabling this can force the system to recognize headphones that are not being detected automatically. Also, Windows may turn off audio devices to save power, which can interfere with detection. In Device Manager, right-click your audio device (under "Sound, video and game controllers"), select Properties, go to the Power Management tab, and uncheck "Allow the computer to turn off this device to save power." Click OK and restart. This step is particularly effective for USB audio devices and built-in sound cards that stop responding after periods of inactivity.

Checking Audio Settings and Device Manager
Sometimes the headphone is detected but not selected as the default output device. Open Windows Settings, go to System > Sound, and under "Output", look for your headphones in the list. If they appear but are not working, click "Manage sound devices" and ensure they are enabled. If the headphones do not show up at all, try reconnecting them. For older Windows versions, right-click the speaker icon in the taskbar, select "Sounds", go to the "Playback" tab, and look for your headset. If it is grayed out, right-click and enable it. Another useful check: run the built-in audio troubleshooter (Settings > Update & Security > Troubleshoot > Additional troubleshooters > Playing Audio). The troubleshooter can automatically fix detection issues. The table below summarizes common detection symptoms and their probable fixes:
| Symptom | Probable Fix |
|---|---|
| Headphones not recognized after plugging in | Clean connector, update driver, disable auto-detection |
| Audio plays from speakers instead of headphones | Set headphones as default device in Sound settings |
| Headphones detected but no sound | Check volume levels, reinstall driver, run troubleshooter |
| Bluetooth headphones not pairing | Charge battery, clear Bluetooth cache, reset headphones |
| In-ear detection (auto-pause) not working | Clean IR sensor, disable auto power off in app |
These steps cover most standard detection problems. If your headphones have additional features like ear detection (auto-play/pause), the solution may involve cleaning optical sensors or adjusting settings in the companion app.
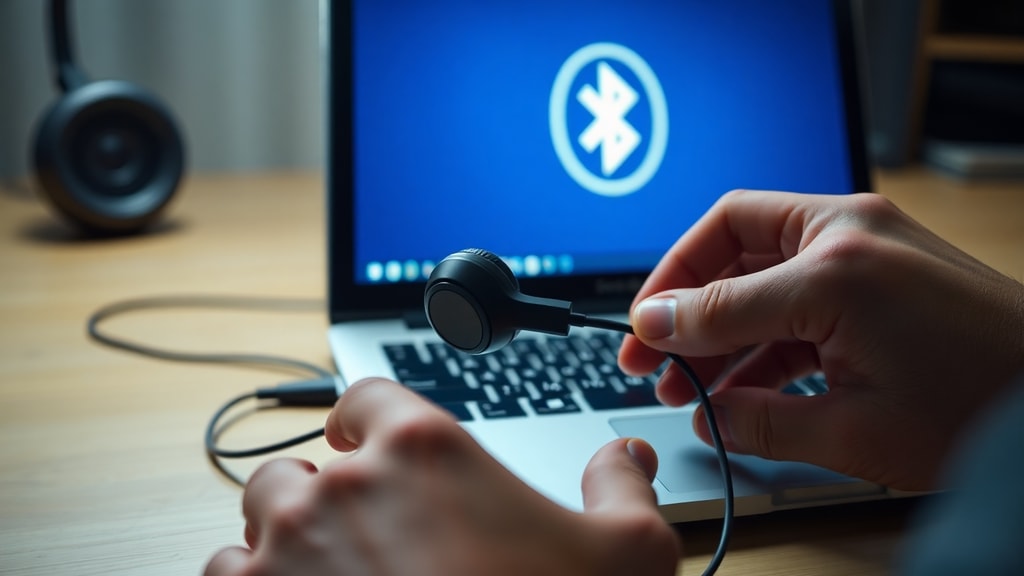
Bluetooth Headphone Detection Issues
Wireless headphones rely on Bluetooth connectivity, which introduces unique detection challenges. First, ensure the headphones have sufficient battery charge; many models will not enter pairing mode when battery is low. Place the headphones in pairing mode according to the manufacturer’s instructions (usually holding the power button until the LED flashes). On your device (Windows, Android, iOS), go to Bluetooth settings and scan for new devices. If the headphones appear but fail to connect, remove the device from the paired list and try again. On Windows, you can clear the Bluetooth cache by opening Device Manager, expanding "Bluetooth", right-clicking your Bluetooth adapter, and selecting "Uninstall device" (do not delete driver), then restarting. For Android and iOS, go to Bluetooth settings, tap the "i" or gear next to the device, and select "Forget This Device". Then re-pair. Also check if the headphones are already connected to another device; most Bluetooth headphones can only be actively connected to one source at a time. If detection still fails, test the headphones with another device to rule out a defective unit.
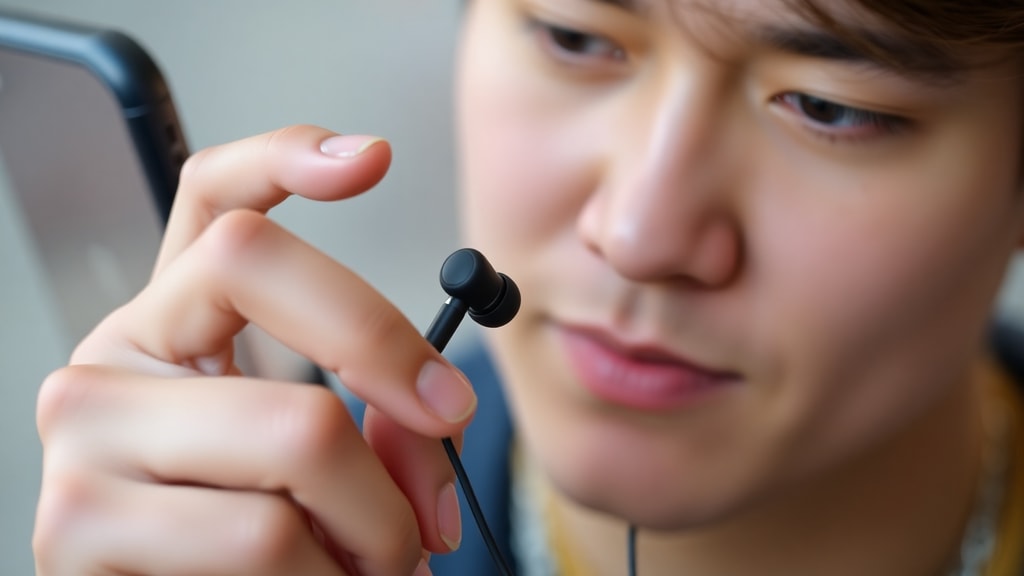
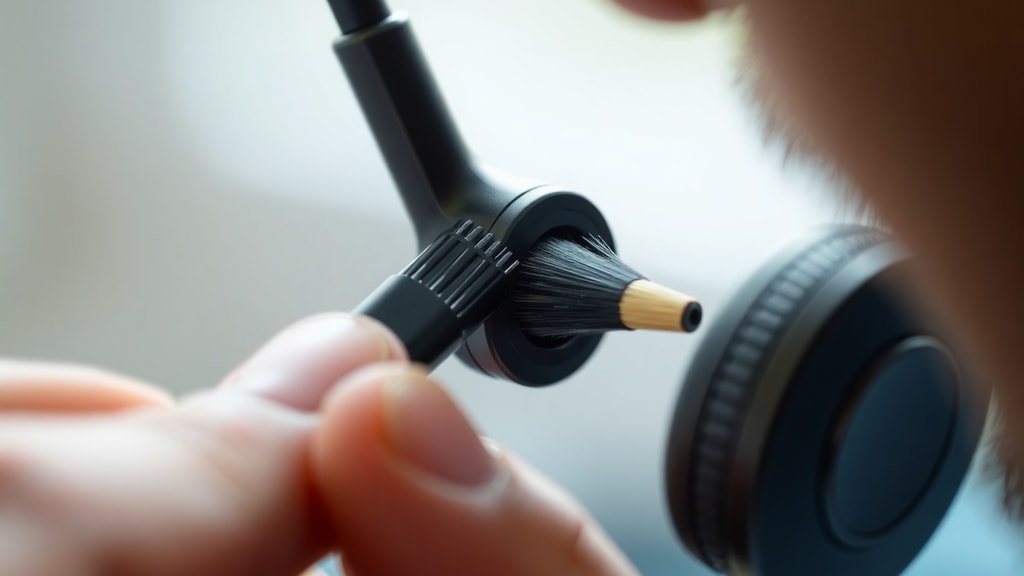
Testing on Another Device and Cleaning Sensors
To isolate the problem, test your headphones on a different device. Plug them into another smartphone, computer, or tablet. If they work there, the issue lies with the original device’s audio hardware, software, or settings. If they also fail on the second device, the headphones themselves may be faulty. For headphones that feature automatic ear detection (such as Sony WH-1000XM series or many true wireless earbuds), an IR sensor near the ear cup or stem detects when they are worn. If this sensor is dirty or blocked, the headphones may not detect being placed in your ears and will either not play audio or pause incorrectly. Clean the sensor gently with a dry, soft microfiber cloth. Avoid using liquids or abrasive materials. Additionally, check the manufacturer’s companion app (e.g., Sony | Sound Connect) for settings that control auto power off or wear detection; disabling these can sometimes resolve erratic behavior.
Another advanced tip for wired headphones on laptops: if the combined headphone/microphone jack uses a single TRRS connector, ensure the headset is compatible. Some devices require a specific pinout. Adapters can help. For Windows, you can also use the "Sound" control panel to manually test each jack.
References
The troubleshooting steps in this guide are based on information from multiple reliable sources. For physical connector cleaning and inspection, guidance was drawn from celularponto.com.br and a YouTube tutorial titled "CELULAR NÃO RECONHECE FONE DE OUVIDO?" (reference). Driver update and reinstallation advice was sourced from windowsreport.com, Dell Knowledge Base, and Microsoft Q&A. Recommendations for disabling auto-detection in Realtek HD Audio Manager came from topheadphones.techinfus.com. Power management disabling techniques were referenced from Microsoft Q&A. Bluetooth troubleshooting tips were informed by Tranyoo.com and Reddit discussions. Sensor cleaning and headphone detection settings for wear detection were based on Sony Support pages and Reddit community feedback. For further reading, you can visit the official Microsoft support page for audio issues here and the Realtek audio driver download page at Realtek. All steps should be performed with caution, and if problems persist, consult the device manufacturer’s warranty or professional repair service.